To hang outdoor string lights, start by measuring your space and creating a layout plan that accounts for power sources. Install support posts or locate sturdy mounting points, ensuring they’re weather-resistant and properly secured. Run guide wires between points using galvanized steel cable or heavy-duty cord, then attach your lights with proper clips or ties. Test all connections before weatherproofing with silicone caulk and protective covers. These five steps will give you a professional, lasting installation with the perfect ambiance.
Plan Your Lighting Layout and Gather Supplies
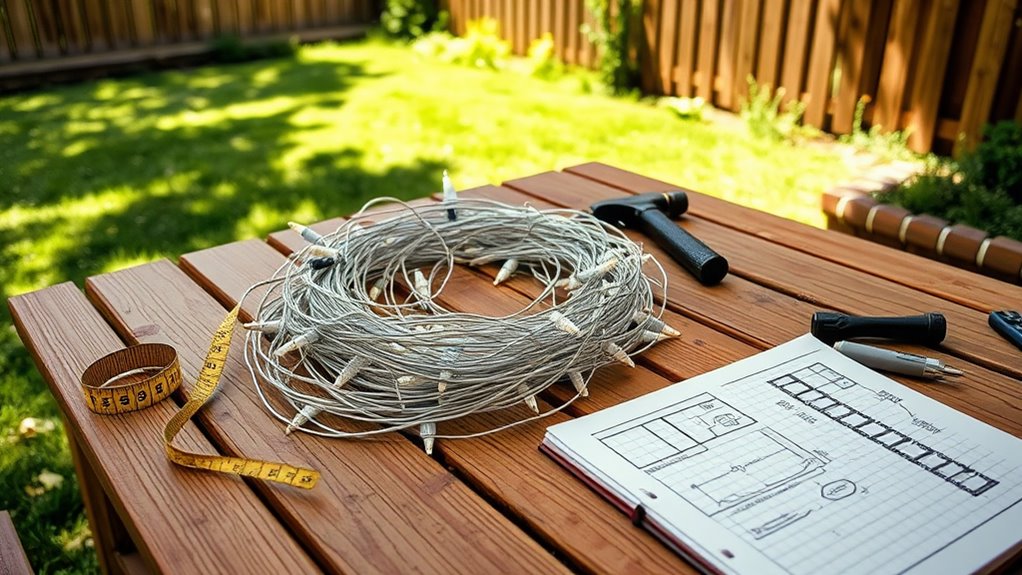
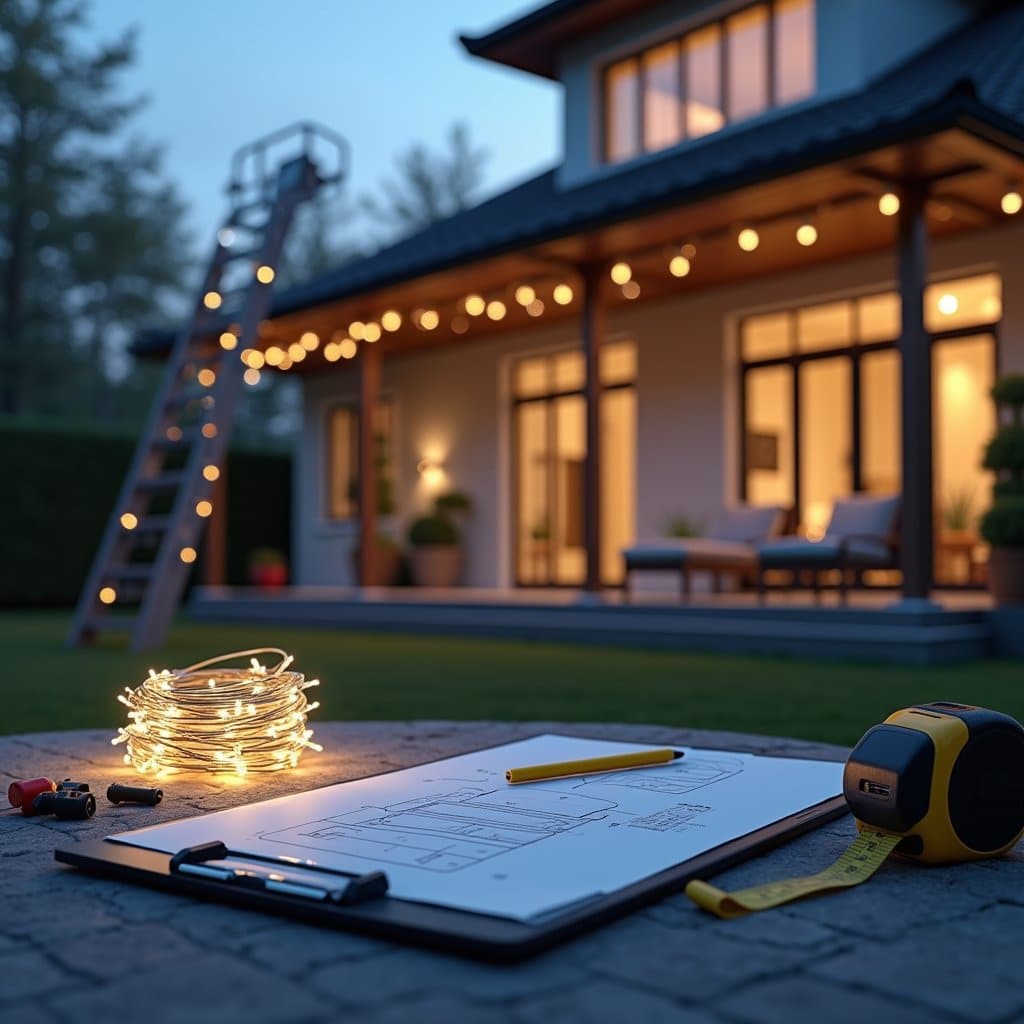
Before starting your outdoor lighting project, carefully measure the area where you’ll hang the string lights and sketch a basic layout plan. Consider different lighting styles and determine how many strands you’ll need to achieve your desired outdoor ambiance. Account for power source locations and verify your measurements include any necessary slack in the lines.
Gather these essential supplies: weatherproof LED string lights, mounting hardware (hooks, guide wires, or poles), a sturdy ladder, measuring tape, pencil, and basic tools like pliers and a drill. If you’re mounting to structures, you’ll need anchors appropriate for your surface material. Don’t forget to check that your extension cords are rated for outdoor use and can handle the combined wattage of your light strings.
Install Support Posts or Find Mounting Points
While planning your layout, you’ll need reliable anchor points to support your string lights. Consider different support post options like wooden posts, metal poles, or existing structures that can handle the weight and tension of your lighting. If you’re installing new posts, make sure to dig holes at least 2 feet deep and secure them with concrete for stability.
- Use sturdy mounting hardware like screw-in hooks, guide wire, or mounting clips designed for outdoor use
- Consider installing posts at corners or strategic points to create a balanced lighting design
- Take advantage of existing structures like trees, fences, or your home’s exterior walls when possible
When selecting mounting techniques, confirm they’re weather-resistant and can withstand wind, rain, and temperature changes throughout the year. Always check local building codes before installing permanent structures.
Secure Guide Wires and Mounting Hardware
With your support posts or mounting points in place, it’s time to install the guide wires and hardware that will hold your string lights. Several guide wire options include galvanized steel cable, coated wire rope, or heavy-duty nylon cord. Choose a wire that’s strong enough to support your lights without sagging.
Install screw eyes, hooks, or cable clamps as mounting hardware types at each support point. Space them evenly to maintain consistent light height. If you’re using cable, thread it through the mounting hardware and pull it taut. Secure the ends with cable clamps or turnbuckles for proper tension. For extra stability, consider incorporating cable tensioners every 15-20 feet to prevent sagging. Make sure all hardware is rated for outdoor use and can withstand your local weather conditions.
String the Lights and Test Connections
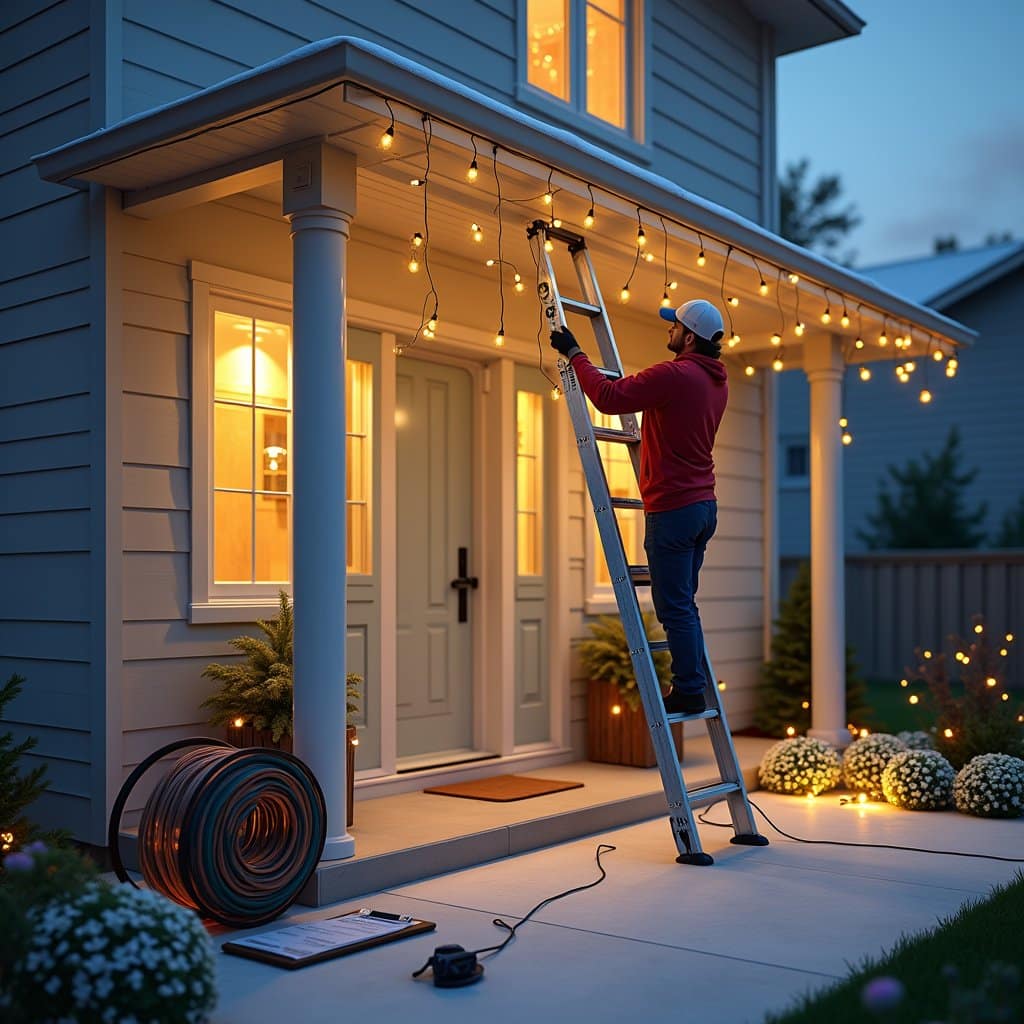
Once your guide wires are securely in place, you’ll need to carefully attach your string lights using the manufacturer’s recommended hanging method. Maintain consistent string tension throughout the installation to prevent sagging and guarantee proper light placement. Test each section as you go to identify any connection issues before completing the entire run.
- Use zip ties or light clips at regular intervals to secure the strand while maintaining enough slack to prevent wire strain
- Connect no more than the recommended number of light strings to avoid overloading the circuit and dimming
- Test all connections in daylight to guarantee proper function, checking for any loose bulbs or damaged sockets
After securing all lights, plug in the entire setup for a final test before making any needed adjustments to achieve your desired lighting effect.
Weather-Proof Your Light Installation
Now that your lights are properly installed and tested, protecting them from the elements will guarantee they last through multiple seasons. To improve weather resistance, apply clear silicone caulk around the connection points between light strands and seal any exposed wire connections with waterproof electrical tape.
For maximum outdoor durability, secure loose cables with UV-resistant zip ties and install drip loops at each connection point to prevent water from running down the wires into the sockets. You’ll also want to position junction boxes face-down to keep moisture out. If you’re using outlets, install weatherproof covers over your electrical connections. Consider adding small cable clips along the support wire to prevent the light strand from sagging or swaying in strong winds.
Frequently Asked Questions
How Many Lumens Do I Need for My Outdoor Space?
For your outdoor lighting needs, you’ll want to evaluate your space’s size and purpose. A general rule is 50-80 lumens per square foot for entertaining areas, while pathways need 100-200 lumens per linear foot. Brighten dining spaces with 200-400 lumens, and use 120-180 lumens for security lighting. You can adjust these brightness levels based on your preference and whether you’re looking for ambient or task lighting.
Can I Leave LED String Lights on All Night?
While you can leave LED string lights on all night, it’s essential to take into account both energy consumption and safety concerns. LED lights are highly efficient, using minimal electricity even when operated for extended periods. However, it’s smart to use a timer or smart plug to automatically turn them off during daylight hours. For safety, verify your lights are rated for outdoor use and regularly check for any wear or damage to prevent potential hazards.
What’s the Average Lifespan of Outdoor String Lights?
Your outdoor string lights typically last between 2-5 years, depending on their string light durability and weather resistance. High-quality LED lights can extend up to 7-10 years if properly maintained. To enhance lifespan, you’ll want to choose lights rated for outdoor use with protective coatings. You can extend their life by storing them during severe weather, cleaning them periodically, and ensuring proper installation to prevent strain on wiring and connections.
How Do I Prevent Birds From Perching on String Lights?
You can keep birds from perching on your string lights using several effective bird deterrent methods. Try installing reflective tape or old CDs near the lights, as the moving reflections will discourage birds. You can also string fishing line a few inches above your lights, making it difficult for birds to land. For a more permanent solution, consider applying non-toxic bird repellent gel to the string light materials where birds typically perch.
Can I Connect Multiple Sets of String Lights to One Outlet?
You can connect multiple string lights to one outlet, but you’ll need to follow string light safety guidelines. Check each set’s wattage and add them up, most household circuits handle 1,800-2,400 watts. Use a UL-listed outdoor extension cord with the proper gauge for your total amperage. Don’t connect more than 3 sets in series unless specified by the manufacturer. It’s best to spread heavy loads across different circuits to prevent overloading.