To replace your outdoor faucet, initially shut off your home’s main water supply and remove the old fixture by loosening the mounting nut with an adjustable wrench while stabilizing the supply pipe. Next, wrap plumber’s tape clockwise around the cleaned pipe threads and hand-thread the new faucet until snug, then tighten a supplementary quarter turn with a wrench. Ultimately, restore water flow and check all connection points for leaks. Proper installation techniques guarantee a leak-free, lasting repair.
Shutting Off Water and Removing the Old Faucet
Before beginning any outdoor faucet replacement, locate your home’s main water shutoff valve and turn it clockwise until fully closed. Open all faucets to drain remaining water from the lines, then gather your essential faucet tools: adjustable wrench, pipe wrench, and plumber’s tape.
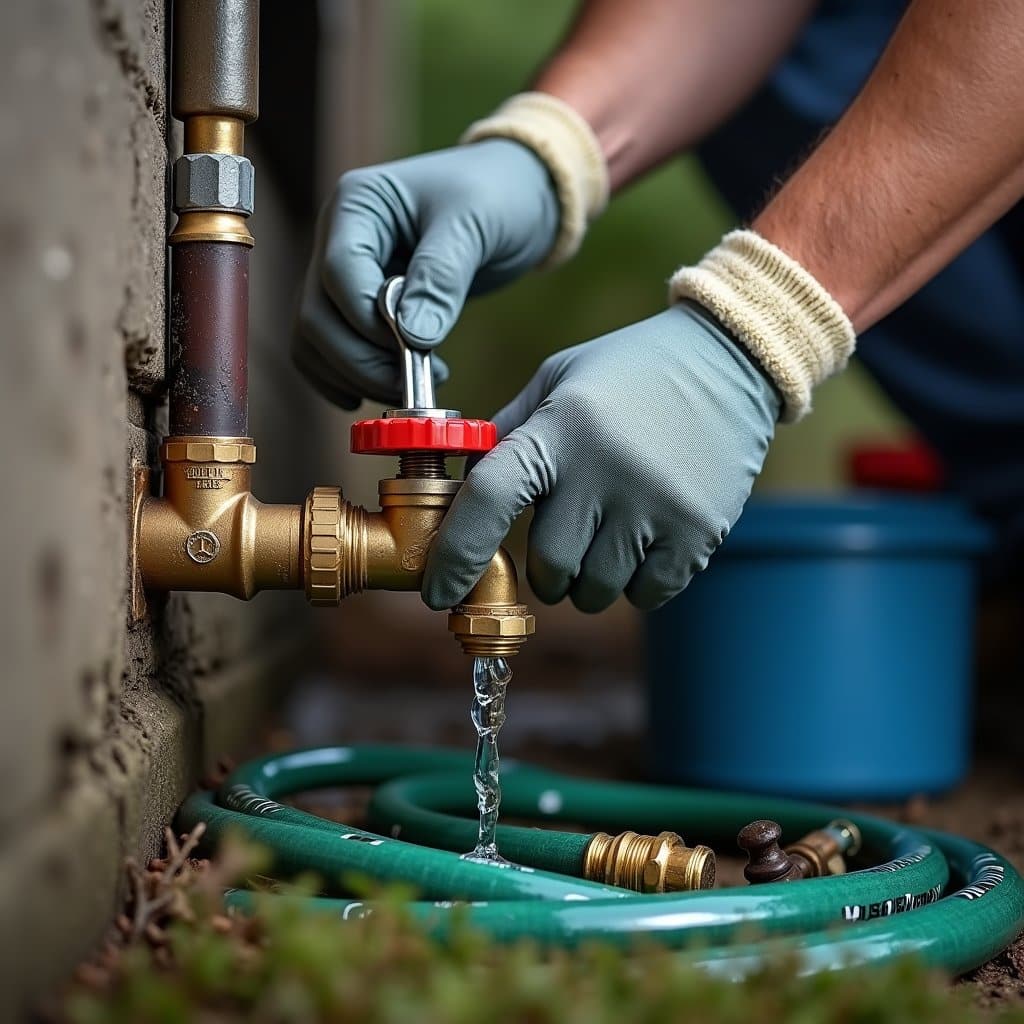
Locate the faucet’s connection point inside your basement or crawl space. Using the pipe wrench, stabilize the supply pipe while you loosen the faucet’s mounting nut with the adjustable wrench. Turn counterclockwise until the nut releases. Once loose, unscrew the old faucet from the exterior wall mount.
Inspect the supply pipe for damage or corrosion. Clean the pipe threads thoroughly and check the wall mounting bracket’s condition. If you notice any pipe damage, consider replacing the section before installing the new faucet.
Installing the New Outdoor Faucet
With the old faucet removed and pipe threads cleaned, you’ll start by wrapping plumber’s tape clockwise around the supply pipe‘s threads. Different faucet types require specific installation tools, so verify you have the correct socket wrench or adjustable wrench for your model.
Thread the new faucet onto the supply pipe by hand until it’s snug. Using your wrench, tighten the faucet a supplementary quarter to half turn, being careful not to over-tighten and damage the threads. Position the faucet so the spout points downward when fully tightened.
If your new faucet includes a vacuum breaker or supplementary components, install them according to the manufacturer’s specifications. Check all connections and verify the faucet handle operates smoothly before restoring water supply to test for leaks.
Testing and Securing the Connection
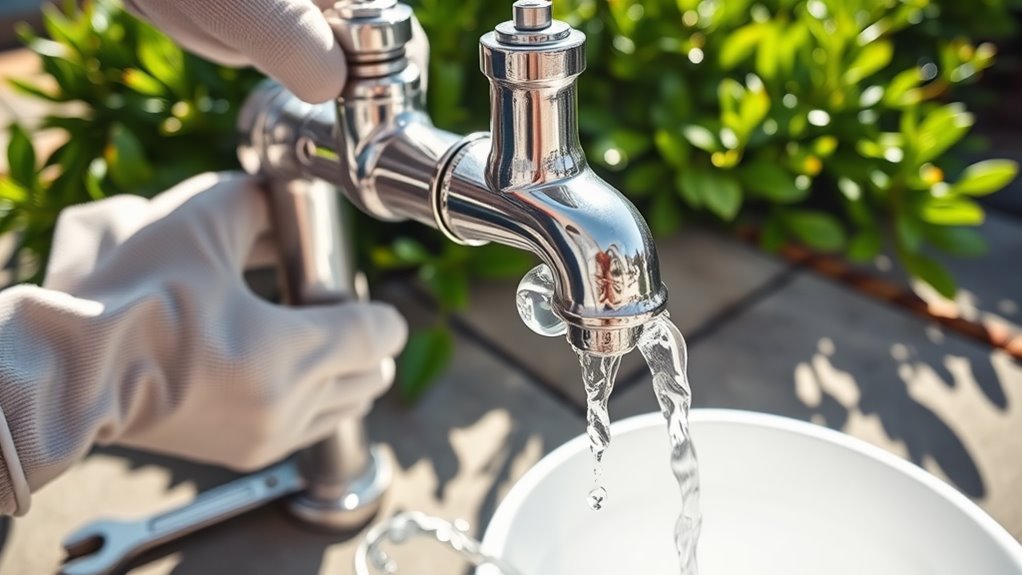
Once you’ve completed the installation, slowly turn the main water supply back on while keeping the outdoor faucet closed. Check for any leaks around the connection points and verify connection integrity by inspecting all joints.
| Test Area | Check For | Action Required |
|---|---|---|
| Main Valve | Water Flow | Open Gradually |
| Pipe Joints | Dripping | Tighten if Needed |
| Faucet Stem | Seepage | Adjust Packing Nut |
| Threading | Moisture | Apply Pipe Tape |
For peak leak prevention, open the faucet slowly and monitor water flow. Listen for unusual sounds like whistling or gurgling, which might indicate air in the lines. If you detect any leaks, shut off the main water supply immediately and re-tighten the connections. Once you’ve confirmed there are no leaks, operate the faucet through several open-close cycles to verify smooth operation.
Frequently Asked Questions
How Much Does a New Outdoor Faucet Typically Cost?
You’ll find outdoor faucet installation costs typically range from $150 to $300 for the complete unit. Basic frost-free sillcocks cost $30-$70, while premium anti-siphon models run $75-$150. Your outdoor plumbing expenses will increase if you need a plumber, averaging $100-$200 per hour. Factor in supplementary costs for copper pipes, mounting hardware, and thread sealant. High-end installations with backflow preventers can reach $500.
What Tools Do I Need to Replace an Outdoor Faucet?
To replace outdoor faucet types, you’ll need several essential tools: an adjustable wrench or two pipe wrenches for grip and torque, plumber’s tape for sealing threads, a pipe wrench for stubborn connections, and a utility knife for removing old components. Installation tips: don’t forget a basin wrench for tight spaces behind the wall, and keep a backup compression fitting handy. It’s vital to have plumber’s putty and a level for proper alignment.
How Often Should I Replace My Outdoor Faucet?
You don’t need to replace your outdoor faucet on a fixed schedule, as its lifespan typically ranges from 15-20 years with proper maintenance. However, you should monitor for signs replacement is needed, including: persistent leaking from the spout or handle, mineral buildup that won’t clear, visible corrosion, difficulty turning the handle, or inconsistent water flow. If you’re experiencing multiple issues simultaneously, it’s time for a replacement.
Can I Replace a Frost-Free Faucet With a Regular One?
While you can technically replace a frost-free faucet with a regular one, it’s not recommended. Frost-free benefits include protection against pipe bursts in freezing temperatures, as these faucet types have a stem that extends 4-24 inches into your heated space. Regular faucets lack this essential feature and require winterization. You’ll need to cap off the longer supply pipe and potentially modify the mounting hardware to accommodate the shorter regular faucet assembly.
Should I Hire a Plumber or Can I Do It Myself?
When deciding between DIY vs. Professional installation, consider your plumbing experience and comfort level with soldering copper pipes. If you’re confident with pipe wrenches, torch work, and understanding local plumbing codes, you can save $150-300 in labor costs. However, if you’re uncertain about proper installation techniques or working with supply lines, it’s worth hiring a licensed plumber to guarantee proper sealing and prevent potential water damage.