When your outdoor faucet leaks while running, you’ll need to diagnose the specific cause initially. Check for water spraying from the spout, handle, or base to pinpoint the leak’s location. Common culprits include worn washers, damaged O-rings, loose packing nuts, or cracked valve stems. You’ll need basic tools like an adjustable wrench, pliers, and replacement parts to fix the issue. Following proper repair steps guarantees a long-lasting, drip-free solution.
Common Causes of Outdoor Faucet Leaks
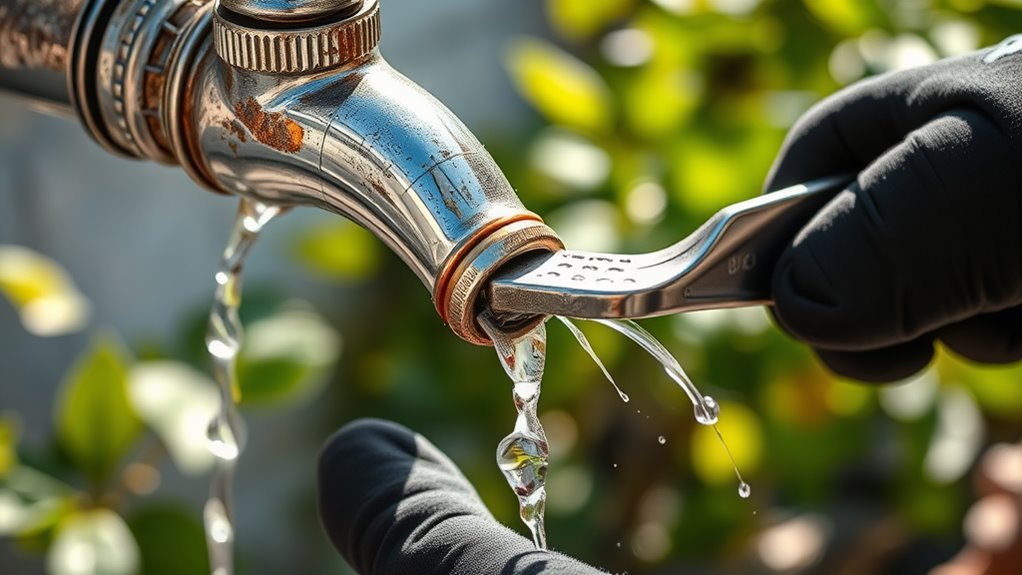
Outdoor faucet leaks typically stem from five primary sources: worn-out washers, damaged O-rings, cracked valve stems, loose packing nuts, or frozen pipe damage. In frost-free faucet types, the most frequent issue you’ll encounter is deterioration of the washer or O-ring, which creates a seal when you turn the handle. Traditional compression faucets often develop leaks due to mineral buildup and washer wear from repeated use.
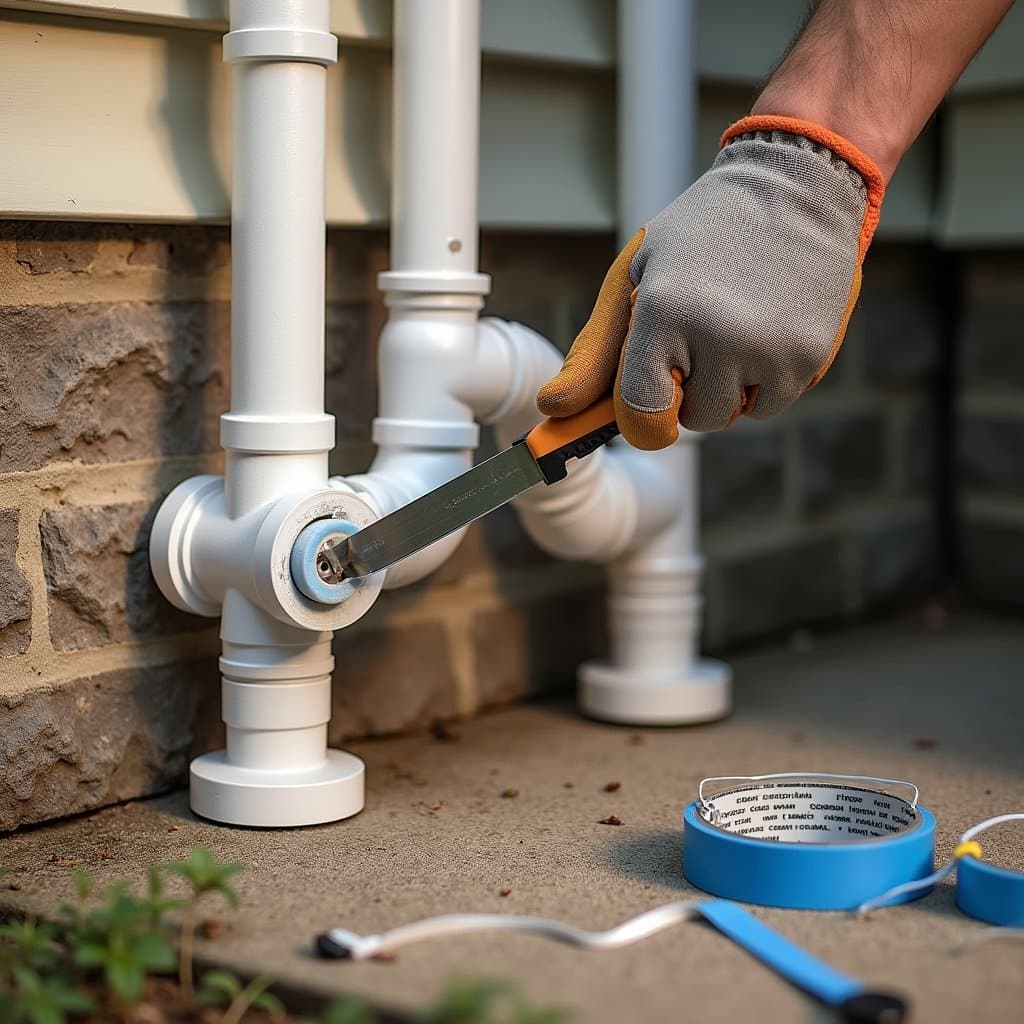
For leak prevention, you’ll need to identify your specific faucet type, as repair methods vary between frost-free and traditional models. You might notice water seeping from the spout, handle, or base of the faucet. If you’ve experienced winter freezing, inspect for split valve bodies or internal stem cracks, as these issues require immediate attention to prevent water waste.
Tools and Materials Needed for Repair
You’ll need a well-organized set of basic hand tools including an adjustable wrench, pliers, screwdrivers, and a pipe wrench to properly address outdoor faucet repairs. Key replacement parts should include new O-rings, washers, packing, stems, and other faucet-specific components that match your fixture’s make and model. Essential sealing materials encompass plumber’s tape, pipe joint compound, and silicone-based waterproof sealant to guarantee watertight connections.
Basic Hand Tools Required
Before addressing any outdoor faucet repair, gathering the right set of basic hand tools will guarantee a smooth and efficient repair process. You’ll need a thorough selection of screwdriver types, including both flathead and Phillips head in different sizes. The right pliers selection is similarly important, with adjustable, groove-joint, and needle-nose varieties being essential.
| Tool Type | Size/Style | Primary Use |
|---|---|---|
| Screwdriver | Phillips #2 | Packing nut |
| Screwdriver | Flathead 1/4″ | Stem removal |
| Pliers | 10″ Groove-joint | Main valve |
| Pliers | 8″ Adjustable | Stem grip |
| Wrench | Pipe 14″ | Valve body |
Keep these tools clean, dry, and readily accessible in your work area. A magnetic parts tray will help prevent losing small components during disassembly.
Replacement Parts List
Successful faucet repairs depend on having the right replacement parts and materials readily available before initiating the job. You’ll need to gather specific replacement part types based on your faucet’s make and model, including O-rings, washers, packing nuts, and stem assemblies. Most hardware stores offer complete faucet repair kits that contain these vital components.
For a thorough repair, you’ll want to have plumber’s tape (PTFE tape), plumber’s grease, replacement screws, and a tube of silicone caulk on hand. It’s essential to match your existing faucet’s specifications when selecting replacement parts – bring the old parts to the store if possible. Don’t forget to pick up spare washers and O-rings, as these components often wear out initially and having extras guarantees you won’t need to make multiple trips.
Essential Sealing Materials
Three essential sealing materials form the foundation of any outdoor faucet repair: PTFE tape, plumber’s putty, and silicone plumbing sealant. You’ll need PTFE tape (also called Teflon tape) for threaded connections, as it creates a watertight seal between metal components. Apply it clockwise around pipe threads to prevent unwinding during assembly.
Plumber’s putty works best for sealing joints between non-pressurized parts, particularly around faucet bases and decorative flanges. It remains pliable and won’t harden completely, allowing for future disassembly. For permanent sealing techniques, use silicone plumbing sealant, which creates a waterproof barrier resistant to temperature changes and UV exposure. Different material types require specific sealants, so check compatibility with your faucet’s metal composition before application.
Safety Precautions Before Starting
Working with outdoor plumbing requires careful attention to safety protocols that protect both you and your home’s water system. Before starting any repair work, verify you’re wearing appropriate safety gear, including waterproof gloves and protective eyewear. You’ll also need to familiarize yourself with your home’s emergency procedures, particularly the main water shutoff valve location.
- Shut off the water supply to the outdoor faucet from the interior isolation valve, or if unavailable, turn off your home’s main water supply
- Release remaining water pressure by opening the affected faucet and any other outdoor spigots
- Document your local plumber’s contact information and keep a water-resistant flashlight nearby in case you encounter unexpected complications
Test the water flow is completely stopped before disassembling any components.
Step-by-Step Leak Diagnosis
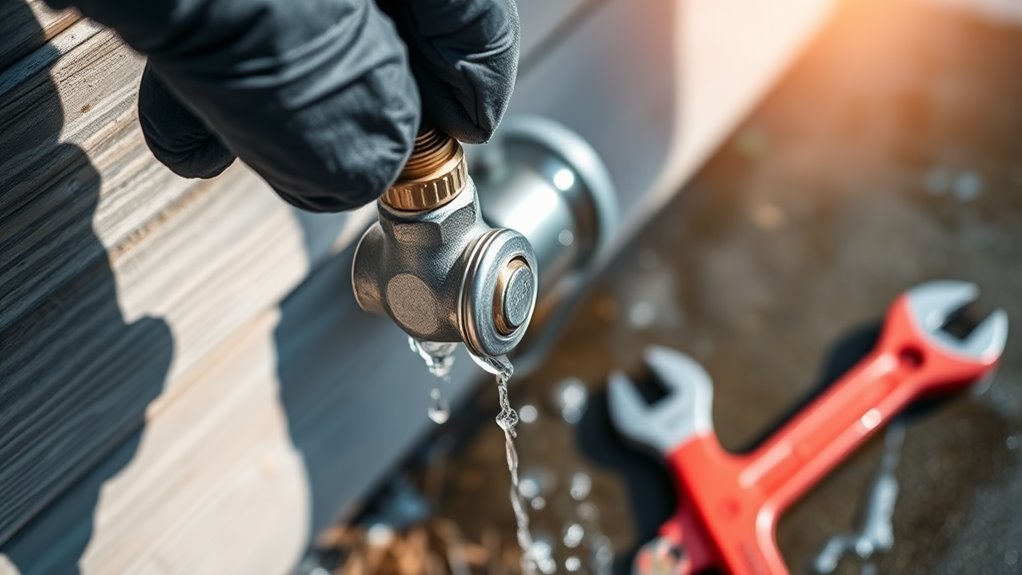
Proper leak diagnosis involves several critical inspection points to pinpoint the exact source of water loss in your outdoor faucet. Begin by turning on the faucet to observe water flow patterns and potential spray irregularities. Using diagnostic techniques, examine the spout, handle, and packing nut for visible drips or moisture.
Apply troubleshooting methods systematically by checking each component. Run your fingers along the valve stem while the water’s running to detect any seepage. Listen for unusual hissing sounds that might indicate internal washer damage. You’ll want to inspect the base where the faucet connects to the house, as leaks often occur at this junction. If you’ve got a frost-free model, check the length of the stem for possible cracks or damage that could cause underground leakage.
Replacing Worn Washers and O-rings
Once you’ve identified the source of your faucet leak, replacing worn washers and O-rings often solves the issue. Before starting, verify you’ve purchased the correct washer types and O-ring materials for your specific faucet model. Most outdoor faucets use rubber or neoprene washers, while O-rings typically come in nitrile or EPDM compounds.
Follow these critical steps to replace the components:
- Disassemble the faucet stem by removing the packing nut and extracting the stem assembly
- Locate and remove the old washer at the stem’s base and any O-rings along the stem shaft
- Install new components, verifying they’re seated properly and match the original specifications
Don’t forget to clean the valve seat and stem thoroughly before reassembly. Apply plumber’s grease to the new O-rings to prevent premature wear and verify smooth operation.
Tightening Loose Components
Loose components in outdoor faucets can lead to three common leak points: the packing nut, stem connections, and base fittings. When identifying leaks, you’ll need to examine each of these areas while the water’s running to pinpoint the exact source.
Start by tightening the packing nut with an adjustable wrench, turning it clockwise until the leak stops. Don’t overtighten, as this can damage the stem. For stem connections, check that the bonnet nut is secure and properly threaded. If you’re adjusting fittings at the base, use two wrenches – one to hold the faucet body steady while tightening the connecting nut with the other. Apply pipe tape to threaded connections before reassembly to guarantee a watertight seal. Test the faucet after each adjustment to confirm you’ve resolved the leak.
Preventive Maintenance Tips
Your outdoor faucets require consistent maintenance through detailed inspections in spring and fall to detect early signs of wear, corrosion, or damage. You’ll need to test water flow, check seals, and verify proper handle operation during these bi-annual checkups to prevent major issues from developing. To protect against winter damage, you should drain all water from outdoor faucets, remove attached hoses, and install insulated covers before the initial freeze.
Regular Seasonal Inspections
To prevent costly repairs and water damage, conducting thorough inspections of outdoor faucets during key seasonal changes is essential. Your seasonal maintenance routine should focus on identifying minor issues before they escalate into major problems. Create an inspection checklist and perform detailed examinations during these critical times:
- Early spring – Check for freeze damage, test water flow, and inspect valve seals as temperatures rise and you reactivate outdoor water systems
- Mid-summer – Examine hose connections, look for mineral deposits, and verify proper drainage during peak usage periods
- Late fall – Assess weatherization needs, drain lines completely, and install freeze-protection covers before winter arrives
Document any findings during these inspections and address issues promptly to maintain your faucet’s functionality and extend its service life.
Annual Winterization Methods
When winter temperatures threaten to drop below freezing, proper winterization of outdoor faucets becomes critical for preventing burst pipes and costly water damage. Start your outdoor faucet preparation by shutting off the interior water supply valve that feeds your exterior spigots. Once you’ve closed the valve, open the outdoor faucet to drain remaining water.
Install foam faucet covers or insulated caps over each spigot to protect against freezing temperatures. These winterization techniques should include removing all hoses and storing them indoors to prevent damage. You’ll also need to drain automatic sprinkler systems and blow out any remaining water using compressed air. For added protection, wrap exposed pipes with heat tape or pipe-heating cables, especially in areas where they’re vulnerable to extreme cold.
Frequently Asked Questions
Can I Repair an Outdoor Faucet Leak During Freezing Temperatures?
You shouldn’t attempt faucet repair techniques during freezing temperatures as it can be dangerous and counterproductive. The cold weather makes pipes brittle and more susceptible to damage. Wait for temperatures to rise above freezing to safely diagnose and fix the leak. If you must make emergency repairs, initially shut off the main water supply and warm the area with a space heater to prevent pipe damage.
How Much Does Professional Outdoor Faucet Repair Typically Cost?
You’ll typically pay between $150-$300 for professional outdoor faucet repair costs, though prices vary by location and complexity. Basic faucet maintenance issues like washer replacement or stem repairs fall on the lower end ($100-$175), while more extensive problems involving pipe repairs behind walls can exceed $500. Labor rates average $75-$125 per hour, and most plumbers charge a minimum service fee of $50-$100, even for simple fixes.
Will Homeowner’s Insurance Cover Damage From a Leaking Outdoor Faucet?
Your homeowner’s insurance coverage typically won’t cover damage from a leaking outdoor faucet unless it’s caused by sudden, accidental bursting. Gradual leaks are considered maintenance issues and usually excluded from policies. You’ll need to focus on leak prevention through regular maintenance to avoid costly repairs. If you’re concerned, review your policy’s specific terms or consult your insurance agent about water damage coverage limitations.
How Long Does a Properly Maintained Outdoor Faucet Typically Last?
A properly maintained outdoor faucet typically lasts 15-20 years. You’ll enhance your outdoor faucet lifespan by following essential faucet maintenance tips: inspect washers annually, tighten packing nuts when needed, and replace O-rings every 3-5 years. You should also winterize your faucet before freezing temperatures arrive, lubricate moving parts regularly, and address mineral buildup promptly. With diligent care, you might extend its life beyond the average expectancy.
Can Hard Water Deposits Cause Outdoor Faucet Leaks Over Time?
Yes, hard water deposits can greatly impact your outdoor faucet’s performance. As mineral-rich water flows through, calcium and magnesium accumulate inside the faucet’s components, creating scale buildup that interferes with proper sealing. This deterioration affects washers, O-rings, and valve seats, leading to leaks. Regular faucet maintenance, including descaling treatments and parts inspection, helps prevent these mineral deposits from compromising your faucet’s functionality and seal integrity.