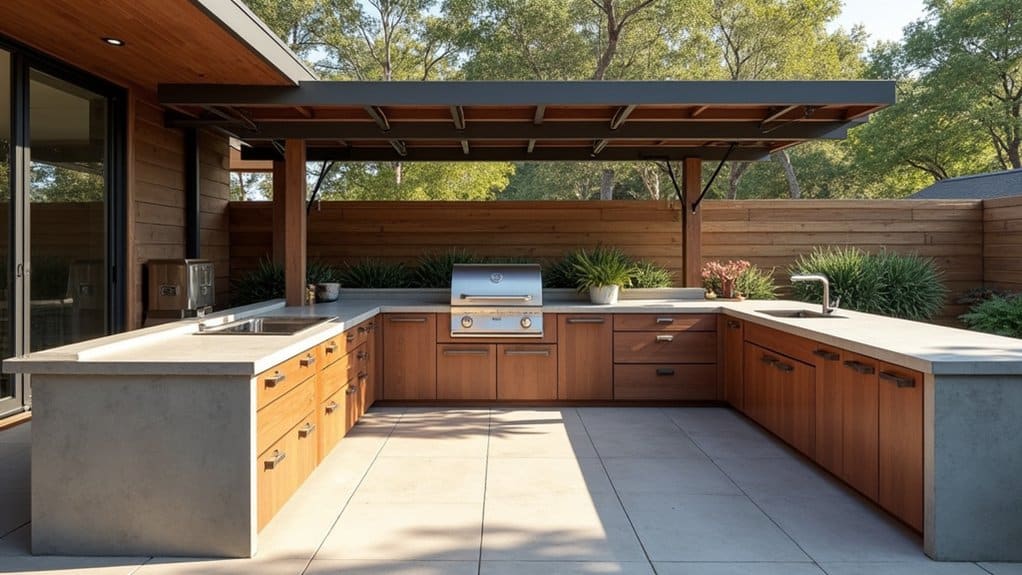
You’ll build a lasting outdoor pergola by first securing permits for structures over 10 ft tall, then choosing rot-resistant lumber like western red cedar or pressure-treated southern yellow pine. Dig post holes 42 inches deep, below your frost line, and add gravel for drainage before setting posts in concrete. Once cured, attach support beams, space rafters evenly, and seal all wood surfaces. The steps below walk you through each phase with detailed techniques.
Plan Your Pergola Design and Grab Permits First
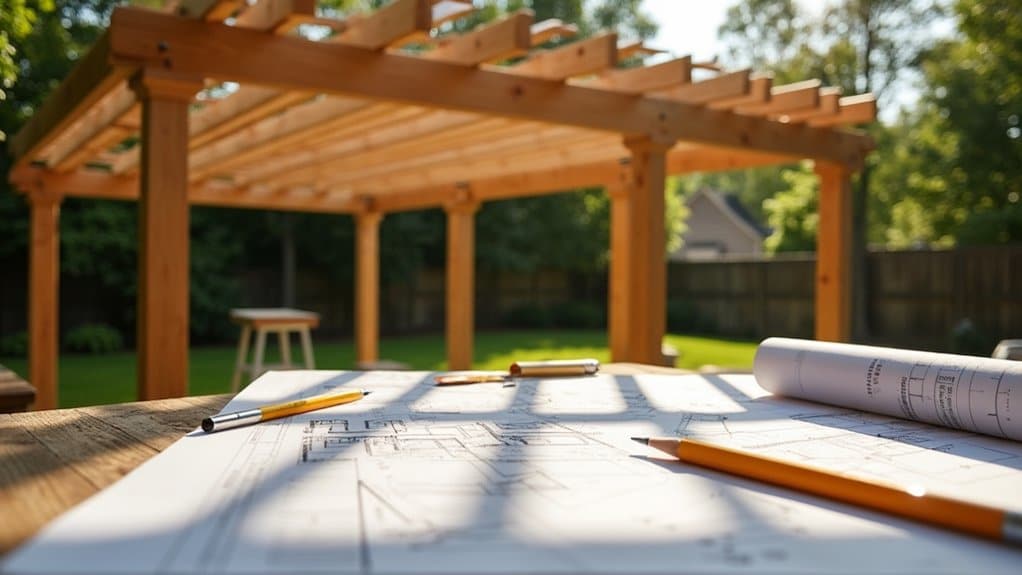
Before you break ground on your pergola project, you’ll need to navigate the permit landscape. Small freestanding pergolas under 120 square feet often skip permit requirements, but structures exceeding 10 feet in height or featuring attached designs, roofs, or electrical components always demand permits. Building without required permits can lead to fines and penalties from local authorities, forced removal of the structure, and complications when selling your property.
Start by contacting your local building department to review zoning regulations, including setbacks, height limits, and fire codes. You’ll need a site plan showing property lines and dimensions, construction blueprints with material specs, and engineering calculations for wind and seismic loads on larger builds. Consider hiring an experienced contractor who can guide you through the permitting process and help create compliant plans that meet local building codes. The permit process confirms your project complies with zoning laws and meets local safety regulations for construction.
If you’re in an HOA community, secure HOA approval before submitting permit applications. HOAs enforce strict design standards and may require separate architectural reviews. Skipping this step risks project denial or costly modifications.
Pick Weather-Resistant Lumber That Lasts
When you’re selecting lumber for a pergola that’ll withstand years of sun, rain, and temperature swings, heartwood should top your list. This inner core contains tyloses that block moisture, insects, and decay-causing organisms, barriers sapwood simply lacks.
Choose rot resistant wood species like western red cedar, which offers low shrinkage and natural antifungal oils, or redwood with its excellent moisture resistance and low resin content. For maximum durability, consider ipe or teak, both last decades with minimal upkeep. Teak machines and cuts beautifully with a buttery texture, making it a pleasure to work with despite its premium price. These premium species thrive in outdoor applications because of their naturally high oil content that repels water and resists weathering.
If budget matters, select pressure treated lumber options like southern yellow pine rated for ground contact. You’ll find it in standard dimensions (4x4x8-ft posts, 2x4x16-ft rafters) ready for your build. Allow treated lumber to dry before staining or painting. Douglas-fir with water-repellent finishes provides another cost-effective, warp-resistant alternative.
Gather Your Materials, Tools, and Safety Gear
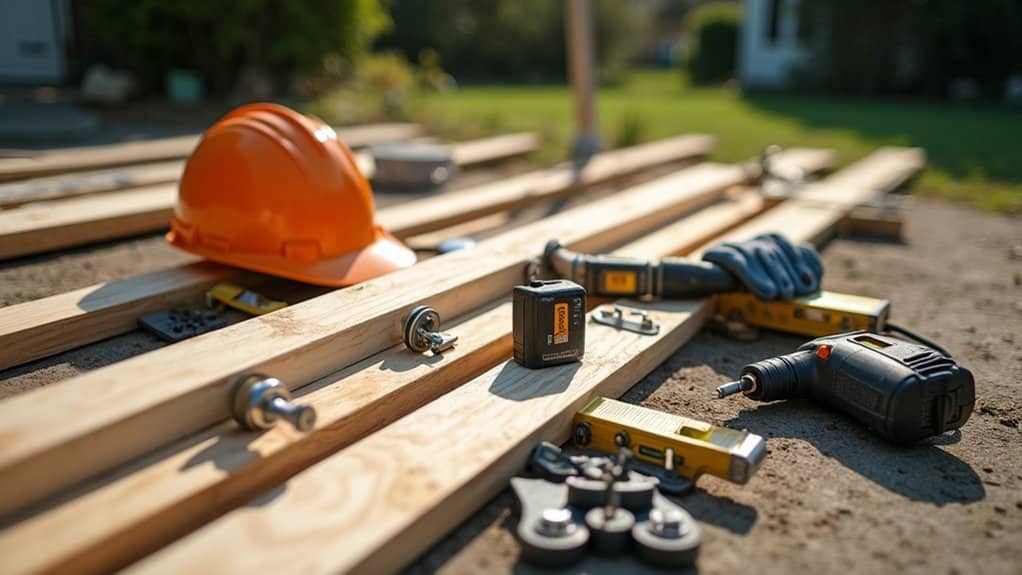
Your lumber selection sets the foundation, now you’ll need the right materials, tools, and safety gear to turn those boards into a sturdy pergola.
Stock up on these essentials before starting:
- Hardware: 16+ galvanized 10-inch bolts with washers, 5 pounds of 3-inch outdoor screws, and 4-8 post anchors with Tapcons for secure anchoring procedures
- Power tools: cordless drill, impact driver, circular saw, and jigsaw for precise cuts
- Foundation supplies: 18 bags of 90-pound concrete mix, 6 bags of gravel, and 5/8-inch masonry bits
- Safety gear: glasses, gloves, dust mask, hearing protection, and sturdy work boots
Your weather resistant lumber selection pairs best with stainless steel fasteners to prevent corrosion. Grab a tall ladder, 3/4-inch wrench, and recruit 2-3 helpers for lifting beams safely. Setting posts is recommended as a two-person job, though it can be done alone with proper preparation. If you’re installing new footings, you’ll also need a post hole digger to excavate proper foundation holes for your pergola posts. A palm router is another useful power tool for creating decorative rafter ends with custom patterns that add visual interest to your finished pergola.
Clear the Site and Mark Your Pergola Footprint
A clean, level workspace makes the difference between a pergola that stands square and one that fights you at every step. Remove all vegetation, debris, and obstacles from your designated area. Clear plants, trees, and structures blocking your installation space. Conduct a soil quality evaluation to assess ground stability and compaction needs. This thorough preparation helps extend your pergola’s longevity by creating a solid foundation from the start.
Before breaking ground, verify underground utilities by calling 811. Check your weather prediction review to schedule marking during dry conditions. You should also review local planning rules since small freestanding pergolas may qualify under Permitted Development Rights.
Gather stakes, string, a 4-foot level, and tape measure. Drive stakes at each corner to define your exact perimeter. Stretch string between stakes and measure diagonals, they must match for a square layout. Mark post locations at equal intervals for proper load distribution. Double-check all measurements against your design plans. Always wear appropriate safety gear including gloves and eye protection when handling tools and materials during site preparation.
Dig Post Holes and Add Gravel for Drainage

You’ll need to dig each post hole to a depth that extends below your local frost line, typically 42 inches for lateral support when using concrete, or roughly one-third to one-half the above-ground post height. For 6×6 posts, make your holes approximately 18 inches in diameter using a post-hole digger or power auger for hard ground. To ensure accurate placement, measure 12 ft. from the outside corner of the deck, drive nails or screws at your marks, and run strings between them, then use the 3-4-5 method to verify square corners before digging. Before setting posts, add a few inches of gravel to the bottom of each hole and tamp it down with a 2×4 to create a drainage layer that prevents water accumulation and rot. Allow concrete footers to fully cure before installing the pergola structure, as anchoring into green concrete compromises the strength and stability of your posts. A solid foundation prevents sagging and leaning while ensuring smooth operation of features like louvered roof panels and retractable screens.
Proper Hole Depth Requirements
Three critical factors determine your post hole depth: frost line requirements, soil conditions, and pergola size. You’ll need to understand proper frost depth requirements before breaking ground, northern climates demand 3-4 feet to prevent heave, while warmer regions allow 2 feet. When selecting post length, keep in mind that the length below ground should be at least 2 feet or more depending on your local frost line requirements.
Consider these varying soil type depths when planning:
- Clay soil: 24-36 inches due to water retention and expansion
- Sandy soil: 18-24 inches for adequate anchoring
- Loam soil: 12-24 inches with balanced drainage
- Loose or weak soil: Over 1 meter for stability
Match depth to pergola scale: small structures need 12-18 inches minimum, medium builds require 18-24 inches, and large pergolas demand 24-36 inches. Use a post hole digger or power auger to achieve straight-sided holes with level bottoms. Always exceed frost line by several inches for added stability. After digging, pour concrete into the holes and eliminate air pockets to create the strongest, longest-lasting support for your posts.
Gravel Drainage Layer Basics
Once you’ve excavated your post holes to the proper depth, you’ll need to prepare the bottom with a gravel drainage layer that prevents water from pooling around your posts. Use clean, washed 3/4-inch gravel for ideal drainage performance.
| Gravel Type | Size | Best Use |
|---|---|---|
| Crushed Stone | 3/4 inch | Primary drainage |
| Pea Gravel | 3/8 inch | Alternative option |
| Coarse Sand | Fine | Initial base layer |
Following gravel thickness recommendations, pour 4-6 inches into each hole. For proper gravel compaction techniques, use a vibrating plate or hand tamper to compress the material firmly. This creates a stable, moisture-resistant foundation that supports even weight distribution. Line holes with landscape fabric before adding gravel to prevent soil intrusion into your drainage layer.
Set Pergola Posts in Concrete and Level Them
Setting pergola posts in concrete requires precise hole preparation and proper anchor installation to guarantee long-term structural stability. Begin with concrete strength evaluation using a test hammer to verify the slab can support your pergola’s load. Confirm minimum 3-inch concrete thickness for adequate 2.5-inch bolt embedment.
Use a hammer drill with carbide-tipped bits for anchor bolt sizing specific to your Simpson Strong-Tie post bases. Drill holes 1/4 inch deeper than specifications require.
Follow these essential steps:
- Mark fastener locations using string lines and the 3-4-5 triangle method
- Maintain vertical alignment throughout drilling
- Install galvanized bolts to prevent corrosion
- Tighten fasteners until zero play exists when wiggling the base
Verify each post is plumb before final securing.
Attach Support Beams Across the Posts
You’ll start by cutting your beams to match your post spacing, notching them as needed for flush alignment against the 6×6 posts. Position the beams across your posts with help, using a level to confirm they’re horizontal and maintaining a minimum 5.5-inch overhang from post ends. Secure each beam with 5.5-inch structural screws or 6-inch lag screws driven through pre-drilled holes into the posts.
Cut Beams to Length
Before making any decorative cuts, you’ll need to cut your beams to their specified lengths using sawhorses as a stable work surface. Start with secondary beams first since they install before main beams and establish your foundational framework.
When adjusting beam length for main beams, measure the actual distance between your installed secondary beams rather than relying solely on design drawings. This verification catches any installation discrepancies.
Select your cutting tools based on your decorative beam patterns:
- Miter saws handle simple 45-degree angled cuts efficiently
- Jigsaws work best for stepped or curved designs on 2×6 or 2×8 stock
- Circular saws paired with a straight edge maintain accuracy on angled designs
- Bandsaws or chainsaws tackle curved ends on beams thicker than 2 inches
Level and Position Beams
Once your beams are cut to length, positioning them accurately across the posts determines your pergola’s structural integrity and visual symmetry. Verify precise post positioning by measuring diagonally between corners to confirm 90-degree angles before proceeding.
Orient beams with bottom edges facing upward for easier measurements. Align them perpendicular to posts, ensuring beam alignment remains consistent across the structure. Use a level tool to double-check horizontal accuracy across each post connection.
Apply clamps to secure beams temporarily while capturing your 6×6 posts in place. Tack 2×4 or 2×6 braces to posts with nails before permanent fastening to maintain plumb positioning. Start with outer beams first to establish fixed reference points, then mark 20-inch spacing for even field beam distribution between them.
Secure With Hardware
With your beams level and clamped in position, lag bolts or structural wood screws create the permanent connections that lock everything together. Use 6-inch lag screws for through-penetration or 3.5-inch structural wood screws when fastening into posts only.
For proper anchor placement, follow these specifications:
- Install 4 lag screws per beam support, pre-drilling holes to prevent splitting
- Offset fasteners on opposite beam supports to avoid internal hardware conflicts
- Position screws low on the material to maintain visual continuity
- Pair hex head washers with structural screws for load distribution
Aesthetic considerations matter for visible connections. Wide flat head lag screws deliver a finished appearance while maintaining structural integrity. Center all fasteners and space them uniformly, this professional touch guarantees both proper load distribution and clean sightlines throughout your pergola.
Space Your Rafters Evenly for a Clean Finish
Achieving a professional-looking pergola depends largely on how precisely you space your rafters, so take time to get this step right. Install your outer rafters first, positioning them 1 inch inward from your desired overhang. To mark spacing accurately, measure the distance between outer marks, then divide by the number of inside rafters plus one. You’ll maintain consistent dimensions by using a speed square to darken alignment marks on both beams.
| Spacing Type | Distance | Best Application |
|---|---|---|
| Tight | 12, 16 inches | Maximum shade coverage |
| Standard | 16, 20 inches | Balanced light filtration |
| Wide | 20⅛+ inches | Open, airy aesthetic |
Group your rafters together when marking to guarantee uniformity across all cuts.
Seal the Wood and Protect Against Weather
After you’ve secured your rafters, protecting your pergola from weather damage becomes your next critical task. Product application timing depends on your wood type, pressure-treated pine requires a 2-6 month drying period until it turns golden brown, while rough sawn western red cedar accepts sealant immediately.
For ideal results, follow these preparation steps:
- Clean all surfaces, removing debris that traps moisture
- Wash with mild soap solution and inspect for mold or damage
- Sand weathered areas and repair any rot before sealing
- Apply sealant when temperatures reach 50-80°F with a 24-48 hour rain-free window
Select penetrating oil-based stains like Penofin or water-repellent products with UV inhibitors. For long term maintenance, reapply sealant annually during the first year, then every other year thereafter.
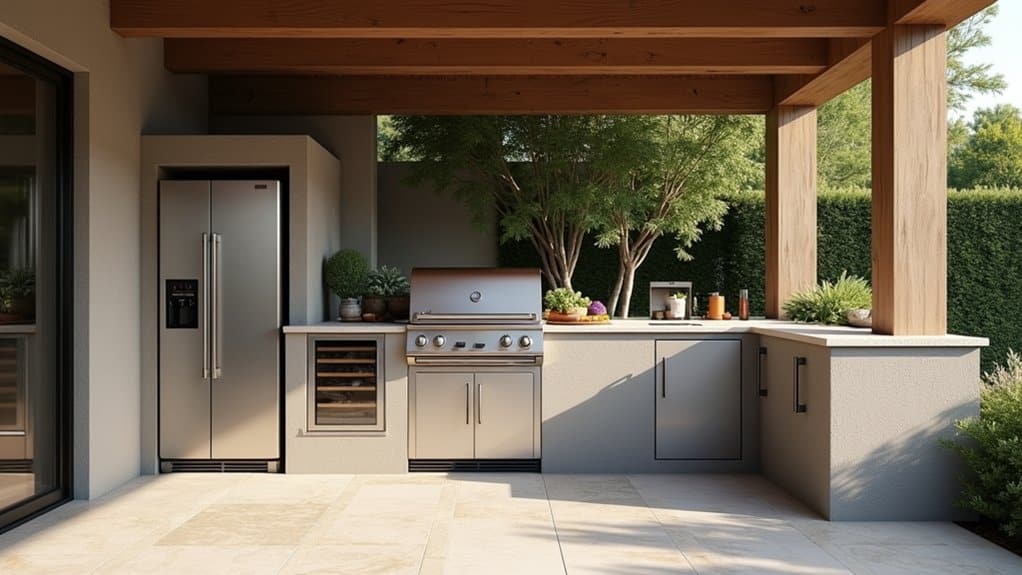
Add Shade Features, Lights, or Climbing Plants
Once your pergola’s wood finish has cured, you can enhance the structure with functional additions that extend its usability. You’ll want to install outdoor string lights along beams for evening ambiance, train climbing vine plants up trellis panels to create natural shade coverage, and attach retractable shade canopies that adjust on demand for flexible sun protection. Each upgrade requires specific mounting hardware and attachment points that you should plan before drilling into your sealed lumber.
Installing Outdoor String Lights
Before you begin installing outdoor string lights on your pergola, measure the entire path accurately to determine the exact footage you’ll need. Selecting the right power source starts with locating your nearest GFCI-protected outlet. When choosing weatherproof light bulbs, opt for durable options rated for year-round outdoor exposure.
Gather these essential materials:
- String lights, outdoor extension cord, and screw hooks
- Drill, measuring tape, and ladder
- Zip ties or clips for attachment
- Guide wire with tension hardware for long spans
Install screw hooks at your marked anchor points, drilling pilot holes first. Run guide wire across spans using wire clamps and turnbuckles for adjustable tension. Start hanging from the end closest to your power source, attaching the cord with zip ties while positioning bulbs facing downward.
Training Climbing Vine Plants
Climbing vines transform a bare pergola into a living shade structure, but you’ll need to match the right vine type to your structure’s strength and your climate conditions.
Choosing Appropriate Vine Types
Twining vines like wisteria, honeysuckle, and clematis wrap stems around supports naturally. Clingers such as Virginia creeper adhere via sticky pads. Wisteria reaches 25 feet and requires sturdy pergola construction due to heavy growth.
Selecting Shade and Sun Exposure
Choose drought-tolerant jasmine or trumpet vine for sunny areas. Clematis needs moist, well-drained soil with neutral to slightly alkaline pH.
Initial Training Techniques
Plant vines 30-45cm from the pergola base. Install taut horizontal wires spaced 30-45cm apart, with the lowest wire 30cm above soil. Guide young tendrils using soft garden ties or nylon stockings. Remove ties once vines grip naturally.
Attaching Retractable Shade Canopies
While living vines provide natural shade over time, retractable canopies deliver immediate sun protection with adjustable coverage you can customize throughout the day.
Installation Methods
- Snap systems: Fold fabric 1.5 inches, hammer cap and socket snaps using anvil and punch, then fasten matching hardware to beams with screws
- Wire-hung panels: Install eye bolts, rig stainless steel wires, sew fabric sleeves for slide-on functionality
- Wave shades: Secure aluminum spines with machine screws using an impact driver, attach screw eyes and carabiners for hooking
- Rope pulley systems: Mount on pergola poles for single-rope control of multiple panels
When fastening mounting hardware, drill pilot holes into beams for secure attachment. Focus on aligning canopy positioning with pre-drilled cup hooks to guarantee smooth retraction and extension throughout daily use.
Frequently Asked Questions
How Long Does a DIY Pergola Typically Take to Build From Start to Finish?
You’ll typically spend 2 days on a traditional wood pergola or just 4 hours with a prefab aluminum kit. Your project timeline depends heavily on construction difficulty, novices should budget 1-2 weeks, while experienced builders with power tools finish in 10-16 hours. A detailed DIY build can reach 48.5 hours over 6 days when you’re cutting lumber, setting posts, and installing rafters. Don’t forget to factor in concrete curing time.
Can I Build a Pergola by Myself or Do I Need Help?
You can build a pergola solo if you’ve got an intermediate DIY skill level, but you’ll need help lifting posts and beams, that’s a two-person minimum job. Appropriate tools needed include a carpenter’s square, level, and drill for pre-drilling holes. You’ll also need temporary bracing while concrete cures for 24-48 hours. Simple kits are manageable alone for experienced builders, though custom builds typically require multiple weekends and assistance.
What Is the Average Cost to Build a Backyard Pergola?
You’ll spend between $2,103 and $6,382 on average, with most projects landing around $4,240. Your pergola material costs range from $10 to $50 per square foot depending on whether you choose pressure-treated pine, cedar, or redwood. Pergola labor expenses typically run $50 to $120 per hour, adding $500 to $7,000 to your total. DIY kits reduce costs considerably, ranging from $700 to $4,000 for materials alone.
How Do I Know if My Pergola Needs a Building Permit?
You’ll need to check your local building code requirements to determine permit necessity. Generally, pergolas under 120 square feet and 10 feet tall don’t require permits, but this varies by jurisdiction. Attached structures typically need permits regardless of size. Review pergola material regulations in your area, as certain installations trigger additional requirements. Contact your local building department with your exact dimensions, location specifications, and whether you’re attaching to your home.
Will a Pergola Increase My Home’s Property Value?
Yes, a pergola can increase your home’s property value by $10,000 to $15,000, with typical ROI ranging from 50-80% of project costs. You’ll gain enhanced curb appeal and increased outdoor living space that buyers actively seek. For maximum return, install your structure adjacent to main living areas using powder-coated aluminum or quality materials rather than fabric canopies. Warm-climate regions see the strongest value gains.