Installing Govee outdoor lights requires careful planning and precise execution. You’ll need to map out your layout initially, marking power sources and light positions. Next, gather essential tools like drills, wire strippers, and safety equipment. Mount your brackets securely at 8-foot intervals, then connect and position the light strips using the included clips. Ultimately, test your setup through the Govee Home app. Proper installation guarantees years of beautiful, weather-resistant illumination.
Planning Your Outdoor Lighting Layout
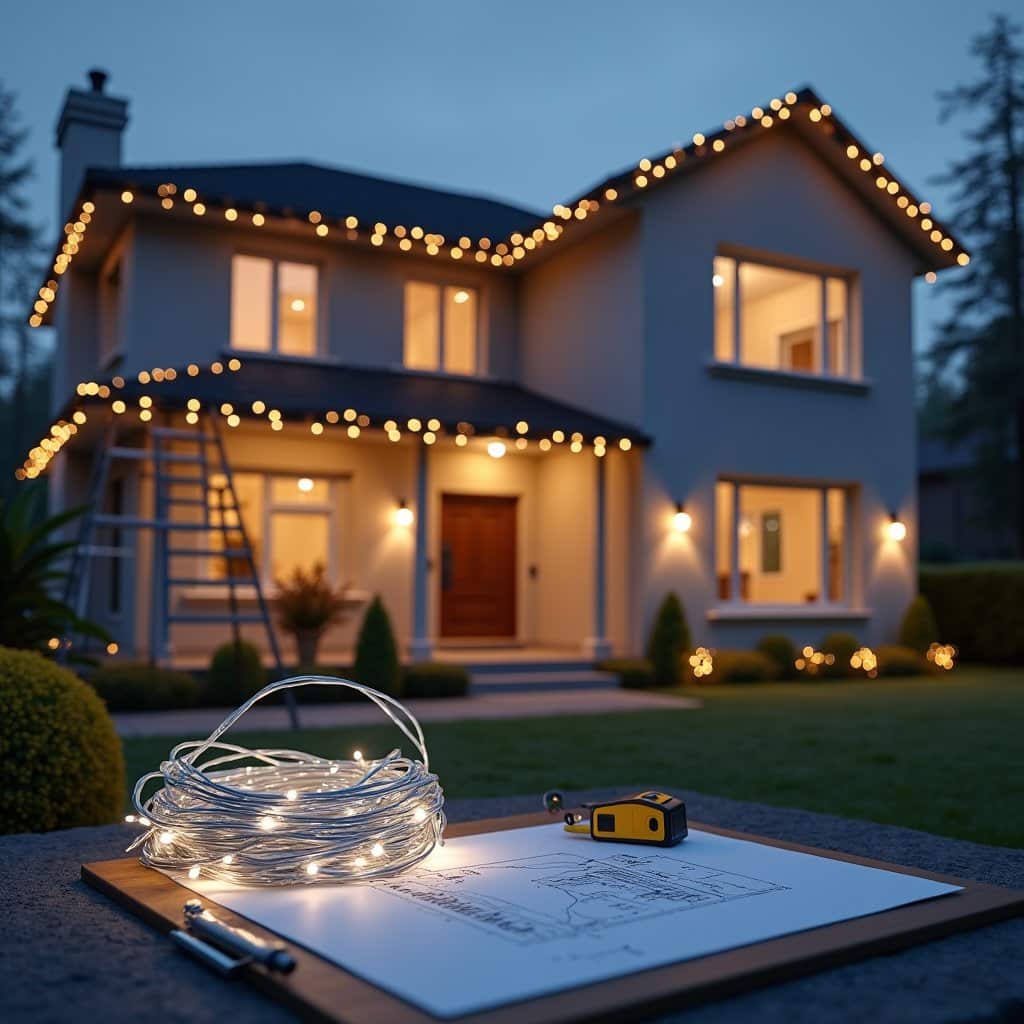
Before installing your Govee outdoor lights, carefully map out the placement to confirm maximum illumination and coverage of your desired areas. Start by walking your property during both day and night to identify key areas requiring lighting, such as pathways, entryways, and decorative features.
Consider lighting safety factors like electrical outlet locations, weather exposure, and mounting surfaces. Measure the distances between power sources and intended light positions to verify your Govee light strips or fixtures have sufficient cable length. For ideal outdoor ambiance, plan to layer your lighting at different heights and intensities.
Create a sketch marking power sources, light placement, and any potential obstacles. This blueprint will help you determine the quantity of lights needed and streamline the installation process while avoiding common placement errors.
Gathering Required Tools and Materials
With your lighting layout planned, assembling the correct tools and materials will guarantee a smooth installation process. Create a tools checklist that includes a drill with appropriate bits, wire strippers, a voltage tester, measuring tape, level, pencil, and weatherproof wire connectors. Don’t forget safety equipment like work gloves and safety glasses.
For material selection, you’ll need your Govee outdoor lights, mounting brackets, weatherproof electrical boxes, outdoor-rated extension cords (if specified in your layout), and appropriate fasteners for your mounting surface. Confirm you’ve purchased enough wire length to accommodate your planned layout, plus an extra 10% for contingencies. If you’re mounting lights on masonry, add masonry anchors and a hammer drill to your preparation list.
Mounting Brackets and Power Source Setup
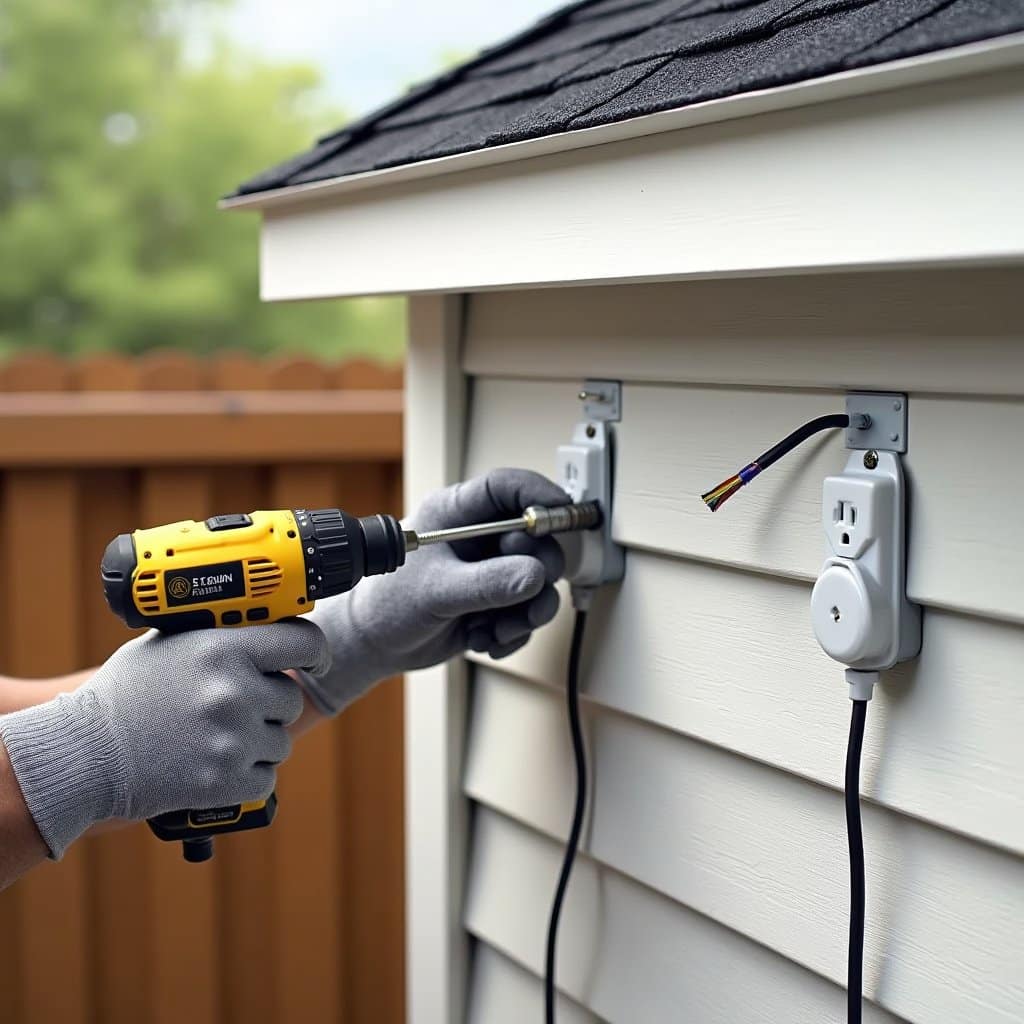
Secure mounting begins with identifying suitable bracket positions for your Govee outdoor lights based on your layout plan. When implementing mounting techniques, verify brackets align with your power management strategy for maximum coverage.
- Position mounting brackets at 8-foot intervals along your chosen installation path, marking each spot with a pencil
- Pre-drill pilot holes using a 1/4-inch drill bit, staying clear of existing wiring or pipes
- Secure each bracket with weather-resistant screws, ensuring they’re level and firmly anchored
- Route power cables through designated channels in the brackets, maintaining a clean appearance
Test the stability of each mounted bracket before attaching the light strips. Keep power source connections protected from moisture by using weatherproof outlet covers and securing all cable connections with appropriate waterproof seals.
Connecting and Positioning Light Strips
Installing your Govee light strips requires careful attention to connector alignment and ideal positioning. When connecting strips, align the arrows on the connectors precisely and make sure they click firmly into place. Double-check that waterproof caps are properly sealed over each connection point.
For best light strip placement, work systematically from your power source outward. Position strips evenly along your chosen path, maintaining consistent spacing for balanced outdoor lighting aesthetics. Secure the strips every 12 inches using the included clips, making sure they’re firmly attached but not overly tight, which could damage the strip. Remove any slack between mounting points to prevent sagging.
Test the connections before permanently securing all sections, and verify that each strip segment illuminates properly. Adjust positioning as needed to achieve your desired lighting effect.
Testing and App Configuration

Three key steps guarantee proper Govee light setup: powering on the system, downloading the Govee Home app, and establishing a wireless connection. Before finalizing your installation, test all app features to verify peak user experience and functionality.
- Verify the power indicator LED shows a solid blue light, confirming successful connection
- Navigate through the app’s color wheel to test different lighting effects and brightness levels
- Test the scheduling features to verify automatic on/off functions work correctly
- Run a weather resistance check by lightly spraying water on the lights while monitoring the app’s response
If you encounter any connectivity issues, try repositioning the control box closer to your WiFi router. The app’s troubleshooting guide offers supplementary support for enhancing your outdoor lighting system’s performance.
Frequently Asked Questions
How Long Do Govee Outdoor Lights Typically Last Before Needing Replacement?
You can expect your Govee outdoor lights to last 25,000 to 50,000 hours under normal conditions. However, several lifespan factors affect their durability, including weather exposure, usage patterns, and maintenance care. To enhance longevity, you’ll want to check connections regularly, clean fixtures, and guarantee proper waterproofing. When replacement’s needed, you’ll notice dimming or color inconsistencies. Here’s a replacement tip: keep track of installation dates to anticipate end-of-life timing.
Can Govee Outdoor Lights Withstand Extreme Weather Conditions Like Snow and Hail?
Govee outdoor lights are engineered with strong weather resistance to handle most environmental challenges. You’ll find they’re rated IP65 waterproof, protecting against rain, snow, and moderate hail. They can withstand extreme temperatures ranging from -4°F to 122°F (-20°C to 50°C). However, you should still mount them under eaves or sheltered areas for maximum protection. During severe storms or golf ball-sized hail, it’s best to temporarily remove or cover your lights.
Do Govee Outdoor Lights Increase Home Electricity Bills Significantly?
Govee outdoor lights won’t markedly impact your electricity bills due to their energy-efficient LED technology. You’ll find their energy consumption is relatively low, typically using 12-24 watts per strip, which translates to just a few dollars monthly on your utility costs. For even better cost efficiency, you can use the built-in scheduling features and brightness controls to optimize power usage while maintaining your desired outdoor lighting ambiance.
Are Govee Outdoor Lights Compatible With Voice Assistants Like Alexa?
Yes, you’ll be pleased to know that Govee outdoor lights are fully compatible with voice assistants like Alexa and Google Assistant through smart home integration. You can easily control your lights using voice commands to adjust brightness, change colors, set schedules, or toggle them on/off. To enable voice control functionality, just connect your Govee lights to your home’s WiFi network and link them through the Govee Home app to your preferred voice assistant.
Can Multiple Govee Outdoor Light Sets Be Synchronized to Create Patterns?
Yes, you can synchronize multiple Govee outdoor light sets through the Govee Home app. The app offers extensive synchronization options that let you control up to dozens of light sets simultaneously. You’ll be able to create creative patterns across all connected lights, including music sync, custom scenes, and coordinated color changes. For peak performance, verify all light sets are within your Wi-Fi network’s range and properly paired to the app.