Design professional-grade outdoor stairs by initial measuring the total rise and computing step count based on maximum riser height of 7 3/4 inches. Create detailed stringer templates using pressure-treated 2×12 lumber, marking precise rise and run dimensions. Install weather-resistant treads at least 36 inches wide, using stainless steel fasteners for durability. Add proper lighting and safety features while ensuring all measurements meet local building codes. Mastering these essential steps will open the secrets to stunning, safe exterior staircases.
Planning Your Stair Dimensions and Layout
When designing outdoor stairs, accurate measurements and precise calculations form the foundation of a safe, functional structure. You’ll need to start by measuring the total rise from the ground to your deck landing, then divide this height by the maximum allowable riser height to determine the number of steps required.
Once you’ve established your stair’s basic framework, calculate the exact run distance to your landing pad. This measurement will help you determine precise tread depths for comfortable foot placement. Create a detailed stringer template that incorporates these dimensions, marking each rise and run carefully. Before final installation, you’ll want to test-fit your stringer against the deck to verify proper alignment and angle. These critical measurements guarantee your outdoor steps meet building codes while providing safe, comfortable access to your deck.
Selecting the Right Materials for Durability
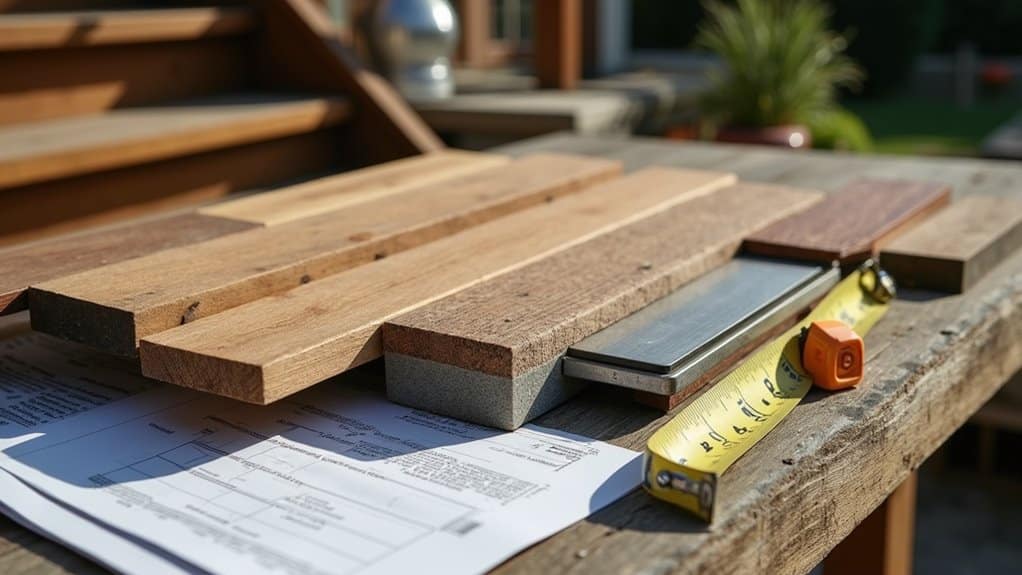
When building outdoor stairs, you’ll need to choose between pressure-treated lumber and composite decking boards as your primary materials, with each option offering distinct advantages for weather resistance and longevity. Your fastener selection is just as crucial – opt for stainless steel or hot-dipped galvanized screws and nails to prevent corrosion and maintain long-term structural integrity. Consider your local climate conditions when selecting materials, as high moisture areas may benefit from composite materials, while drier climates might do well with properly sealed pressure-treated lumber.
Weather-Resistant Board Options
Selecting the right weather-resistant boards for your outdoor stairs stands as one of the most critical decisions in the construction process. You’ll find pressure-treated lumber offers exceptional resistance to rot and insects, making it a cost-effective foundation for your stair construction. If you’re seeking a low-maintenance solution, composite boards deliver outstanding traction and longevity without requiring regular sealing or staining.
For a natural aesthetic, consider cedar and redwood, which contain natural oils that protect against weather damage and insect infestation. These softwoods mature beautifully, developing a distinguished silver-gray patina over time. For premium installations, Ipe hardwood or aluminum treads present sturdy alternatives. Ipe’s density makes it virtually impervious to weather, while aluminum treads provide modern appeal with built-in slip resistance and minimal upkeep requirements.
Fastener Selection Guide
Every outdoor stair project demands corrosion-resistant fasteners to confirm long-term structural integrity. You’ll need to select stainless steel or hot-dip galvanized options that withstand weathering while providing adequate shear strength for your specific stringer materials.
| Connection Type | Recommended Fastener | Min. Size |
|---|---|---|
| Deck to Stringer | Structural Lag Bolt | 3/8″ |
| Tread to Stringer | Deck Screws | #8 |
| Riser to Stringer | Deck Screws | #8 |
| Support Posts | Carriage Bolts | 1/2″ |
When selecting your fasteners, consider the thickness of your deck boards and stringer materials to determine appropriate lengths. You’ll want to confirm proper penetration depth while avoiding protrusion. For critical connections where stringers meet the deck, opt for structural screws or lag bolts to maintain maximum stability and safety.
Measuring and Cutting Perfect Stair Stringers
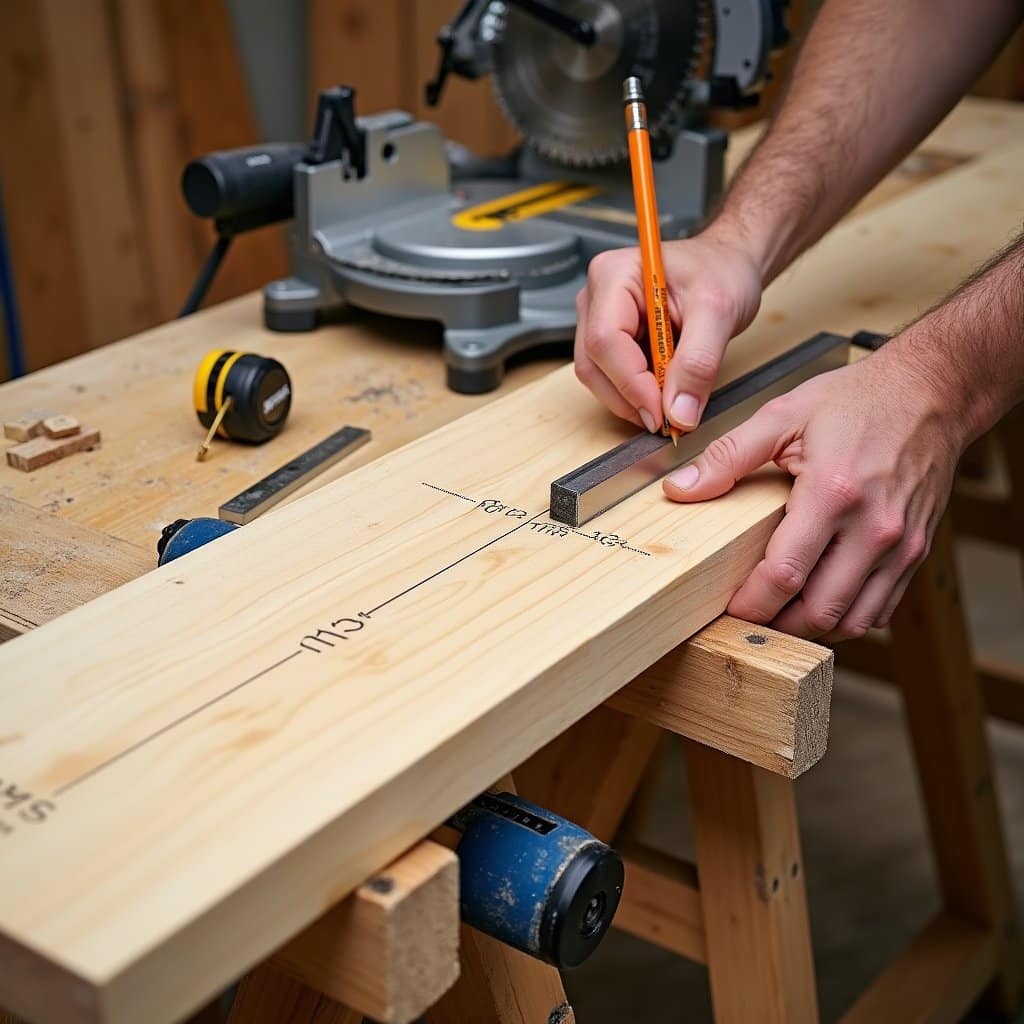
To achieve professional-grade stair stringers, you’ll need to carefully lay out your measurements on a 2×12 pressure-treated board using a framing square and carpenter’s pencil. Your layout must account for both the total rise and run calculations while maintaining precise angles at each step notch to guarantee structural integrity. Once you’ve double-checked your measurements, cut along your marked lines with a circular saw, finishing the corners with a handsaw to prevent overcuts that could jeopardize the stringer’s strength.
Precise Stringer Layout Tips
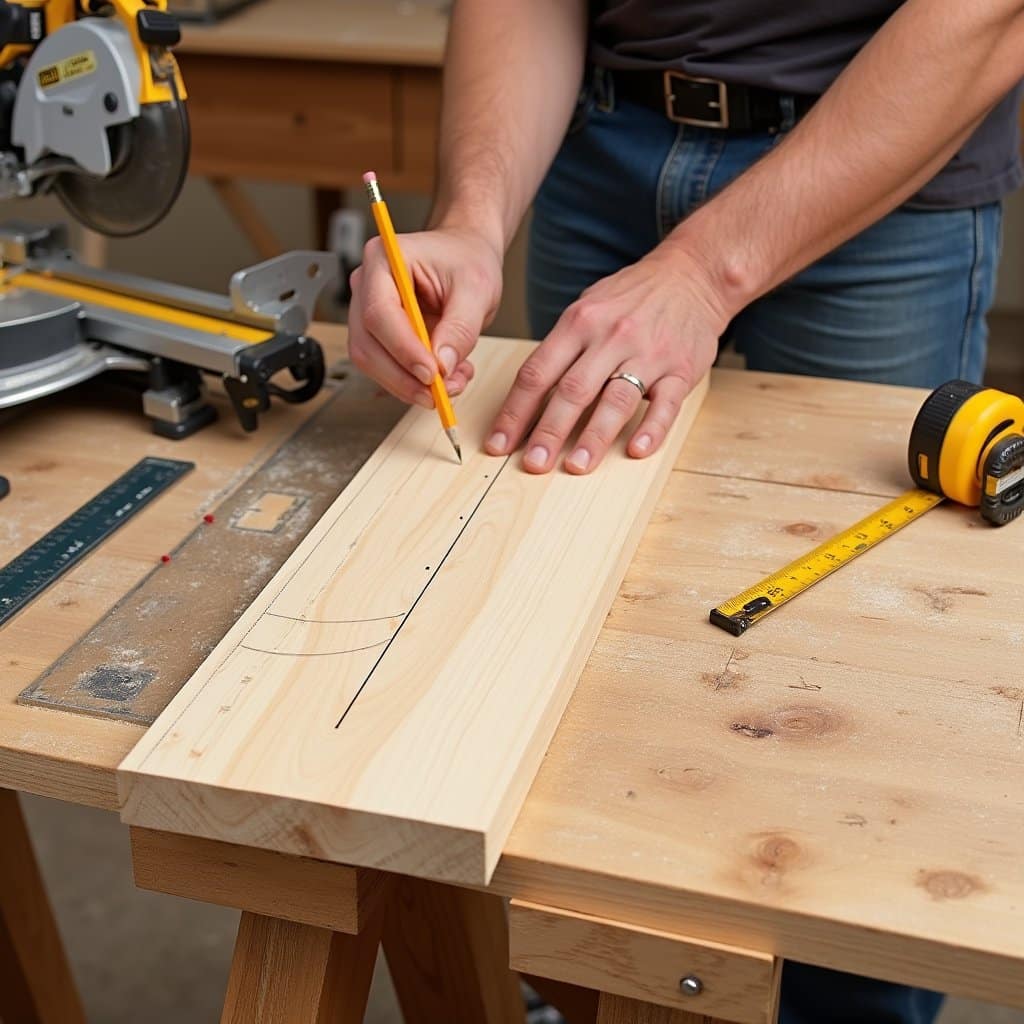
Creating precise stair stringers demands thorough attention to detail and accurate measurements. You’ll need to mark your 2×12 pressure-treated board using a framing square, ensuring each step’s rise and run are identical. Position your square carefully to establish consistent stair treads and stair risers.
Start by measuring from the deck’s top point to the landing spot, then divide this length into equal segments. Mark your cuts with precision, double-checking measurements before making any cuts. When laying out your stringers, use a sharp pencil and maintain a steady hand to create clear, accurate lines. Remember to account for the thickness of actual stair treads in your calculations. Cut your lines exactly on the marks using a circular saw, and finish corner cuts with a handsaw to prevent overcuts that could compromise structural integrity.
Cut With Total Accuracy
Once you’ve completed your stringer layout, proper cutting technique becomes the pivotal factor in stair construction. You’ll need to carefully cut along your marked lines using a circular saw for the straight cuts and finish with a handsaw for the corners, ensuring you don’t overcut the intersections.
When cutting your stair stringers, maintain strict adherence to your measurements for total rise and total run. Recheck each cut against your template before progressing to the next one. Remember that pressure-treated 2×12 boards aren’t inexpensive, and errors can be costly. Ensure your saw blade is sharp and set to the correct depth. For maximum precision, cut slightly within your lines and use a rasp to fine-tune the cuts until each step notch fits perfectly with your measurements.
Installing Treads and Risers With Precision
The precise installation of treads and risers forms the backbone of safe, long-lasting outdoor stairs. You’ll want to guarantee your stair treads measure at least 36 inches wide, though 48 inches provides ideal safety and comfort for foot traffic. When installing risers, maintain a maximum height of 7 ¾ inches, with no more than ⅜ inch variation between steps to verify consistent elevation.
Select high-quality composite or PVC deck boards for your treads to increase traction and minimize maintenance requirements. Don’t forget to install matching or contrasting riser boards to clearly define each step’s boundaries. Complete the installation by covering your stringers with fascia boards, which not merely creates a polished appearance but also protects the structural components. This attention to detail will result in stairs that are both visually appealing and structurally sound.
Adding Safety Features and Support Systems
Safety features and support systems make up essential components that transform basic stairs into secure, code-compliant structures. When installing deck steps, you’ll need to incorporate pivotal support elements into your deck framing and implement safety measures that protect users in all weather conditions.
- Mount metal railing systems at code-compliant heights, ensuring proper anchoring to support posts at both ends and intervals
- Install non-slip tread materials with adequate grip patterns, particularly paramount for regions with frequent precipitation
- Position support posts at maximum 6-foot spans, securing them firmly to the deck framing and ground
- Integrate step lighting at regular intervals for nighttime safety
You’ll need to carefully plan post placement and railing attachment points during the initial design phase. Remember to incorporate contrasting colors or textures between treads and risers to amplify step visibility and user safety.
Incorporating Lighting and Visual Elements
Proper lighting and visual design elements transform outdoor stairs from purely functional structures into alluring architectural features. You’ll want to integrate recessed stair lighting and path lights strategically to magnify both safety and aesthetics. Install fascia boards to cover exposed stringers, creating clean lines to mark the staircase’s profile.
| Element | Function | Visual Impact |
|---|---|---|
| Recessed Lights | Path illumination | Modern accent |
| Contrasting Treads | Step definition | Visual depth |
| Fascia Boards | Stringer coverage | Clean finish |
| Handrail Lighting | Safety guidance | Ambient glow |
Consider incorporating curved steps or an idle plane between flights to create visual interest. You’ll achieve maximum impact by selecting contrasting materials or colors for the treads, while ensuring the design complements your entire deck aesthetic. Keep in mind that well-placed stair lighting isn’t just functional it’s an opportunity to showcase your outdoor living space after dark.
Ensuring Code Compliance and Final Inspection
Building compliant outdoor stairs requires strict adherence to local building codes and inspection protocols. You’ll need to verify minimum requirements for stair dimensions, including width specifications of at least 36 inches wide, and proper measurements from the initial step to the landing.
Safety and compliance in outdoor stair construction demand precise measurements and strict adherence to local building codes from start to finish.
- Contact your local building department to obtain specific code requirements and necessary permits before construction begins
- Document all measurements, including rise, run, and tread depth, using detailed drawings and photographs
- Guarantee handrail installations meet height and grip requirements specified by local regulations
- Schedule a final inspection immediately after completion, having all documentation readily available
Remember to maintain clear communication with your building inspector throughout the process. They can provide valuable guidance on technical specifications and help you address any compliance issues before they become costly corrections.
Frequently Asked Questions
What Is the 27 Rule for Stairs?
The 27 rule is a fundamental design principle you’ll use to create comfortable, safe stairs. Here’s how it works: the sum of your step depth (tread) plus twice the step rise (riser height) should equal 27 inches. For example, if your step rise is 7 inches, your step depth should be 13 inches (7 x 2 + 13 = 27). While step width isn’t part of this formula, you’ll still need to guarantee it meets local building codes.
What Is the Formula for Outdoor Steps?
To calculate outdoor steps, you’ll need to use the formula: Rise + (2 × Run) = 24-26 inches. The ideal riser height should be 6-7 inches, while the preferred tread depth typically ranges from 11-12 inches. You’ll want to maintain uniform step dimensions throughout your staircase for safety. For example, if you’re using a 6-inch rise, you’d need an 11-inch run to achieve the recommended 28-inch total (6 + 2 × 11 = 28).
What Is the 25 Rule for Stairs?
The 25 rule for stairs states that the sum of two risers plus one tread should equal 25 inches (known as the 2R + T = 25″ formula). This fundamental building code requirement guarantees ideal comfort and safety considerations when you’re climbing stairs. You’ll need to maintain this ratio while selecting appropriate materials and designing your staircase. For example, if your riser is 7 inches, your tread should be 11 inches to meet this standard.
Is There an App to Design Stairs?
Yes, you’ll find several stair design software options to help plan your project. SketchUp offers strong 3D modeling capabilities for custom stair planning, while specialized programs like StairDesigner and STAIR-PRO provide dedicated tools for precise measurements and materials lists. You can also use online stair configurators that offer simpler, web-based solutions. These digital tools help you visualize your design, calculate dimensions, and generate construction-ready plans for your staircase project.