


To repair a leaking outdoor faucet, you’ll need a 4-in-1 screwdriver, adjustable wrench, and slip joint pliers. Start by tightening the retaining nut clockwise until snug. If leaking persists, remove the handle and packing nut to access the stem assembly. Replace worn components, including the vacuum breaker if necessary. Test the repair by running water at full pressure for 3-5 minutes. For ideal results, follow the detailed step-by-step repair process below.
Essential Tools and Materials You’ll Need
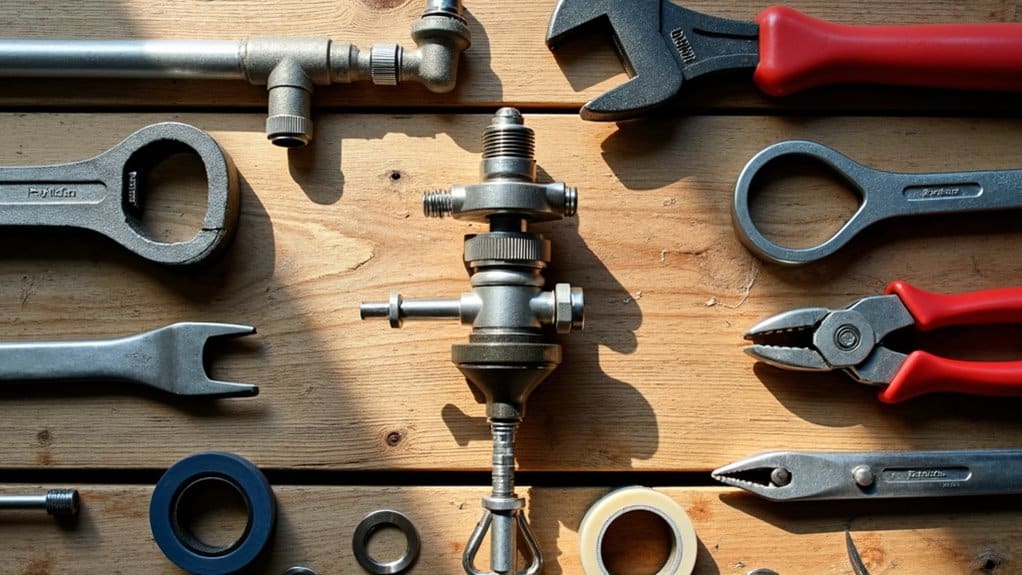
Before attempting to repair a leaking outdoor faucet, you’ll need to gather several essential tools and materials to complete the job safely and effectively. For disassembling the faucet housing, you’ll require a 4-in-1 screwdriver to access the stem and vacuum breaker components. An adjustable wrench is pivotal for safely loosening and tightening the retaining nut without damaging the fixture.
When identifying worn washers and accessing internal components, you’ll need slip joint pliers to properly grip and remove the vacuum breaker cap. It is imperative you have replacement vacuum breaker parts on hand, as these components often show wear over time. You’ll also need a new washer assembly to create a proper seal when reassembling the faucet stem, which is fundamental for preventing future leaks.
Inspecting and Tightening the Retaining Nut
A loose retaining nut represents the simplest and most common cause of outdoor faucet leaks. Before proceeding with any complex repairs or parts replacement, you’ll want to inspect and adjust this critical component, especially on frost-proof faucets where retaining nut issues frequently occur.
Start by examining the retaining nut’s current position. If you notice any visible looseness or water seeping around this area, you’ll need to focus on ensuring proper retaining nut tightness. Using an adjustable wrench, carefully increase the retaining nut tension by turning it clockwise until snug. Don’t over-tighten, as this could damage the assembly. This straightforward adjustment often resolves leaking issues without the need for further disassembly or replacement parts. If the leak persists after tightening, you’ll need to investigate other potential causes.
Accessing and Replacing the Stem Assembly
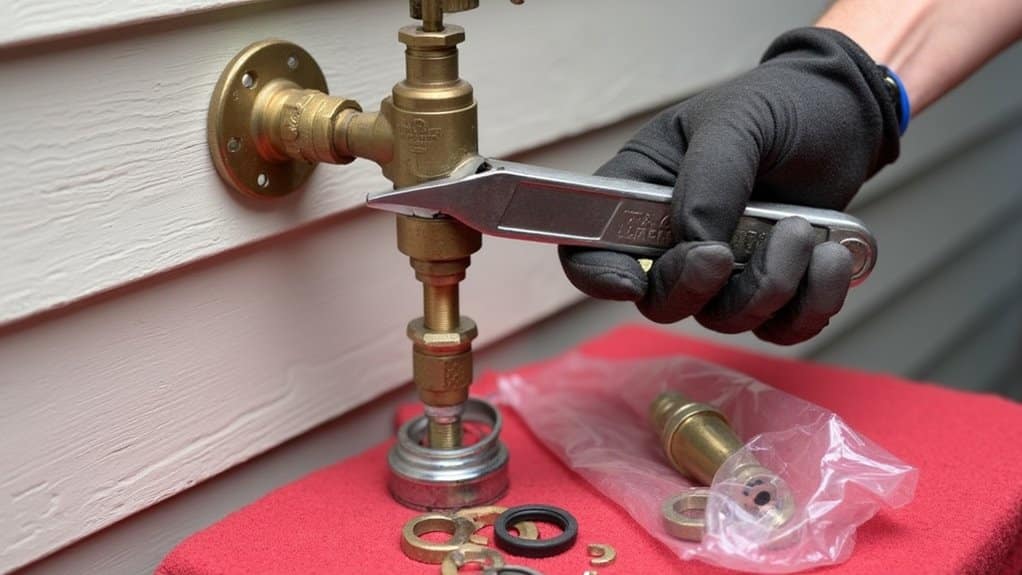
When tightening the retaining nut fails to stop the leak, you’ll need to access and replace the stem assembly. The stem assembly contains crucial components that control water flow and prevent leaks. Before starting, make certain you’ve turned off the water supply and relieved any remaining pressure.
- Remove the handle and unscrew the packing nut using an adjustable wrench, then carefully extract the old stem assembly without damaging the valve seat.
- Clean the valve cavity thoroughly and inspect for mineral deposits or corrosion that could affect sealing the stem assembly address any issues before proceeding.
- Install the new stem assembly after lubricating the stem components with plumber’s grease, ensuring proper alignment of all washers and O-rings.
Remember to reassemble in reverse order and test for leaks by gradually restoring water pressure.
Installing New Vacuum Breaker Components
Most outdoor faucets rely on vacuum breakers to prevent contaminated water from being siphoned back into your home’s water supply. When disassembling the vacuum breaker, you’ll need to carefully remove the cap and organize the components to maintain their proper order. This typically includes the spring, rubber seal, and other small parts that work together to prevent backflow.
When ensuring proper component installation, place the new rubber seal and spring in the correct orientation within the assembly. Make sure all parts fit snugly and the cap threads properly onto the housing. After replacement, turn on the water supply and test the faucet’s operation. Watch for any leaks around the vacuum breaker assembly and verify that water flows smoothly without spraying from the top of the device.
Testing Your Repair Work

Testing your repair work thoroughly verifies the leak has been properly addressed and safeguards against potential water damage to your home’s foundation. When monitoring water flow, you’ll need to carefully inspect multiple areas to guarantee a complete fix.
- Turn the water supply back on and examine the faucet stem, vacuum breaker, and surrounding connections while checking for continued drips or unusual hissing sounds that could indicate remaining issues.
- Operate the faucet at full pressure for 3-5 minutes, observing for any water seepage around components or irregular spray patterns that might suggest internal problems.
- Inspect the ground surrounding the faucet installation point for moisture accumulation or pooling water, which could indicate underground leaks requiring professional attention. If you detect persistent leakage after these tests, consider replacing supplementary components or consulting a licensed plumber.
Frequently Asked Questions
How to Stop Dripping an Outdoor Faucet?
Initially, you’ll need to shut off the water supply and drain the faucet. Check if it’s dripping from the spout or vacuum breaker. For immediate fixes, tighten the packing nut with an adjustable wrench. If that doesn’t work, consider faucet replacement options, including frost-free models. Don’t forget about winterizing outdoor faucets by disconnecting hoses and installing insulated covers to prevent future freeze damage and leaks.
How Do You Fix an Outdoor Faucet Leak?
Initial, identify your faucet type (compression or frost-free) and shut off the water supply. Next, inspect washers and seals for wear by disassembling the faucet handle and stem assembly. You’ll need to remove the packing nut with an adjustable wrench, then check the O-rings and rubber washers. Replace any damaged components with exact-fit parts. Don’t forget to test for proper operation and check for leaks after reassembly.
How to Fix a Leaky Faucet Step by Step?
Initial, shut off your home’s water supply to prevent any water supply issues. You’ll need to disassemble the faucet by removing the handle and stem assembly. For frost free faucet maintenance, inspect the washer assembly and vacuum breaker for wear. Replace damaged parts using appropriate code-compliant components. Don’t forget to use plumber’s grease on new parts. Once reassembled, tighten the retaining nut and test for leaks by restoring water flow.
Do You Need a Plumber to Replace an Outdoor Spigot Without?
While you can replace an outdoor spigot yourself, it’s essential to assess your plumbing skills initially. You’ll need to winterize outdoor spigot connections and inspect faucet gaskets before starting. If you’re not confident with soldering pipes, shutting off main water valves, or working with specialized tools, it’s safer to hire a licensed plumber. Local building codes may also require professional installation to guarantee proper backflow prevention and compliance standards.