
You can repair wide cracks yourself when they’re stable, measure over 1/4 inch, and show no vertical displacement or sinking. Start by cleaning the crack with a wire brush, pressure washer, or compressed air. Chisel out unsound material and undercut the edges into an inverted V for a stronger bond. Pack in polymer-modified filler or epoxy firmly, then cure 24 hours before sealing.
Key Takeaways
- Measure crack width and check for height differences between edges; cracks over 1/4 inch require packed filler or epoxy repair.
- Clean the crack thoroughly with a wire brush, pressure washer, or compressed air, then undercut the sides into an inverted V.
- Insert backer rod for cracks deeper than about 1/2 inch to support the fill and control material depth.
- Pack polymer-modified filler or self-leveling epoxy firmly, layering from edges toward center, and cure roughly 24 hours before sealing.
- Apply an epoxy sealant or concrete sealer to block moisture and UV, and reinspect repairs after seasonal changes or major storms.
How do you fix cracks in concrete pool deck
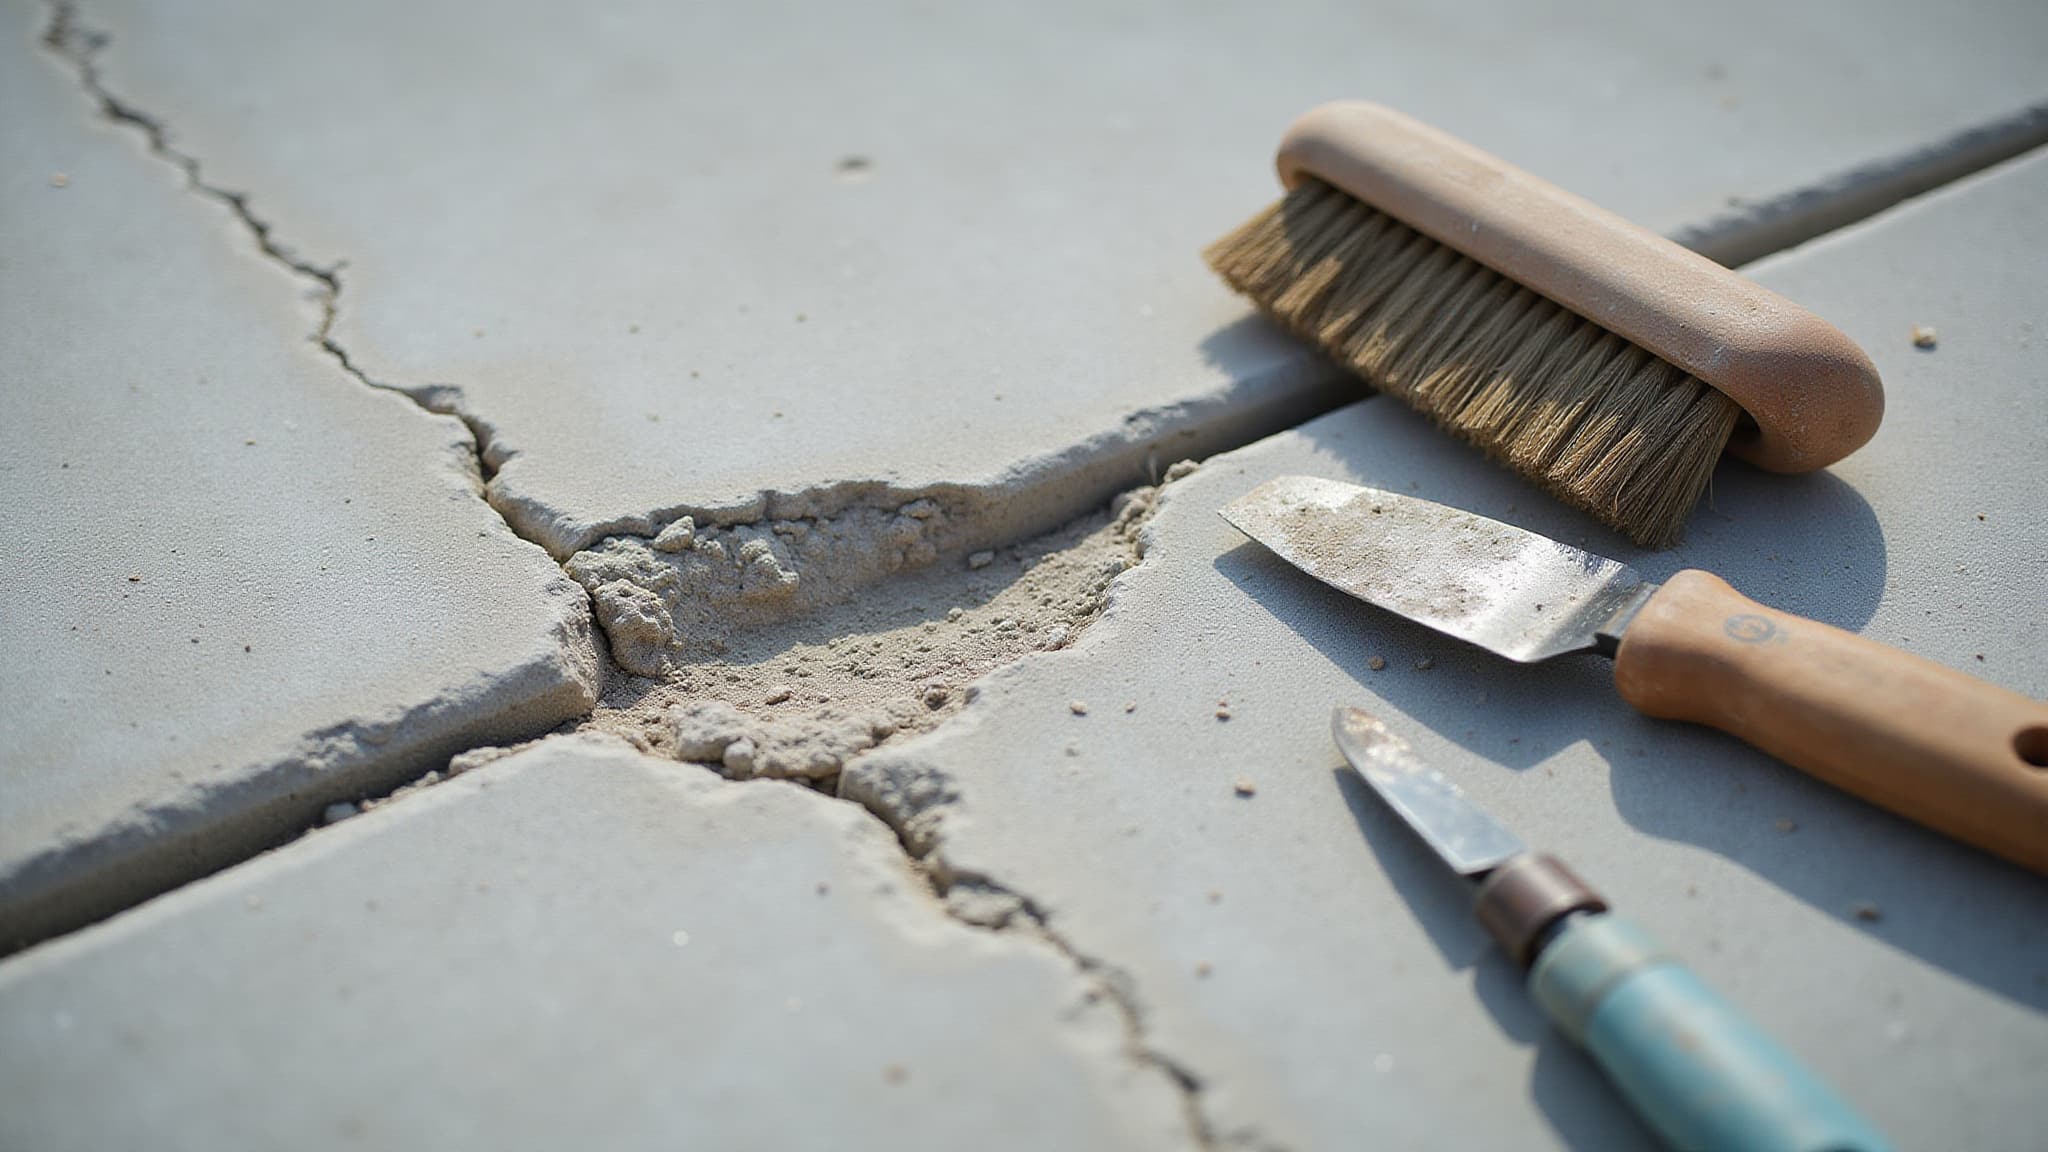
Fix cracks in pool deck concrete by measuring the crack width and checking for height differences between edges, since vertical displacement signals movement. Confirm the crack is stable, not growing or paired with sinking. Tap suspect areas; hollow-sounding sections indicate loose concrete you must remove. For surface preparation, clean the crack with a wire brush, pressure washer, shop vac, or compressed air, then chisel, grind, or route out unsound material to create a clean bond line. Undercut the sides into an inverted V so the filler keys in. Let the area dry unless your product allows damp application. For cracks wider than 1/4 inch, pack in polymer-modified filler or use epoxy repair to seal against moisture.
What causes cracks in a concrete pool deck
Cracks in a concrete pool deck are caused by movement in the slab or the ground beneath it. When an unstable subgrade shifts, settles, or heaves, the concrete can’t flex with it, so it fractures. You’ll often see this movement paired with sinking or vertical displacement between crack edges, which signals an active, structural problem rather than a cosmetic one. Temperature swings, poor drainage, and freeze-thaw cycles widen existing gaps, increasing crack width over time. Curing shrinkage during the slab’s original pour also plays a role, and inadequate surface preparation before that pour weakens the bond. Whether the crack is stable or still growing tells you whether a DIY fix will actually hold.
How do you identify hairline versus structural cracks
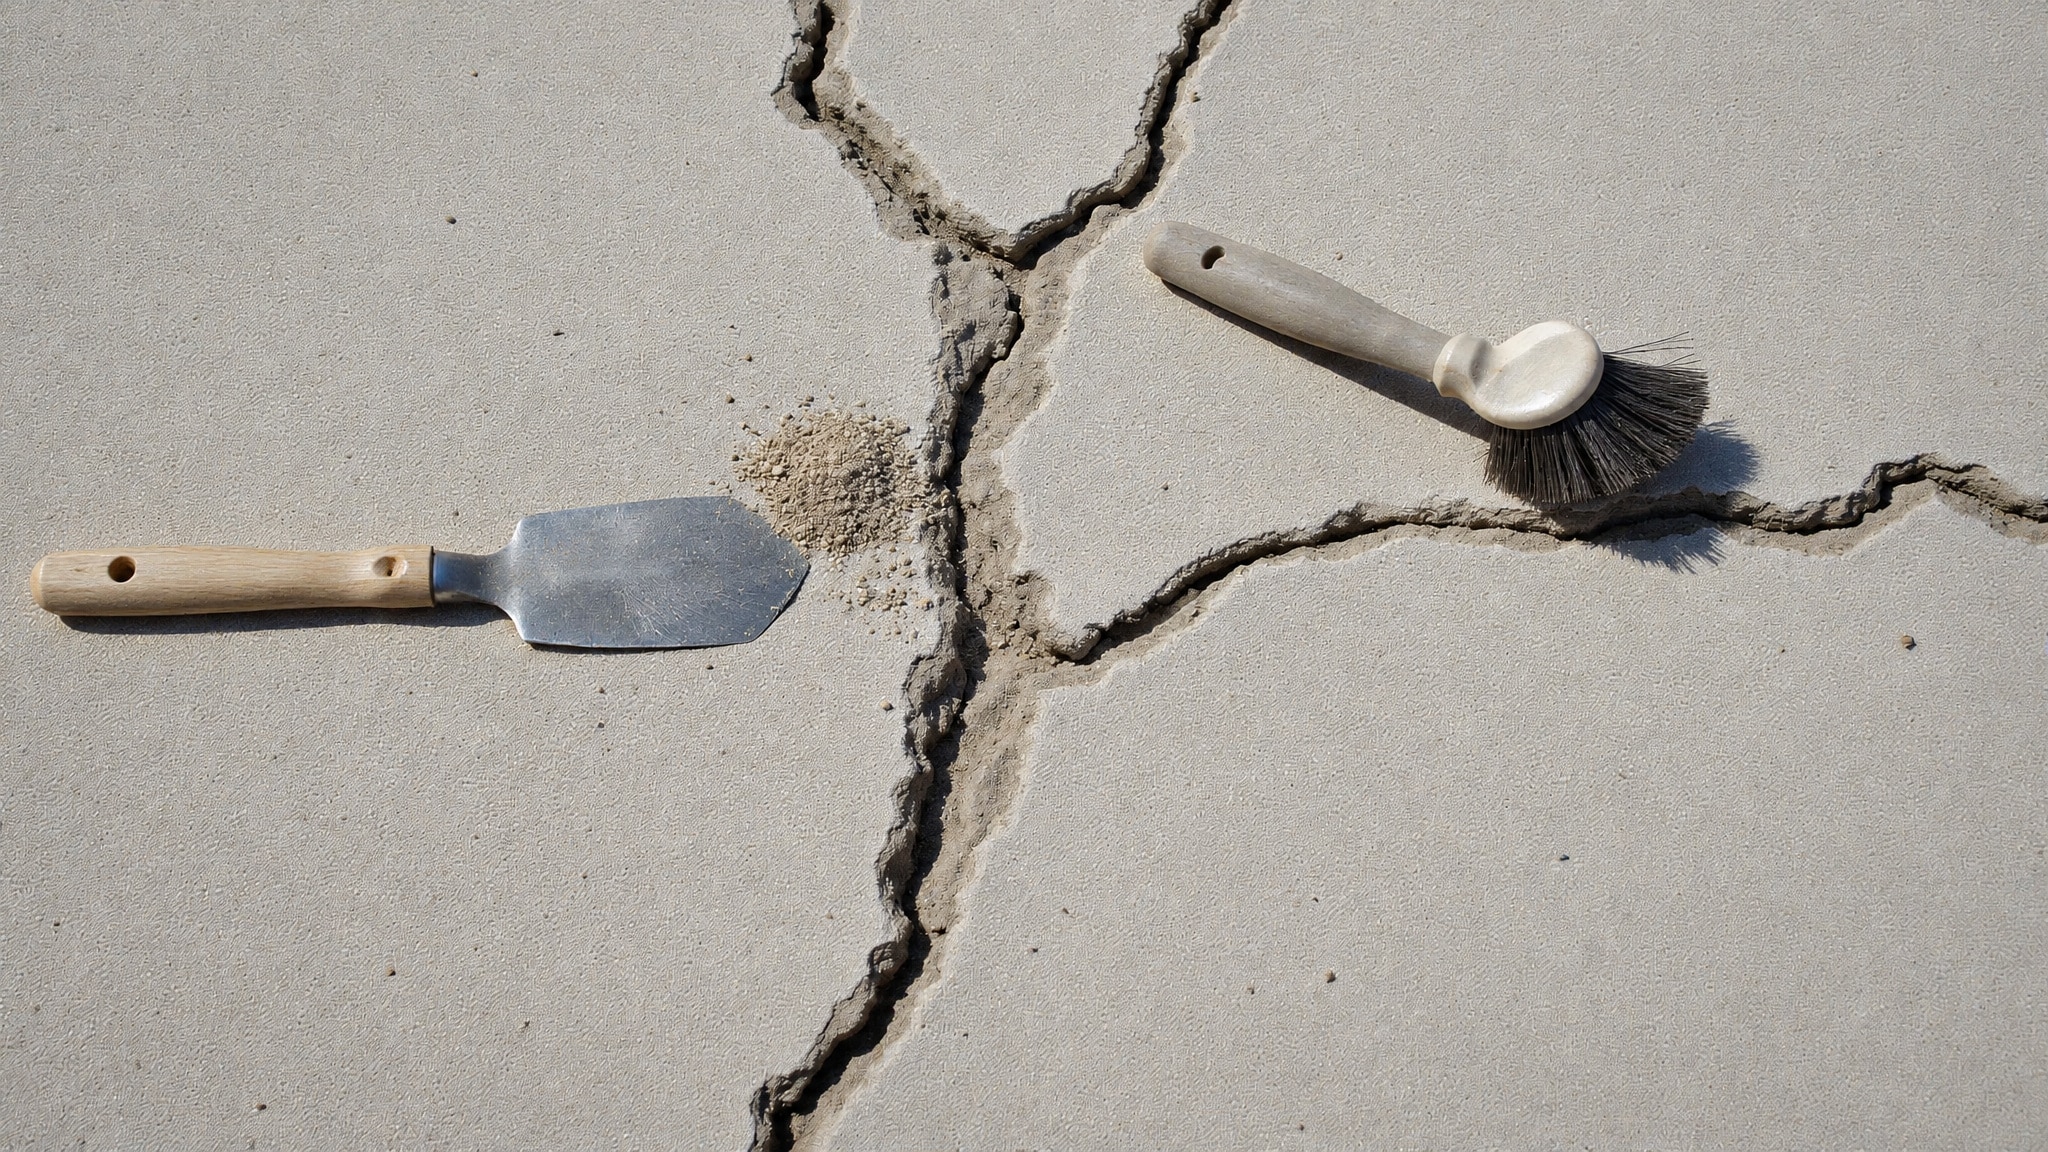
Identify a harmless hairline crack from a structural one using crack width, movement indicators, and a soundness assessment. Measure across the gap: anything wider than 1/4 inch signals a potential structural or movement-related problem, while thin hairline cracks stay well below that threshold. Next, check movement indicators. Look for a height difference between the crack edges, since vertical displacement suggests slab movement or a deeper structural concern. Note whether the crack is stable, growing, or paired with nearby sinking, because active movement lowers your chance of a lasting fix. Finish with a soundness assessment. Tap the surrounding concrete and listen for hollow spots, which indicate loose or unbonded material. Chip away crumbling sections, since you shouldn’t build a repair over unsound concrete that weakens adhesion.
What materials and tools do you need for the repair
A successful wide-crack repair requires the right materials and tools. For surface preparation, you’ll need a wire brush, chisel, angle grinder, pressure washer, shop vac, and compressed air to clean and route the crack. Stock repair materials suited to the width: polymer-modified patching compounds, vinyl patching compounds, high-strength epoxy, or cement-based fillers. For cracks deeper than about 1/2 inch, grab foam backer rod. Keep a putty knife and trowel for packing and leveling, plus a damp sponge to remove excess before curing. Add self-leveling epoxy for flat horizontal surfaces and a concrete or epoxy sealant for the final coat. Having everything ready ensures you can work efficiently without interrupting the repair mid-application.
What are the steps to fix cracks in pool deck concrete
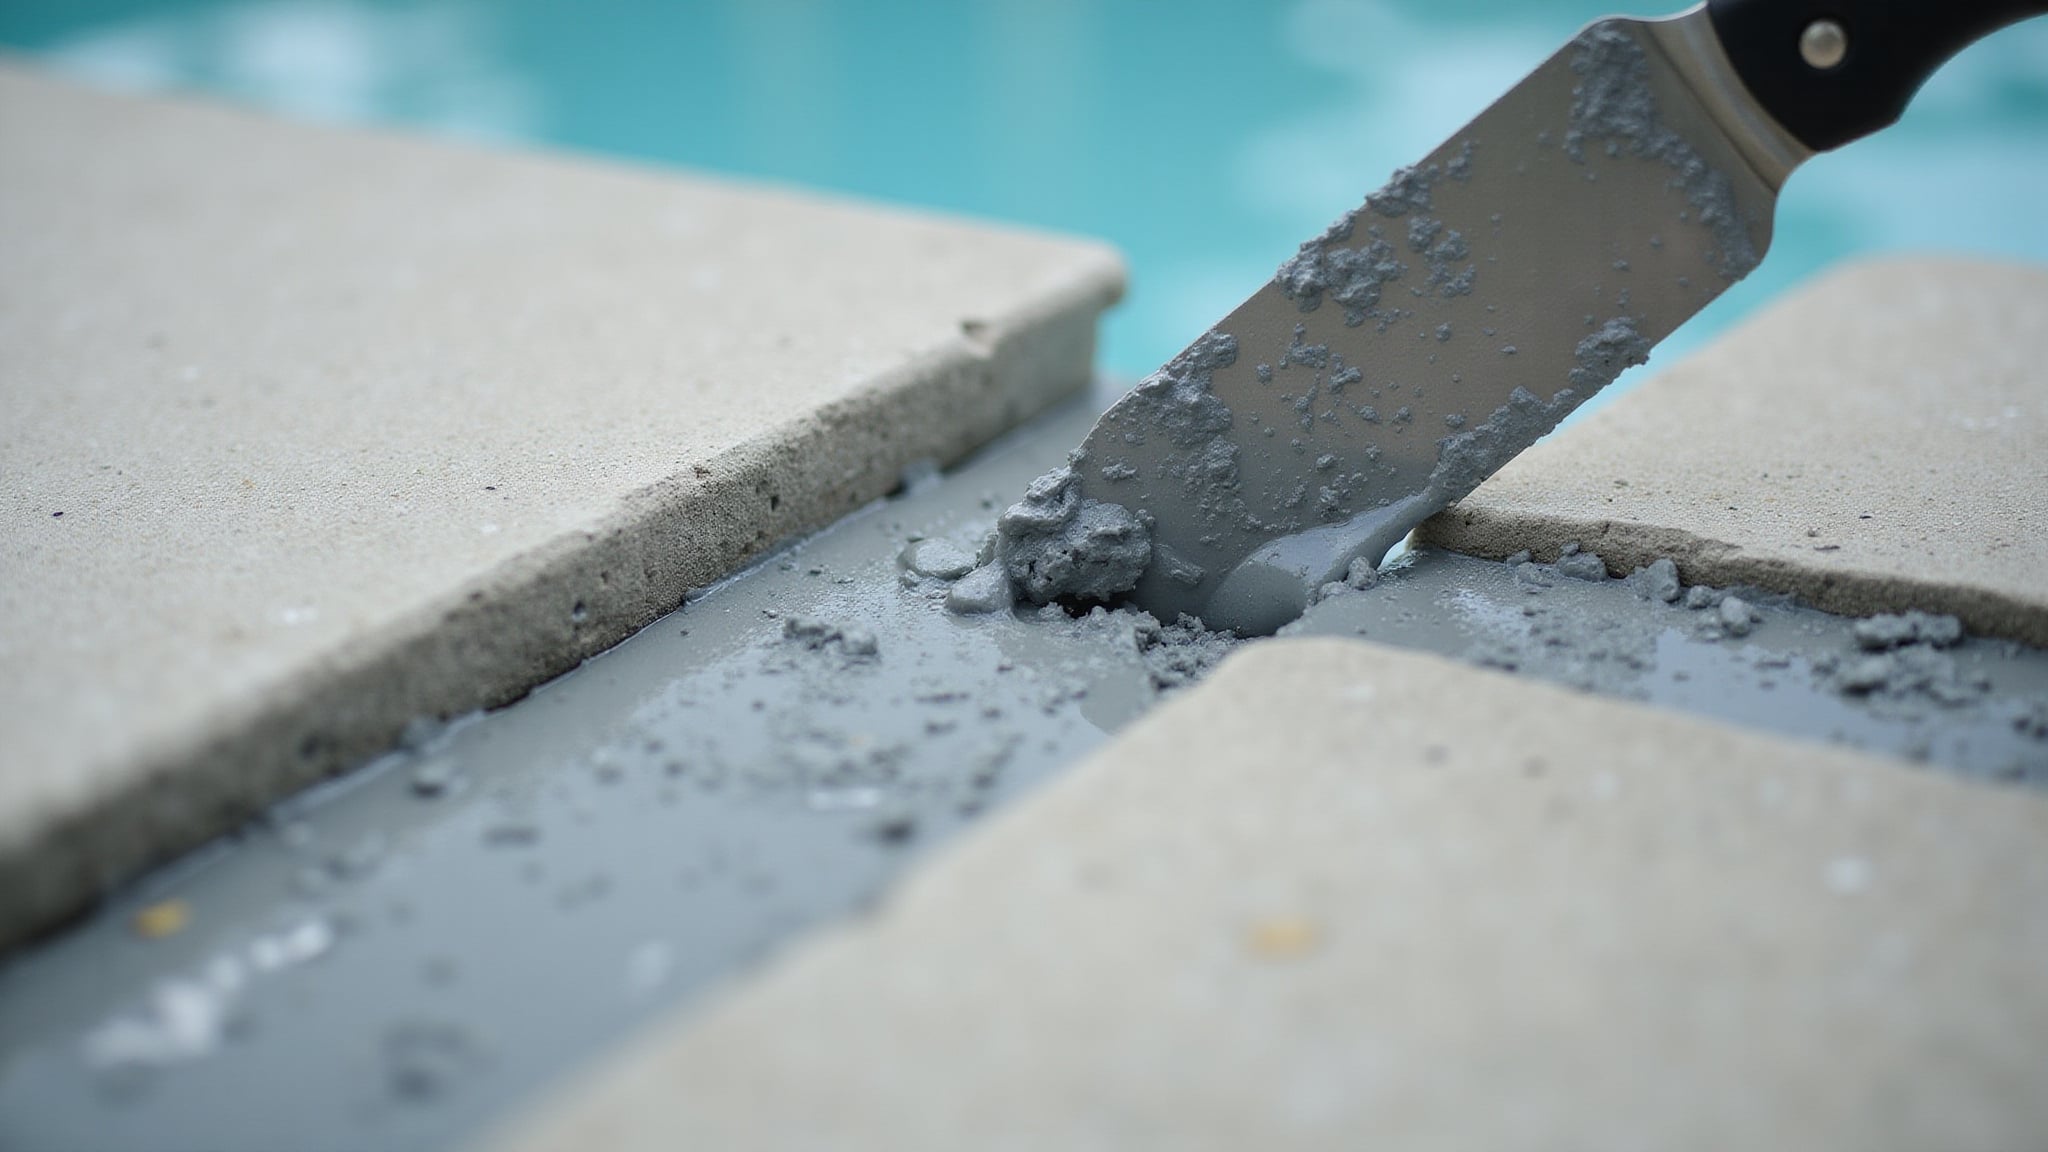
Begin with crack assessment: measure the width, check for height differences between edges, and confirm the crack’s stable rather than growing or paired with sinking. Tap hollow-sounding areas and remove loose concrete. Move to surface preparation next: clean the crack with a wire brush, pressure washer, or compressed air, then chisel, grind, or route the edges to create a clean bond line. Undercut the sides into an inverted V so the fill keys in. Let it dry unless your product handles damp application. Pack your repair materials firmly, working from the outer edges toward the middle and applying in layers for deep cracks. Scrape excess level, then cure roughly 24 hours before sealing.
How do repair methods compare by crack type and cost
Repair methods compare by matching material to crack width, with 1/4 inch as the threshold that determines whether the fix lasts. Below that mark, thin sealants often suffice; above it, you’ll need patch materials that key into the crack and resist movement. Epoxy delivers high strength and moisture resistance, while cement-based fillers pack deep for structural bulk.
| Crack Type/Material | Consideration |
|---|---|
| Hairline (<1/4 inch) | Thin sealant, low cost |
| Wide (>1/4 inch) | Epoxy or patch materials |
| Deep/wide | Backer rod, then fill |
| Polymer-modified filler | Mid-range cost, durable |
| High-strength epoxy | Higher cost, best bond |
You’ll balance cost against durability: cheaper fillers save money upfront, but epoxy resists reopening when slab movement persists longer.
How do you prevent pool deck concrete from cracking again
Prevent pool deck concrete from cracking again by addressing the movement that opened the crack in the first place, not just refilling the gap. Effective crack prevention depends on stabilizing the subgrade beneath the slab, since unstable soil or voids drive recurring cracking. For movement prevention, you can install control joints, add reinforcement, or resurface with a cementitious overlay when spot repairs keep failing. Don’t skip thorough surface preparation before any repair, because debris and unsound concrete weaken adhesion and let cracks reopen. After curing, apply an epoxy sealant or concrete sealer to block moisture and UV exposure, both of which accelerate deterioration. Inspect repairs after a season change or major storm to confirm the crack hasn’t widened. If it keeps growing, get a professional assessment.
Conclusion
Repairing wide cracks in a concrete pool deck is a manageable DIY job when the crack is stable, shows no vertical movement, and is cleaned and filled properly. Measure the width, undercut the edges, pack in polymer-modified filler or epoxy, then cure and seal before use. The real test is whether the crack stays put: if it keeps widening, shifting, or returning after repairs, the slab or subgrade is moving and surface patching won’t hold. In that case, resurfacing or replacing the deck is the fix that actually lasts.
Are Cracks Taking Over Your Pool Deck?
Some cracks are more than a surface fix. When a concrete deck keeps cracking from slab movement or a failing subgrade, replacing it is often the lasting answer. At Innovative Outdoor Living, we replace cracked, worn pool decks with interlocking pavers set over a properly prepared base. See how we handle pool deck replacement for decks that keep failing. Contact us or call (561) 594-1495 to have your deck assessed.
Frequently Asked Questions
How Long Should I Wait Before Swimming After Repairing Pool Deck Cracks?
You’ll typically wait about 24 hours before the repair is ready for sealing or finishing, since many concrete crack fills need that curing window. Cure times before swimming vary by product, so check the manufacturer’s instructions for the specific filler and sealer you use. Once the filler has cured and you’ve applied an epoxy sealant or concrete sealer, verify it with a water test. If pooled water holds on the surface, you’ve likely got an effective, moisture-blocking repair.
Can I Repair Pool Deck Cracks in Wet or Humid Weather?
You can, but only if you’re using a product rated for damp application. Otherwise, let the crack dry completely before filling, since moisture weakens adhesion and traps water in the repair. Clean and dry the bond line using compressed air or a shop vac, then confirm the product’s specifications. High humidity extends cure times, so check the manufacturer’s guidance, some concrete fills need about 24 hours before you seal.
How Often Should I Inspect Repaired Pool Deck Cracks?
You should inspect repaired cracks after every season change and following any major storm, since temperature swings and heavy runoff stress the repair and can reopen the bond line. Check whether the crack’s widened, shows new vertical displacement, or sounds hollow when tapped. Watch for disappearing pooled water, which signals remaining leakage paths. If you spot recurring movement or growth, get a professional assessment, because the underlying cause likely remains active.
Should I Hire a Professional or Attempt the Repair Myself?
You can attempt the repair yourself if the crack’s isolated, cleanable, stable, and shows no significant vertical displacement or sinking. Measure the width and check for height differences between edges first. However, you should hire a professional when the crack keeps growing, exceeds 1/4 inch with movement, or pairs with nearby sinking, since these signal structural or subgrade problems. Recurring cracking often requires slab stabilization or replacement, not surface patching.
Does the Water Test Confirm a Successful Crack Repair?
The water test provides a strong indicator, but it doesn’t definitively confirm long-term success. After the repair cures, pour water over the sealed crack and observe it. If water pools on the surface, you’ve likely achieved an effective moisture barrier. If water disappears into the crack, you’ve got remaining leakage paths needing attention. However, you should still inspect the repair after seasonal changes or storms to verify it hasn’t reopened.