
Mount your outdoor cameras at the four gateways burglars target most: your front door, back door, garage or driveway, and side yards. Install each 8–10 feet high with a downward angle for face-level footage, tucked under eaves or soffits for weather and tamper protection. Capture the full approach path, not just the threshold, and overlap fields of view to eliminate blind spots. Avoid direct sunlight to prevent washout. Each spot has specific requirements worth knowing.
Key Takeaways
- Mount cameras above the front door, 8–10 feet high with a downward angle to capture face-level footage and the approach path.
- Cover the back door and hidden entrances under eaves, showing the full approach while overlapping with front-door coverage.
- Install wide-field cameras at the garage, driveway, and side access to monitor vehicles, packages, and full driveway length.
- Place cameras on house corners for diagonal views covering side yards, side entrances, first-floor windows, and gates.
- Position all cameras under eaves or soffits, avoiding direct sunlight, and overlap fields of view to eliminate blind spots.
Where should you place outdoor security cameras for your home
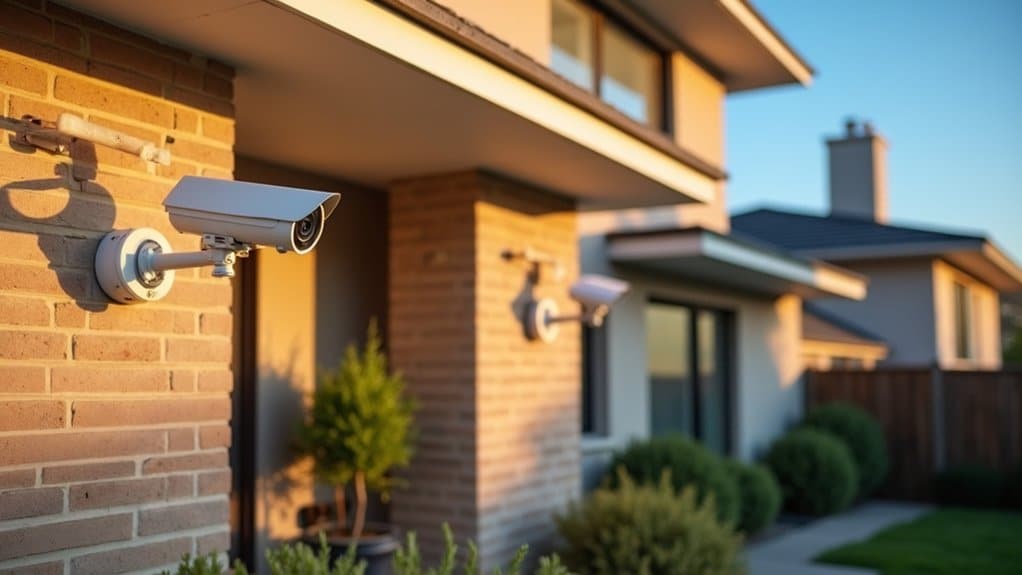
Place outdoor security cameras at the front door, back door, garage, driveway, side entrances, and house corners for the best exterior coverage. Start with the front door, your highest-priority spot for exterior surveillance, since it captures the most common entry point. Mount it under an eave at about 9 feet, angled downward for face-level footage. Cover the back door, which intruders target because it’s hidden from the street. Aim it to show the entire approach path, not just the threshold. Add cameras at the garage, driveway, and side entrances, where overlapping coverage removes blind spots. Effective camera placement keeps units 8–10 feet high to resist tampering while preserving image detail. Use house corners for diagonal views covering multiple zones, and position cameras away from direct sunlight to prevent glare that degrades your footage quality.
What are the most important spots to cover with cameras
The most important spots to cover with cameras are your front door, back door, garage, and driveway. Your front door captures the most common entry point, so install a camera 8–10 feet high with a downward angle for face-level footage. The back door, less visible from the street, needs coverage of the entire approach path. For your garage, aim at the door, side access, and driveway to monitor vehicles and packages. Cover the driveway’s full length with a wide field of view.
Don’t neglect side yards, side entrances, and first-floor windows, these hidden access routes deserve overlapping surveillance zones to eliminate blind spots. Mount cameras on house corners for diagonal views covering multiple zones. Strong home security depends on layering coverage across every realistic entry point without gaps.
How high and at what angle should cameras be mounted
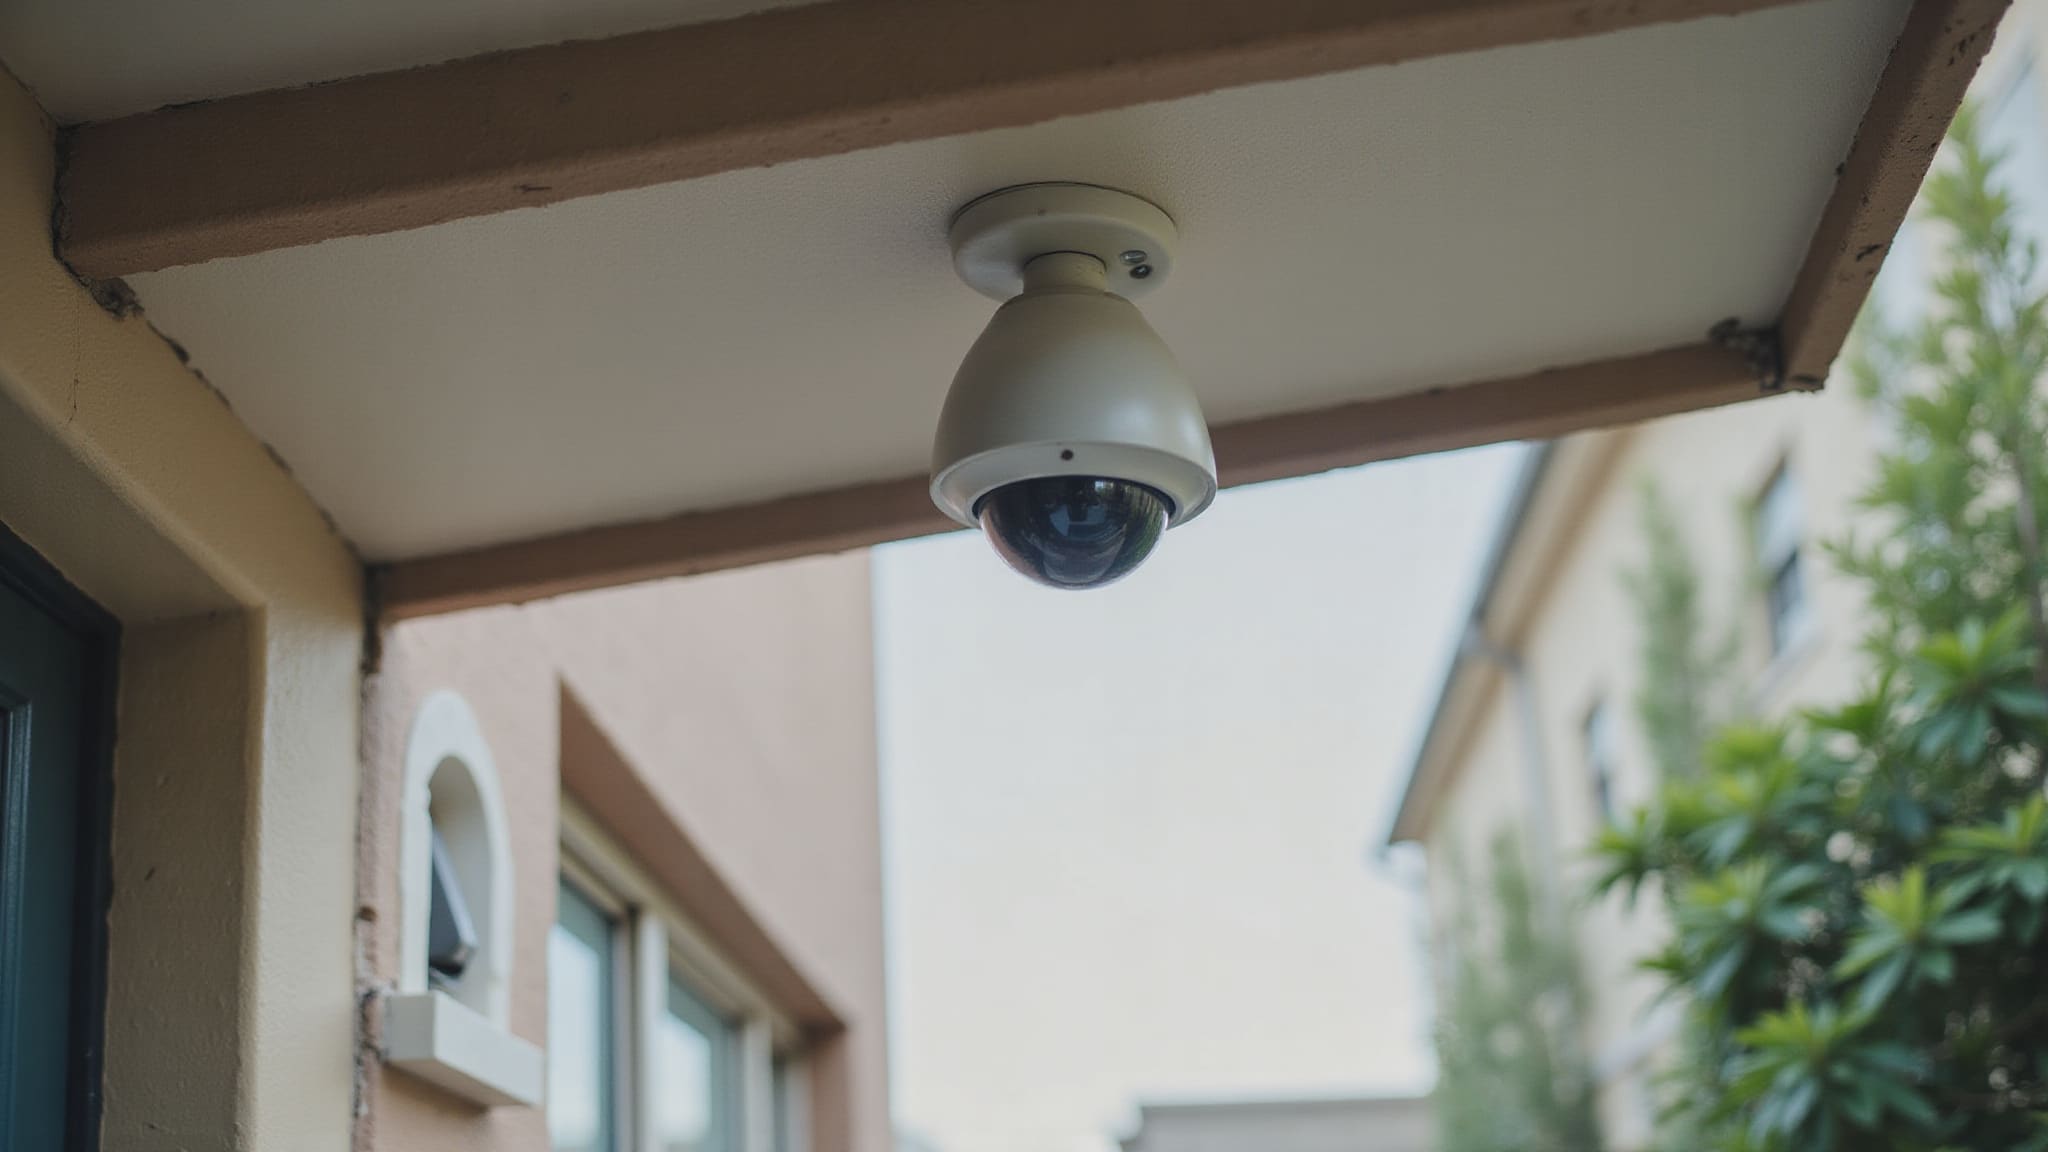
Mount cameras 8 to 10 feet high, with 9 feet often cited as the sweet spot. This range keeps the camera out of easy reach, reducing tampering risk, while still preserving enough detail to identify faces and actions.
Angle each camera downward so it captures face-level footage rather than the tops of heads or the ground. Mounting under an eave or soffit shields the lens from rain and glare and provides a stable, consistent angle.
At the front door, position the camera above or beside the entry with a downward tilt. Avoid pointing directly into sunlight, which washes out images and degrades overall footage quality.
What placement mistakes leave your home vulnerable
Common placement mistakes leave your home vulnerable by creating blind spots, poor image quality, and easy opportunities for tampering. Mounting too low lets intruders reach up and disable or reposition the camera, so keep it at 8–10 feet. Ignoring the back door and side yards leaves hidden access routes, side gates, basement windows, fence lines, completely unwatched. Pointing a driveway camera directly into sunlight destroys image quality with glare, so aim it away from the sun and tuck it under an eave. Failing to overlap coverage zones creates blind spots between cameras. Skipping under-eave or soffit mounting exposes lenses to rain and tampering. Aiming only at a door threshold, instead of the full approach path, means you’ll capture someone already there, not their approach or face beforehand.
How do wired and wireless placement needs differ
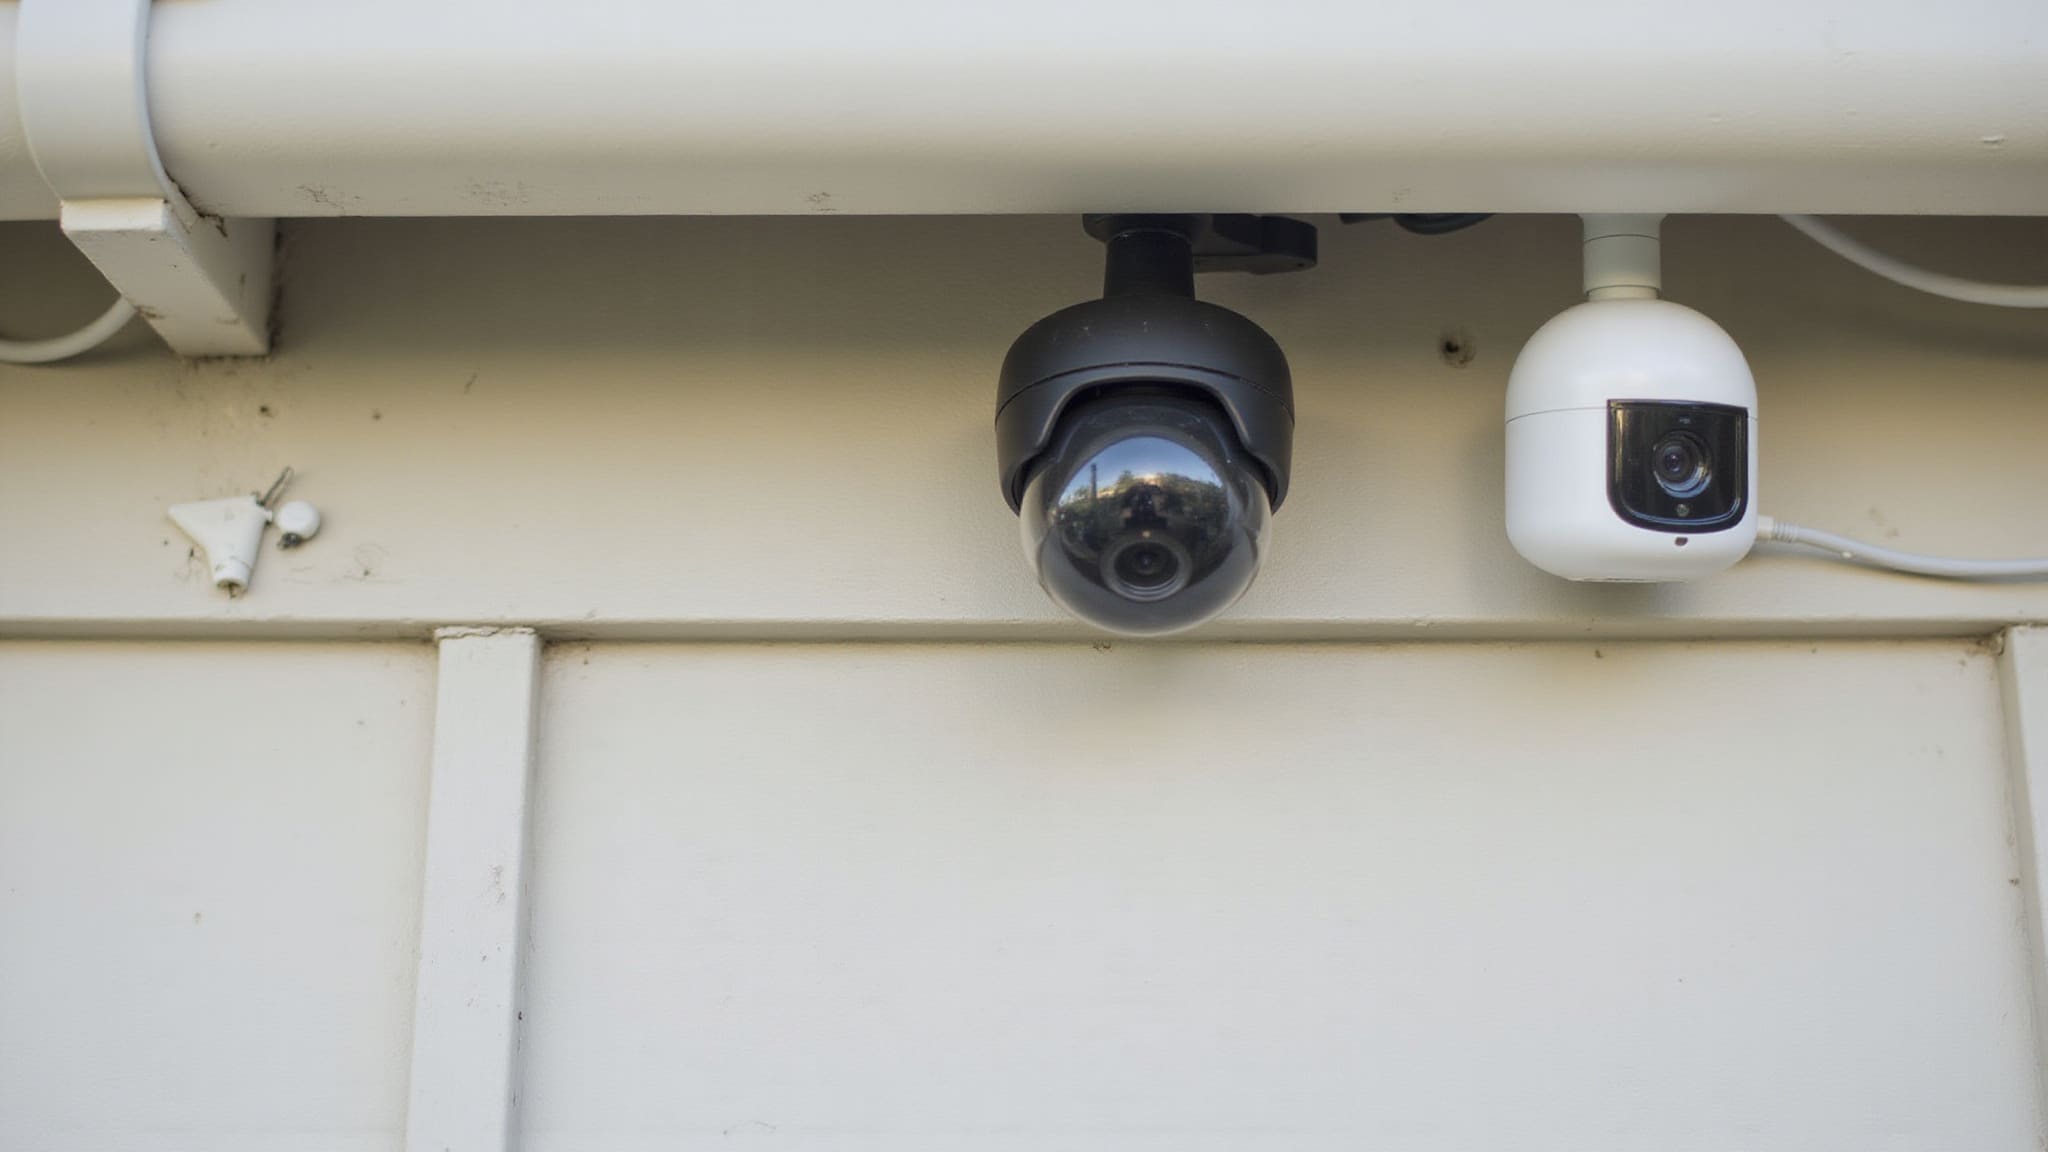
Wired cameras need placement based on cable routing and power access, while wireless cameras need placement based on battery access and signal strength. With wired cameras, you’ll need to plan cable routing to each spot, so front doors, garages, and side entrances must sit within reach of a power source and your recorder. That constraint can push you toward soffit and eave runs where you can conceal wiring. Wireless cameras free you from cable paths, but you’ll trade that for battery access and signal strength. At 8–10 feet, confirm each location holds a reliable connection to your router, especially at distant back doors and driveways. You’ll also need to reach wireless units for battery swaps, so avoid mounting them beyond ladder range unnecessarily.
How do camera types compare for different placement spots
Camera types compare by matching field of view, detail, and triggering features to each placement spot. Wide-field cameras cover expansive zones like driveways and garage approaches, while fixed-angle units handle tight thresholds at front and back doors. Motion-triggered models excel on overlooked side yards, pairing well with detection lighting.
| Camera Type | Best Placement | Key Strength |
|---|---|---|
| Wide field of view | Driveway, garage | Covers full approach length |
| Fixed-angle | Front door, back door | Sharp face-level detail |
| Motion-triggered | Side yards, windows | Alerts on hidden access |
Mount each type 8–10 feet high under eaves or soffits for weather protection and tamper resistance. You’ll want overlapping zones where wide and fixed units meet, eliminating blind spots while preserving usable image detail across every monitored exterior surface.
How do you plan the best camera layout for your home
The best camera layout for your home starts with mapping your property’s entry points and ranking them by risk: front door first, then back door, garage, and driveway, followed by side yards and vulnerable first-floor windows. Assign a camera to each high-priority zone, then look for overlap opportunities that eliminate blind spots. Position house corners for diagonal views covering multiple zones at once, reducing your total camera count. Mount everything at 8–10 feet, ideally under soffits or eaves for weather protection and tamper resistance. Angle each unit downward to capture face-level detail without sacrificing approach coverage. Aim driveway and side-yard cameras away from direct sunlight to prevent glare. Add motion-triggered lighting along side paths for better detection. Verify overlapping fields of view before finalizing, confirming no gaps remain across your perimeter.
Conclusion
Where you mount outdoor cameras matters as much as the cameras themselves. Cover the entry points burglars actually use, the front door, back door, garage and driveway, then fill the gaps with side-yard and corner views. Mount everything 8 to 10 feet high under eaves, angled down for face-level footage, and overlap fields of view so no blind spots remain. Pair that coverage with bright, motion-triggered lighting, and you turn your home’s exterior into a far harder target.
Light the Spots Cameras Can’t Cover
Cameras capture what happens, but good lighting helps prevent it, and makes your footage far clearer after dark. At Innovative Outdoor Living, we design and install landscape and path lighting that brightens entries, driveways and side yards where intruders look for cover. Explore our landscape lighting options for your property. Contact us or call (561) 594-1495 to plan lighting around your home.
Frequently Asked Questions
Do Outdoor Security Cameras Require Professional Installation or Permits?
You don’t typically need professional installation or permits for most residential outdoor cameras. You can mount them yourself using standard tools, especially at the recommended 8–10 foot height under eaves or soffits. However, check your local ordinances, as some areas regulate camera placement near property lines or public spaces. If you’re hardwiring cameras into your electrical system, you might need a licensed electrician or permit to meet code requirements.
How Much Do Outdoor Home Security Cameras Typically Cost?
Outdoor security camera costs vary widely by type and features. A basic single wireless camera typically starts around $50 to $150, while higher-resolution models with color night vision, wider fields of view, and smart detection run $150 to $400 each. Wired or whole-home systems with a recorder and multiple cameras cost more, especially if you add professional installation. Budget for the full setup, not just the cameras: mounting hardware, any hardwiring, and storage or a subscription all factor into the real cost.
Can Outdoor Cameras Record Clearly at Night or in Darkness?
Yes, outdoor cameras can record clearly at night, but your results depend on placement and lighting. You’ll get the sharpest footage when you mount cameras about 8–10 feet high with a downward angle that captures face-level detail. Pair them with motion-triggered lighting along side paths and entry points to boost visibility. Avoid positioning cameras directly into glare sources, and use under-eave spots to reduce weather interference and maintain consistent image quality.
How Do You Protect Cameras From Weather Damage and Theft?
You’ll protect cameras best by mounting them under eaves or soffits, which shield them from rain, glare, and direct sun exposure. Position them 8–10 feet high, 9 feet’s a sweet spot, so they’re out of easy reach and harder to tamper with or disable. Avoid low placements that invite theft. Angle them downward for face-level detail while staying sheltered. This under-eave, high-mount approach guards against both weather damage and physical interference.
Are You Legally Allowed to Record Your Neighbor’s Property?
You can’t record areas where your neighbor has a reasonable expectation of privacy, like their bathroom, bedroom windows, or fenced backyard. You’re generally allowed to capture public spaces and incidental views of their property from your own cameras. Avoid audio recording, since many jurisdictions require consent. Angle your cameras to focus on your entry points, not their private zones. Check your local and state laws, since regulations vary significantly by location.