You can build a functional outdoor kitchen on a budget for $3,000-$15,000 by following five key strategies. Position your setup within 15-20 feet of indoor utilities to minimize trenching costs. Choose durable materials like marine-grade polymer cabinets and concrete countertops that resist weather damage. Select modular components you can expand over time. Handle the structure yourself using steel frame kits, but hire licensed pros for gas and electrical work. These approaches can cut your total investment by 40-50%.
Know What Outdoor Kitchens Actually Cost at Every Budget Level
Before you sketch a single design or price out appliances, you need to understand the real numbers behind outdoor kitchen projects. Basic setups run $3,000-$8,000 for 50-100 square feet, focusing on grilling and prep essentials. Small builds cost $8,000-$15,000, adding storage and a sink within 100-200 square feet.
Medium projects hit $15,000-$30,000 for 200-300 square feet with full appliances. Large custom kitchens exceed $30,000, sometimes reaching $60,000+ with premium materials. At the highest end, outdoor kitchen costs can range from a few thousand dollars to well into six figures depending on your vision and specifications.
Labor consumes 30-50% of your total budget, while regional costs vary dramatically, $11,700 in Texas versus $19,600 in Los Angeles for comparable projects. To maximize usable space without overspending, leverage cost effective features like prefab islands ($250-$475 per linear foot) and DIY elements where skills allow. The good news is that outdoor kitchens deliver strong returns, with homeowners typically recouping 50, 100% of their investment at resale.
Design a Simple Layout Close to Your Indoor Utilities
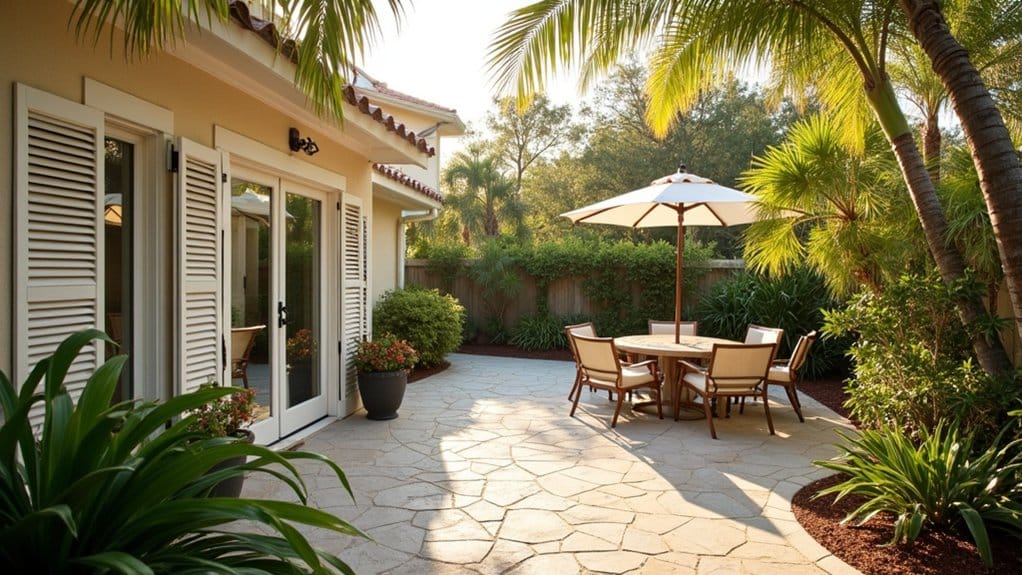
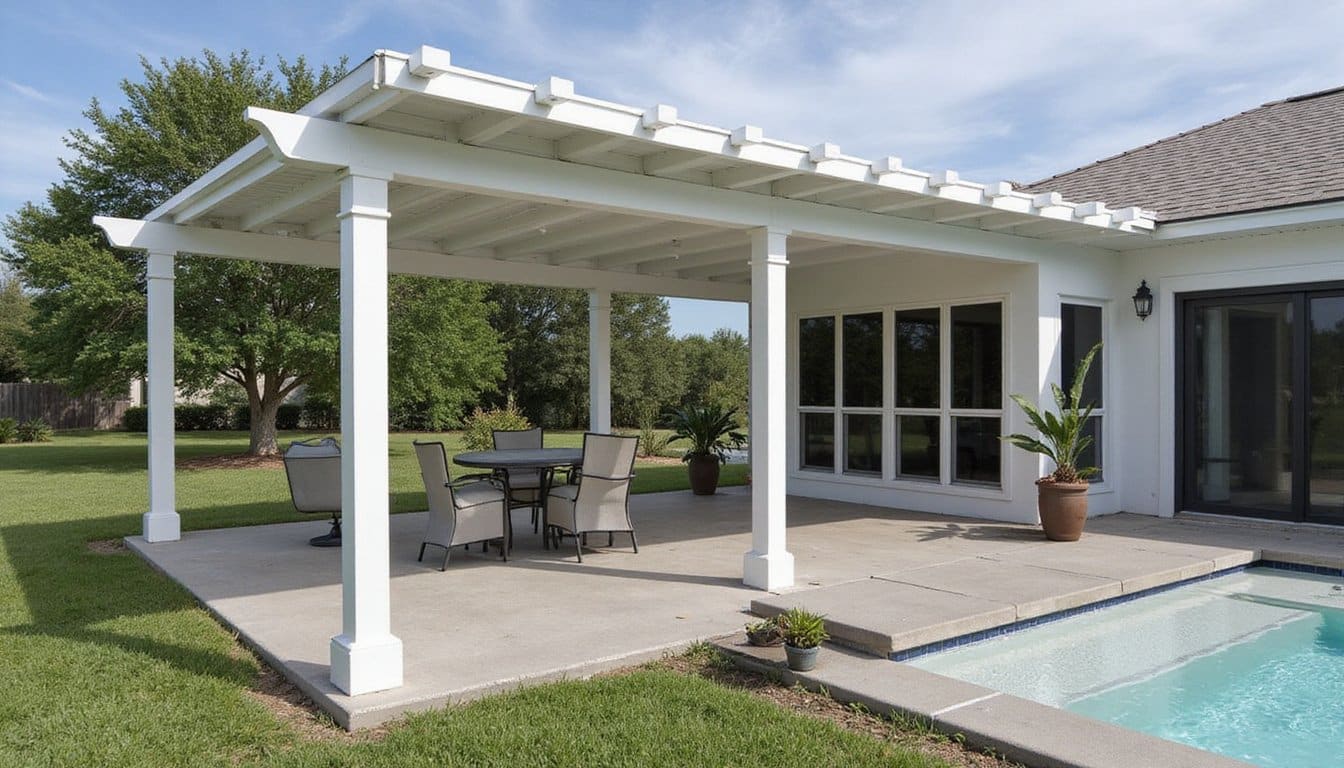
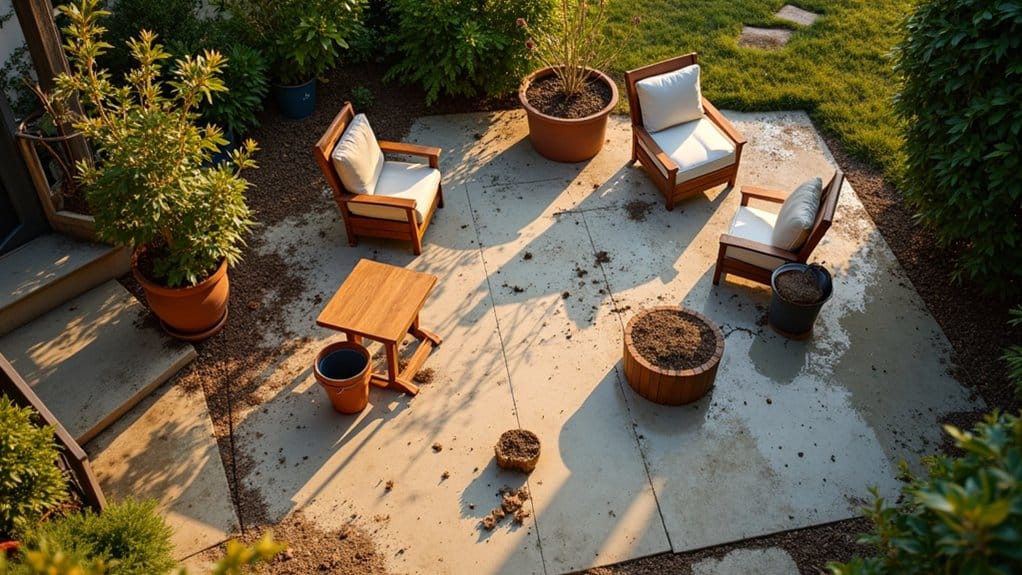
When you position your outdoor kitchen within 15 to 20 feet of your indoor utilities, you’ll slash installation costs and simplify every aspect of construction. Proper utility access planning starts with calling 811 to mark underground lines before you commit to any placement decisions.
Attached layouts on existing patios eliminate the expensive trenching that detached structures require. Your house wall provides natural shelter for appliances while enabling seamless indoor outdoor flow between cooking spaces. Align your outdoor sink directly with your indoor sink for a simple wall-drilling tie-in that avoids complex plumbing runs.
Consider using propane tanks instead of extended gas lines and connecting a hose from your outdoor spigot rather than installing full plumbing. These practical substitutions let you build functional zones without breaking your budget. Starting with a simple built-in grill island allows you to expand your setup over time as your budget permits. Using concrete flooring inside that mirrors large square poured-concrete pavers outdoors creates visual continuity between your indoor and outdoor spaces without expensive custom materials. With outdoor kitchens averaging $16,145 to build, every cost-cutting strategy for utilities and placement adds up to significant savings.
Pick Durable Outdoor Kitchen Materials That Save Money
Your layout and utility connections set the foundation, but your material choices determine whether your outdoor kitchen lasts five years or twenty-five.
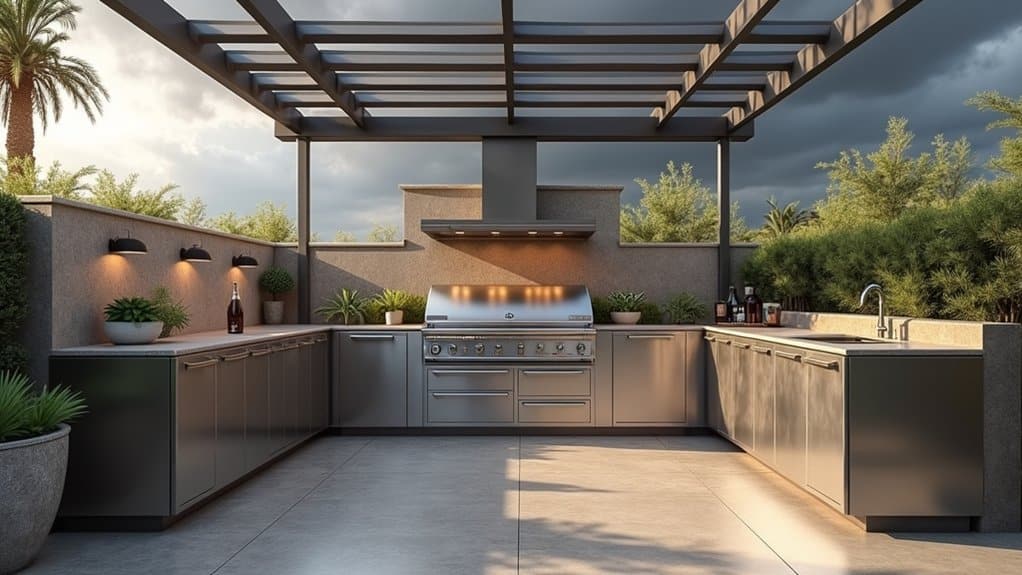
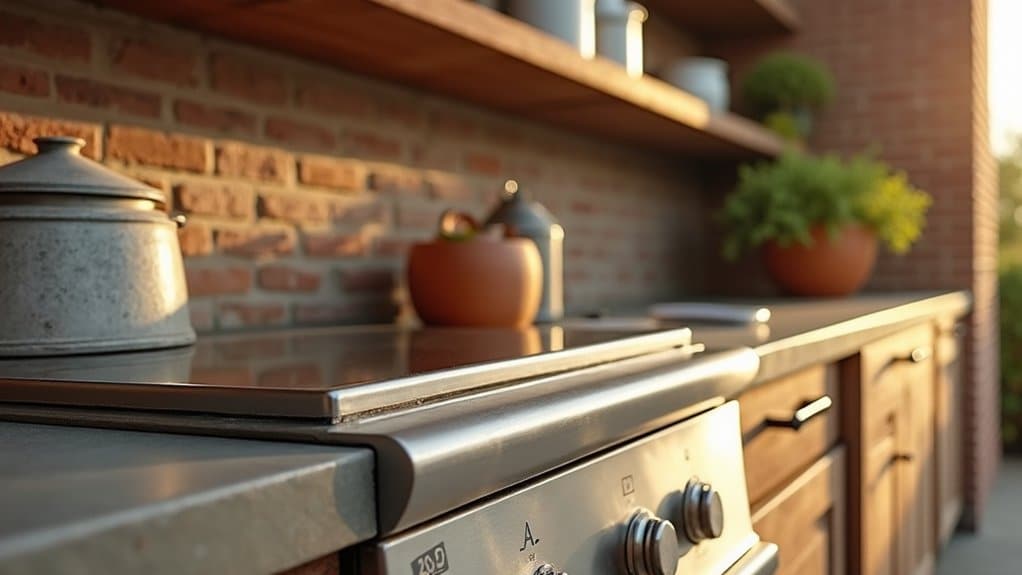
When selecting materials, consider quality stainless steel options for countertops and cabinets, they’re affordable, rust-resistant, and feature welded corners for lasting stability. For cabinetry, explore marine grade polymer alternatives made from recycled HDPE that won’t warp, rot, or require structural footings. Don’t forget that componentry like hinges, handles, and drawers should be specifically designed for external use to prevent premature failure.
Stainless steel and marine-grade polymer deliver rust-free, warp-free performance without breaking your budget or demanding constant upkeep.
Budget-smart materials that deliver long-term value:
- Concrete countertops: DIY-friendly, colorable, and withstand any climate
- Marine-grade plywood: Layered moisture resistance lasting 10-15 years
- Soapstone surfaces: Nonporous and never need resealing
- Concrete masonry units: Weather-resistant bases requiring minimal maintenance
- HDPE cabinets: Lightweight, eco-friendly, simply hose them clean
Choose materials matching your climate’s demands. While premium materials may cost more upfront, the higher initial investment reduces long-term maintenance and replacement costs, delivering greater value over time. Natural stone options like granite, marble, and quartzite offer exceptional durability along with timeless beauty that enhances your outdoor space. You’ll spend less replacing components and more time enjoying your outdoor space.
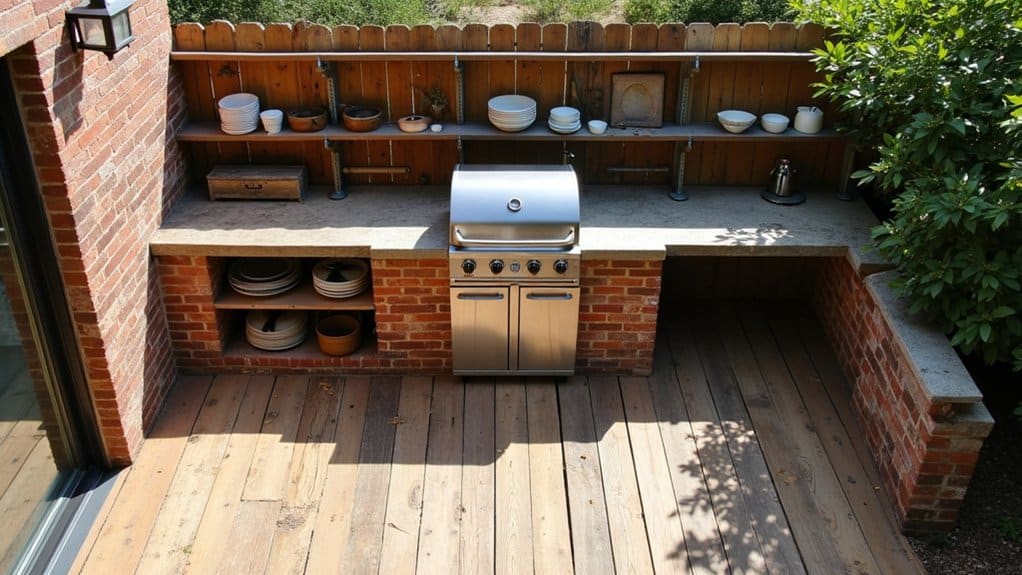
Go Modular for an Affordable Outdoor Kitchen Setup
Modular outdoor kitchens deliver the functionality you want without the custom price tag, since pre-fabricated components reduce both material and labor costs substantially. You’ll skip months of construction, concrete work, and framing, installing your kitchen in days rather than weeks.
| Feature | Modular Advantage | Budget Impact |
|---|---|---|
| Installation | Quick assembly, no contractors | Lower labor costs |
| Expansion | Add components over time | Spread expenses |
| Materials | Weather-resistant steel/stone | Long term maintenance savings |
Cost effective customization comes standard with modular systems. You’re choosing from integrated grills, refrigerators, sinks, and storage units that fit your space and budget. Start with essentials now, then add a pizza oven or bar station later. This phased approach prevents overcommitting financially while letting your outdoor kitchen evolve with your needs. These pre-designed, high-quality units work well with a wide range of garden design styles, making them versatile for any outdoor space. If you decide to move, modular units offer portability and easy relocation, protecting your investment unlike permanent built-in structures. A well-designed outdoor kitchen can provide a 100% return on investment at resale, making your budget-friendly modular setup a smart financial decision.
DIY the Structure, Hire Out the Gas and Electric
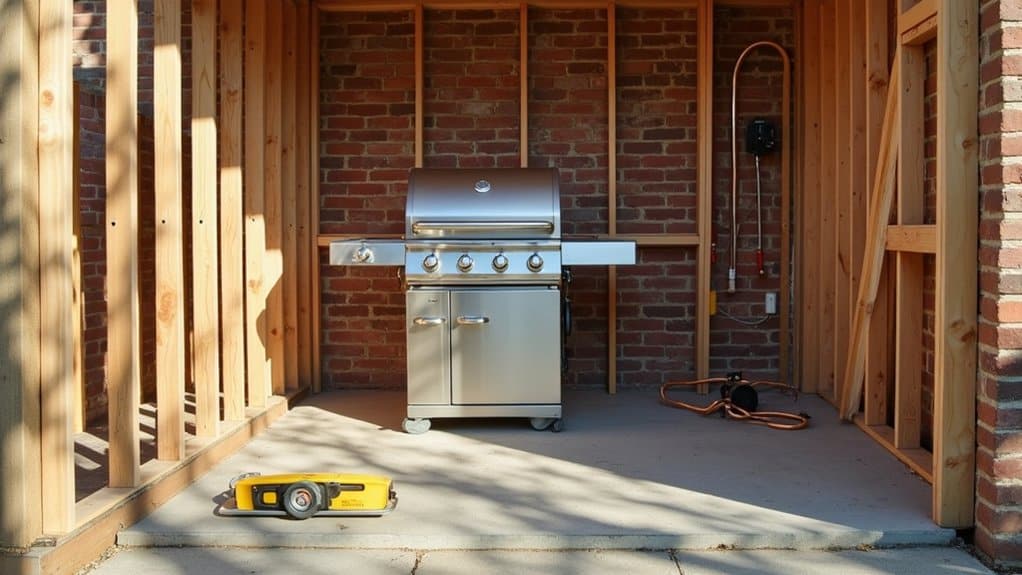
Even if modular systems don’t fit your vision, you can still slash costs dramatically by building the structure yourself while leaving gas and electrical work to licensed professionals. When you prioritize DIY over subcontracting for framing, you’ll keep 30-50% of labor costs in your pocket.
Optimize material selection with these budget-smart options:
- Galvanized steel frame kits at $147.99 assemble easier than IKEA furniture
- Patent-pending steel couplers eliminate welding requirements
- 18-gauge frames support heavy concrete and granite countertops
- Manufactured stone veneers cost less than full masonry
- Non-combustible ratings guarantee all-climate durability
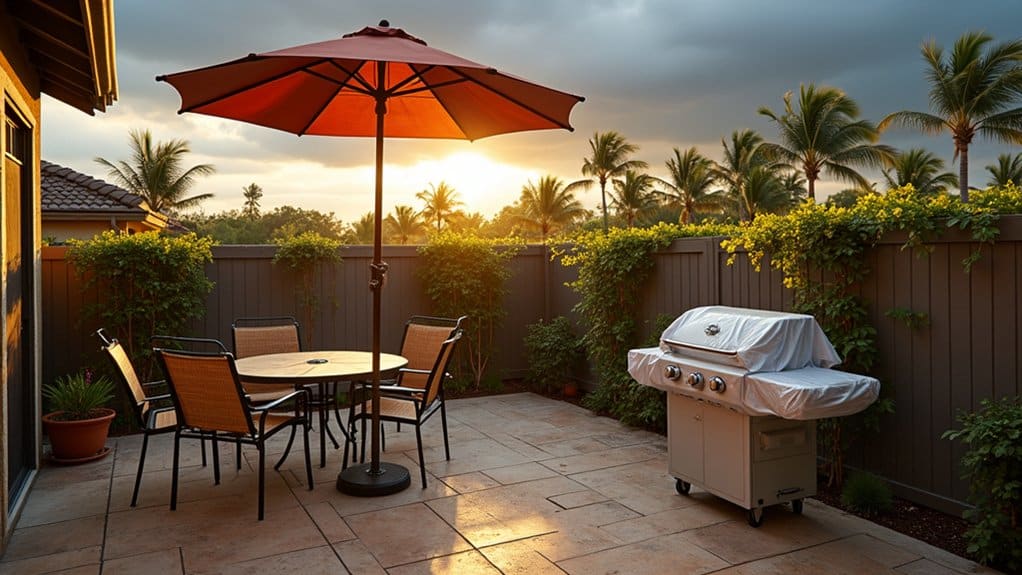
Reserve your professional budget for electrical ($800-$3,000) and plumbing ($215-$1,500) installations. These require GFCI protection and code compliance that protect your investment and family’s safety. Before breaking ground, obtain necessary permits to ensure your project meets local building codes and zoning requirements. Investing in quality enclosures or coverings will protect your outdoor kitchen from natural elements and secure the longevity of your components against weather-related wear and tear. With proper construction and maintenance, your budget-friendly outdoor kitchen can last 10 to 20 years or more, making the upfront savings even more valuable over time.
Frequently Asked Questions
How Do I Protect My Outdoor Kitchen From Harsh Weather and Extend Its Lifespan?
You’ll protect your outdoor kitchen by choosing waterproof materials like powder-coated aluminum, marine-grade stainless steel, and Dekton porcelain benchtops that resist corrosion and UV damage. Invest in weatherproof accessories, including custom-fit breathable covers with secure straps for your grill and appliances. Install overhead protection, whether a pergola or permanent roof, and maintain proper drainage to prevent water pooling. Reapply sealants to porous surfaces every 1-2 years to maximize durability.
What Permits Do I Need Before Building an Outdoor Kitchen?
You’ll typically need building permits for any structural work, electrical permits for new wiring or circuits, and plumbing permits if you’re adding sinks or water lines. Check your local zoning regulations first, some areas require zoning approval before you even apply for building permits. Don’t skip required inspections after installation; they verify your electrical, plumbing, and gas work meets code. Contact your local building department before breaking ground to confirm exact requirements.
Can I Add a Pizza Oven to My Budget Outdoor Kitchen Later?
Yes, you can absolutely add a pizza oven later to your outdoor kitchen. Start by choosing durable materials for your initial countertop and base structure that’ll support a future oven’s weight. Portable models ($300, $1,500) offer budget friendly appliances options you can incorporate anytime. If you’re planning for a built-in unit, rough in gas lines and electrical now, you’ll save $300, $1,200 on future utility hookups while keeping your project expandable.
How Do I Keep My Outdoor Kitchen Warm for Year-Round Use?
You’ll extend your outdoor kitchen’s usability by combining strategic infrared heater placement with proper shelter. Mount infrared heaters under pergolas or eaves where they’ll warm you directly without fighting the wind. Choose weatherproof enclosure materials like rust-proof aluminum frames and weather-resistant fabric screens to trap heat effectively. Add a propane fire pit for ambiance and backup warmth. This layered approach lets you cook and entertain comfortably through fall and winter without breaking your budget.
What’s the Best Way to Incorporate Seating Into My Outdoor Kitchen Design?
Start with an L-shaped or U-shaped layout that creates a natural flow between your cooking and dining zones. You’ll want to prioritize a comfortable seating arrangement using repurposed pallets or reclaimed wood benches that withstand the elements without breaking your budget. Focus on ergonomic bench design by adding colorful cushions for support. Position modular seating near your grill area, and consider powder-coated aluminum frames for durability that lasts through every season.