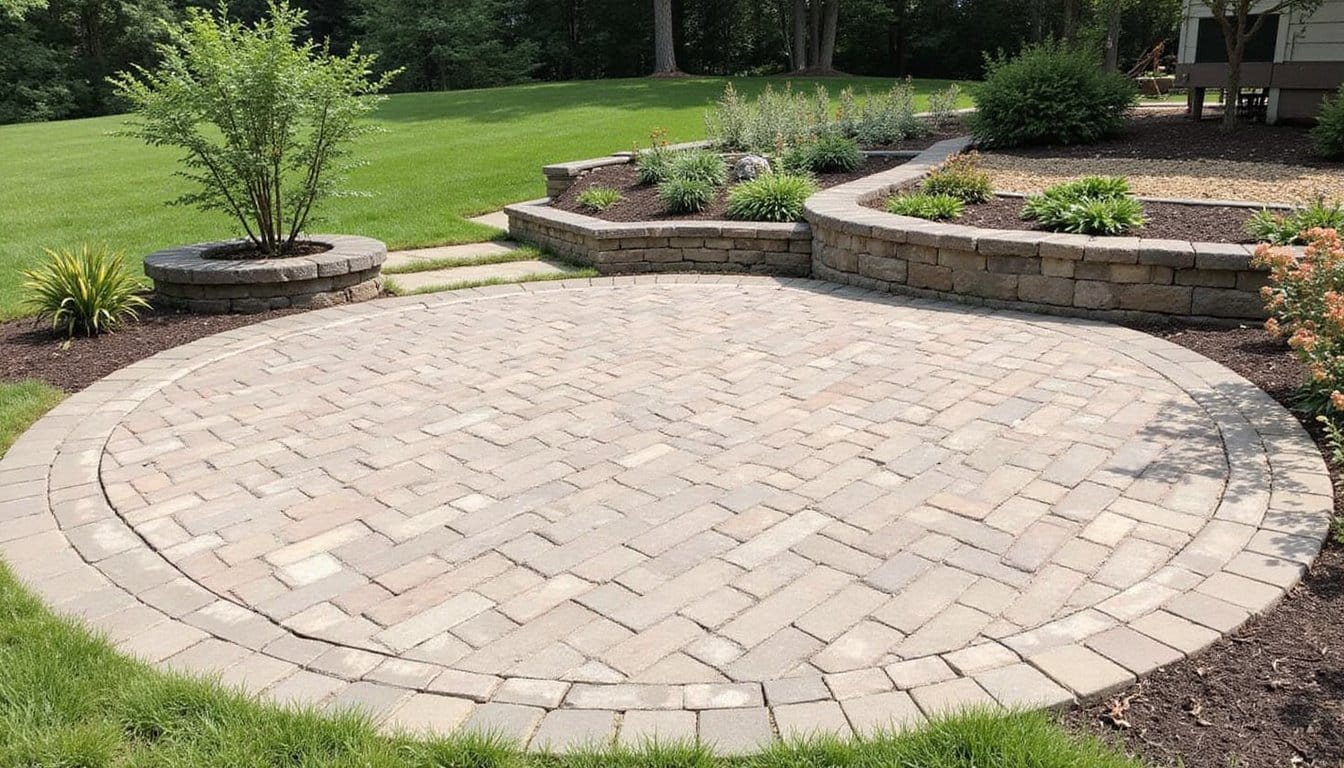
To build a paver patio that lasts, you’ll need to nail three critical steps. First, map out your layout using batter boards and the 3-4-5 triangle method, confirming a drainage slope of 1 inch per 4 feet. Next, excavate and compact a gravel base in 2-3 inch lifts over geotextile fabric. Finally, lay your pavers from the lowest point, sweep polymeric sand into joints, and secure edges. This paver patio installation guide breaks down the exact techniques you’ll need in each step below.
Map Out Your Paver Patio Layout and Drainage Slope
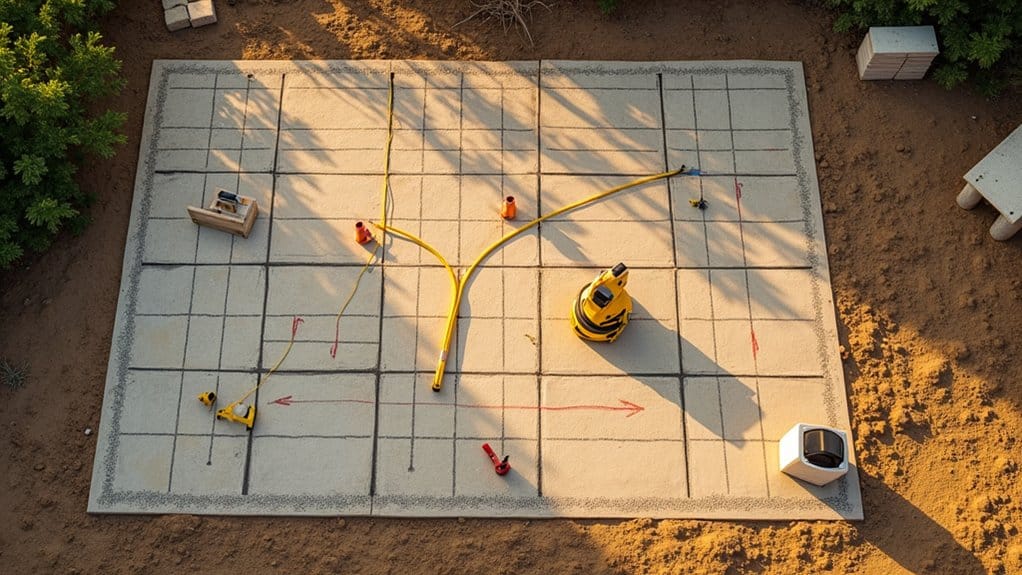
Before you break ground, you’ll need to establish precise patio boundaries using strings and batter boards, simple assemblies made from furring strips consisting of two stakes and a cross piece that supports a taut string line. Proper stake positioning guarantees stable reference points, while string adjustment along cross pieces lets you fine-tune dimensions without resetting hardware.
Verify square corners by measuring diagonals for equality, then confirm with the 3-4-5 triangle method, measure 3 feet along one side, 4 feet along the adjacent side, and adjust until the diagonal reads exactly 5 feet. Thorough planning and measurement during this phase is essential, as it defines the project’s purpose and accounts for slope and drainage requirements before any excavation begins.
For drainage, slope the surface away from your house at 1 inch per 4 feet. Check grade using a 4-foot level with a 1-inch wood block underneath.
Excavate and Build a Rock-Solid Paver Patio Base
With your layout strings and drainage slope locked in, it’s time to move from planning to physical site work, excavation that’ll define your patio’s long-term structural integrity. First, assess soil conditions to determine base depth, dig 8, 10 inches below finished height for pedestrian use, deeper for vehicular loads. Secure patio perimeter stakes 6 inches beyond strings to allow edging space. Before adding any aggregate, lay geotextile over the soil to prevent gravel from migrating into the ground and compromising your base.
- Excavate 4, 6 inches for gravel, maintaining 1-inch drop every 8 feet from the house.
- Remove sod, debris, and backfill divots with gravel, never dirt.
- Compact ¾” minus gravel in 2, 3 inch lifts, wetting each before tamping.
- Pitch the final grade at 1/8 inch per foot for drainage.
- Screed 1-inch washed concrete sand over compacted gravel using pipe rails and a strike board.
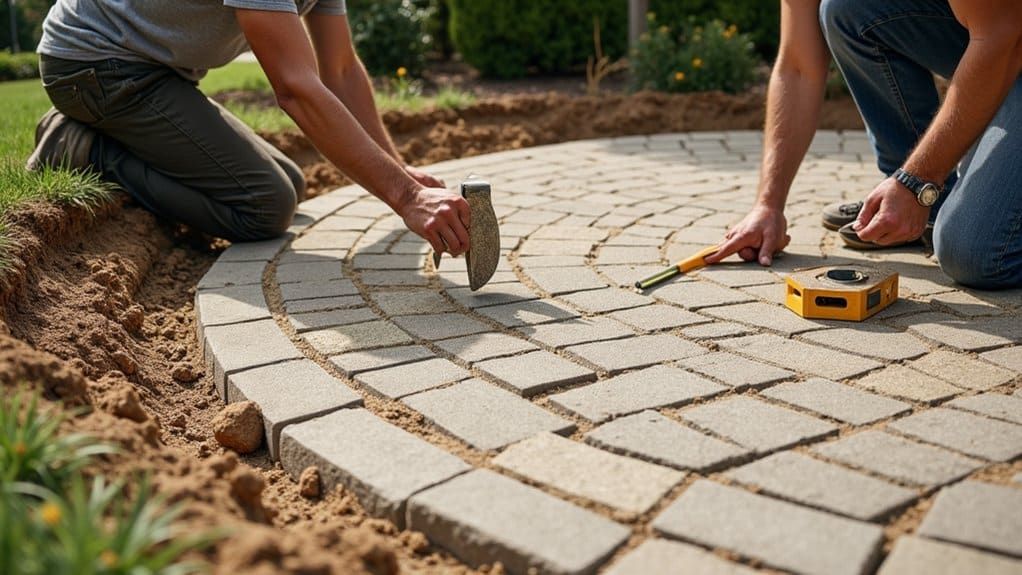
Lay, Level, and Lock Your Pavers Into Place
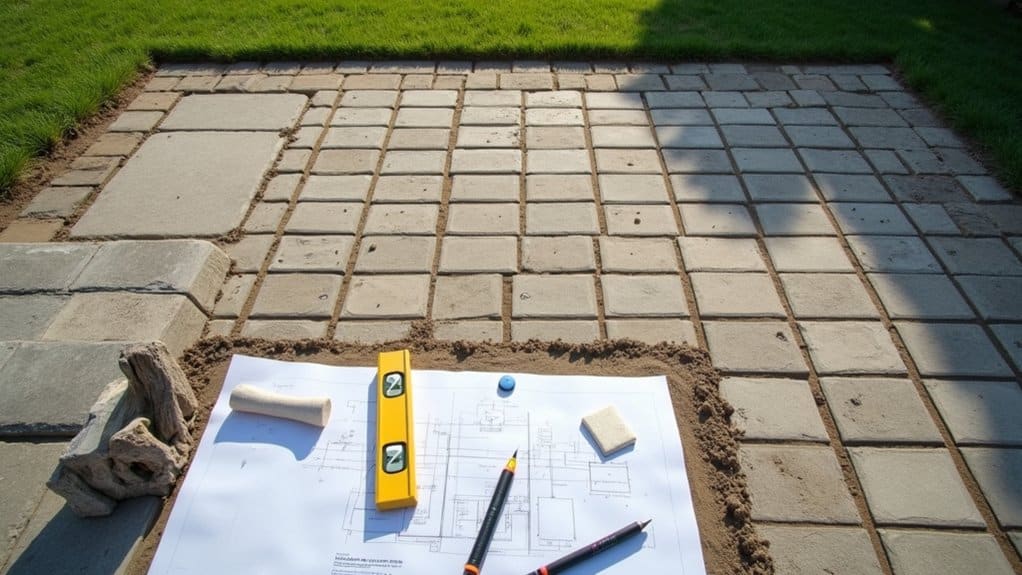
The screeded sand bed is your final working surface, once pavers start going down, every placement decision affects alignment, level, and long-term interlock. Begin at the lowest point, using string lines to maintain alignment during placement. Avoid hammering pavers into position, final compaction with a plate compactor seats them uniformly.
| Phase | Critical Action |
|---|---|
| Lay | Place pavers over screeded sand without compacting the bed beneath |
| Level | Tap high spots with a mallet after checking with a straightedge |
| Lock | Sweep polymeric sand into every joint post-compaction |
Run multiple compactor passes with 3/4-overlap coverage. Use a hand tamper along edges. Secure perimeter pavers with concrete or plastic edging before final joint filling. Any inevitable cuts needed to fit pavers into the installation area should be made using a diamond blade masonry saw while always wearing appropriate safety gear.
Frequently Asked Questions
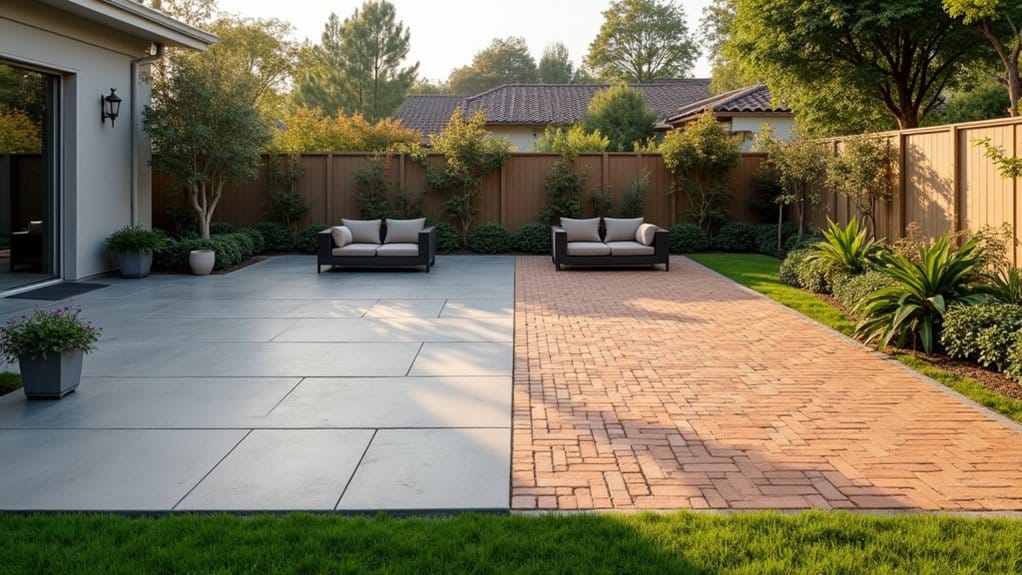
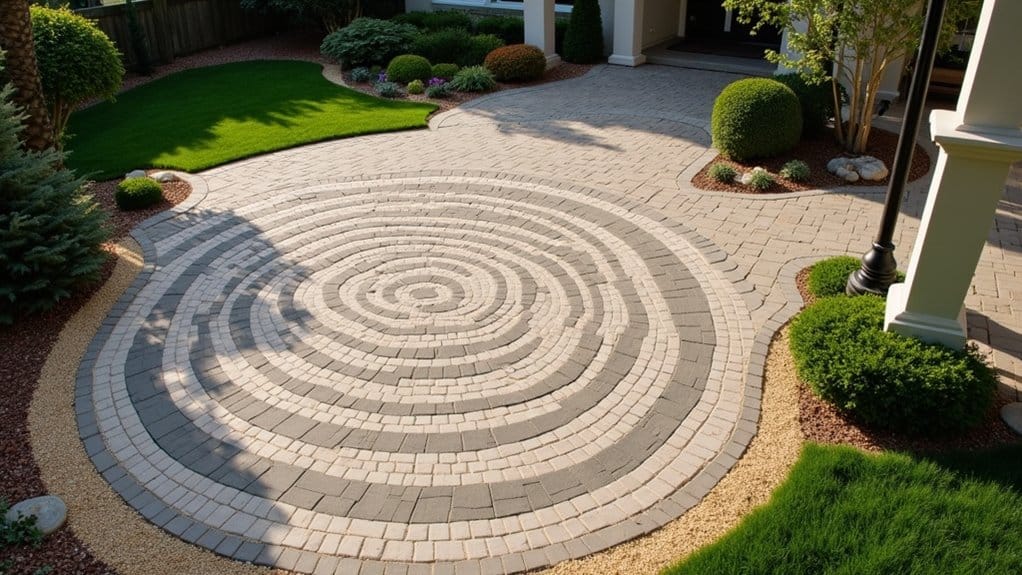
What Paver Patterns Work Best for Small Backyard Patio Designs?
You’ll find diagonal herringbone and linear patterns are your strongest paver arrangement options for small patios, as they create directional flow that visually expands tight square footage. Basketweave and running bond layouts also work well in compact areas. For maximum impact, pair large-format pavers with a deliberate paver pattern arrangement, light-colored materials reflect sunlight, while diagonal orientations add depth without consuming additional space in your design.
How Do You Calculate the Exact Quantity of Pavers Needed?
You’ll start by taking precise paver layout measurements of your project area in feet, then multiply length by width to get total square footage. Next, calculate each paver’s coverage by multiplying its dimensions in inches and dividing by 144. A paver quantity calculator divides your total area by individual paver coverage, rounding up for edge cuts. Finally, add 10, 20% extra depending on your chosen pattern’s cutting complexity.
Which Type of Joint Sand Best Prevents Weed Growth Between Pavers?
You’ll achieve the best weed prevention by using polymeric sand, a polymer based joint sand that hardens upon water activation, forming a rigid barrier against seed germination and insect infiltration. For enhanced performance, consider Joint-It Fine, its high pH and organic binding technology self-repair microcracks while maintaining water permeability. You should pressure wash joints before application and reapply sealant every 2, 3 years to sustain long-term joint integrity across your design.
What Edging Restraint Materials Are Most Durable for Paver Patios?
You’ll find porous concrete edging and metal paver restraints deliver the highest durability for patio applications. Galvanized steel restraints resist frost-cycle degradation for 8, 10 years, while concrete edging exceeds 10+ years of structural performance through extreme weather fluctuations. For site-specific demands, you should also consider porcelain tile edging, which offers superior load-bearing capacity and freeze-thaw resistance. Composite options provide a durable middle ground when you’re balancing longevity against budget constraints.
How Much Gravel and Sand Should You Budget per Square Foot?
You’ll need approximately 0.015, 0.022 cubic yards of gravel per square foot, depending on your gravel depth considerations, a 4, 6 inch compacted base is standard for patios. For sand base preparation requirements, budget roughly 0.003 cubic yards per square foot at a 1-inch leveling layer. Factor in 20% additional gravel to offset compaction loss. That translates to about one yard of gravel per 80 square feet and one yard of sand per 200 square feet.