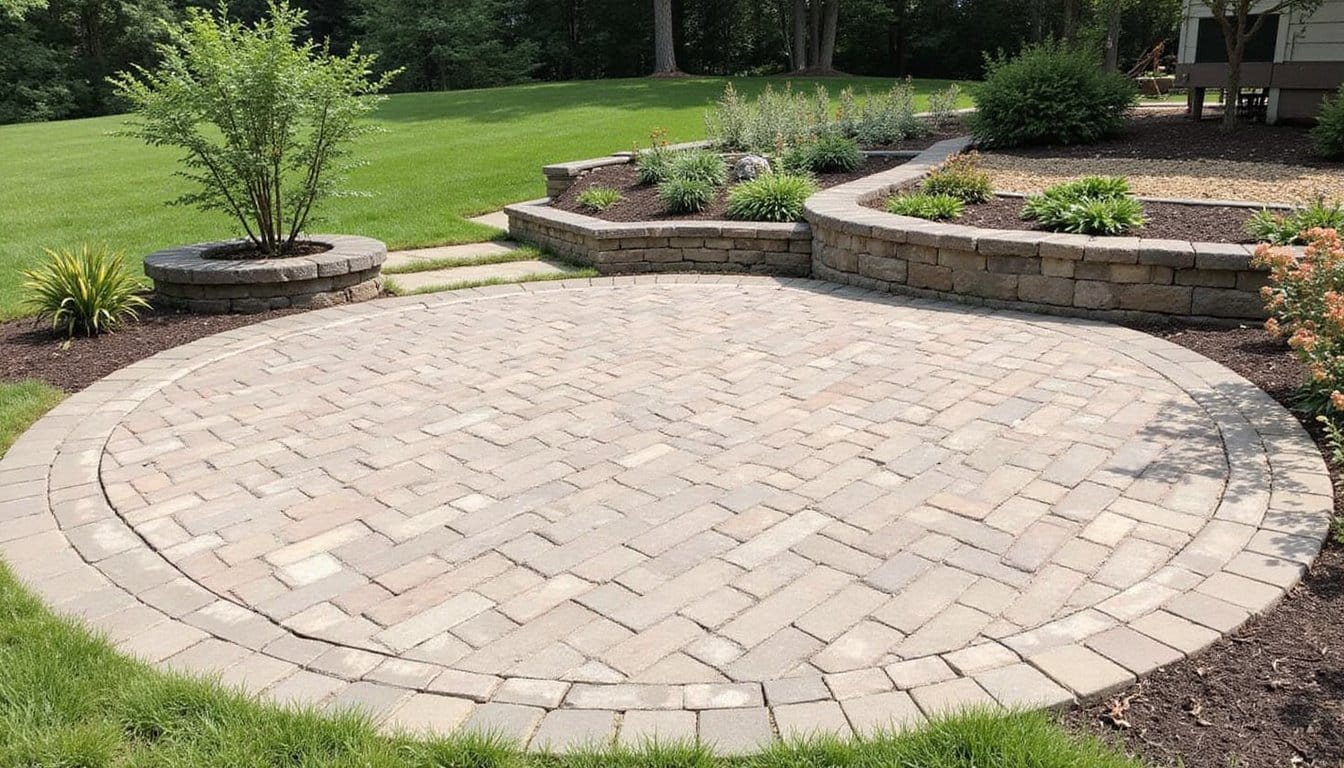
To keep your paver patio looking new, you’ll need five core habits: sweep and rinse pavers weekly to prevent grime buildup, keep joints filled with polymeric sand to block weeds, plan maintenance tasks by season to catch problems early, seal pavers before summer UV exposure fades their color, and fix cracks or loose pavers immediately to avoid costly repairs. Each of these steps plays a specific role in long-term paver protection worth exploring further below.
Sweep and Rinse Your Pavers Weekly
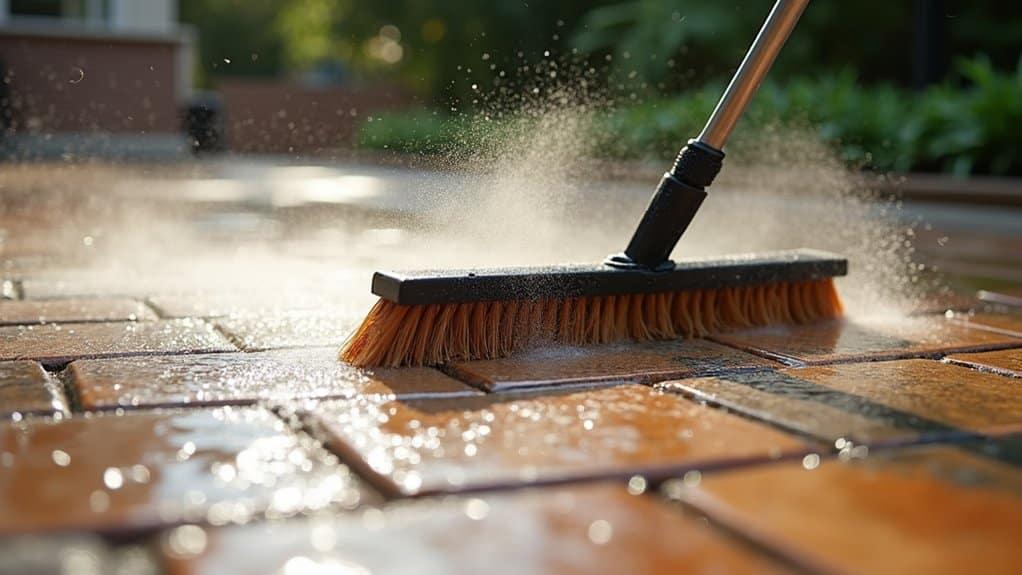
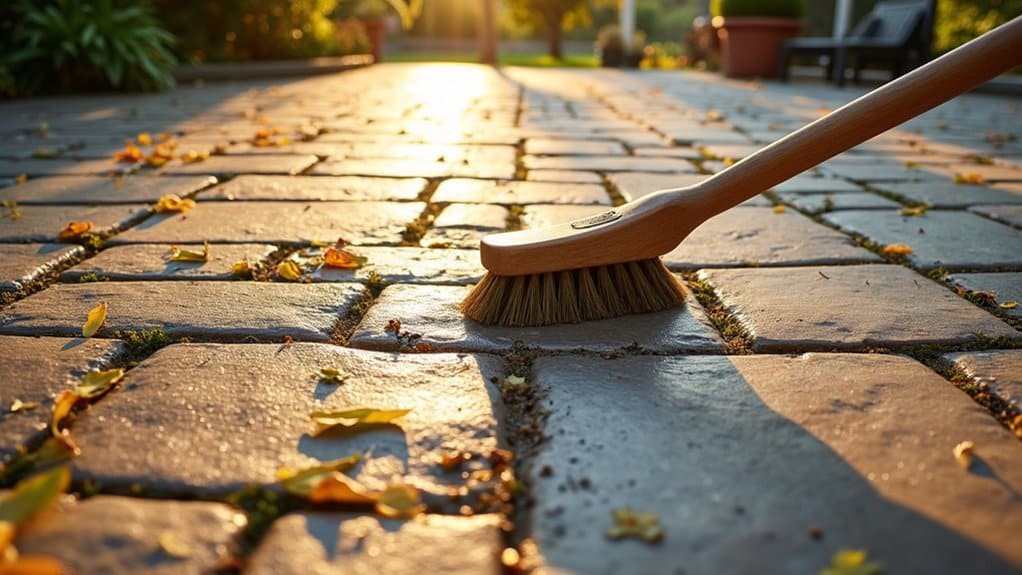
When debris like leaves, twigs, and loose dirt settle into your paver joints and surfaces, they trap moisture that encourages weed growth, staining, and long-term deterioration. Grab a stiff-bristled brush, avoid wire or steel types, and sweep thoroughly at least once a week. Focus on visible dirt accumulations and joint lines where debris collects.
After sweeping, rinse your pavers with a garden hose fitted with a spray nozzle. This routine DIY cleaning method removes dust and grime before they bond to the surface. Pair proper storage techniques for your tools with consistent scheduling, and you’ll prevent costly buildup. Adjust your frequency seasonally, increase during fall leaf drop and humid months. Before you begin, wear gardening gloves to protect hands from rough paver surfaces and cleaning irritants. A weekly sweep-and-rinse routine keeps your pavers spotless without harsh chemicals.
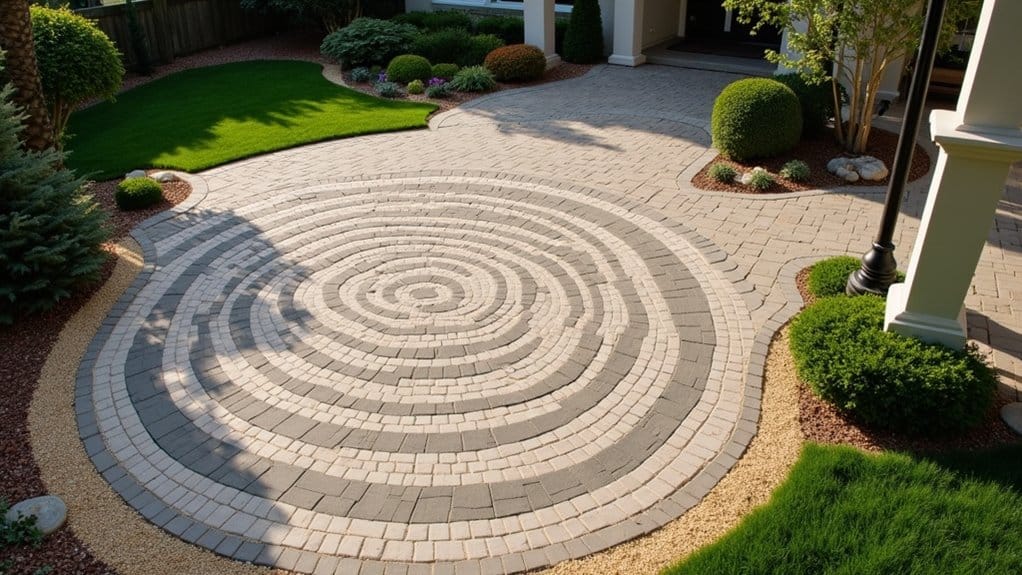
Keep Paver Joints Filled to Block Weeds
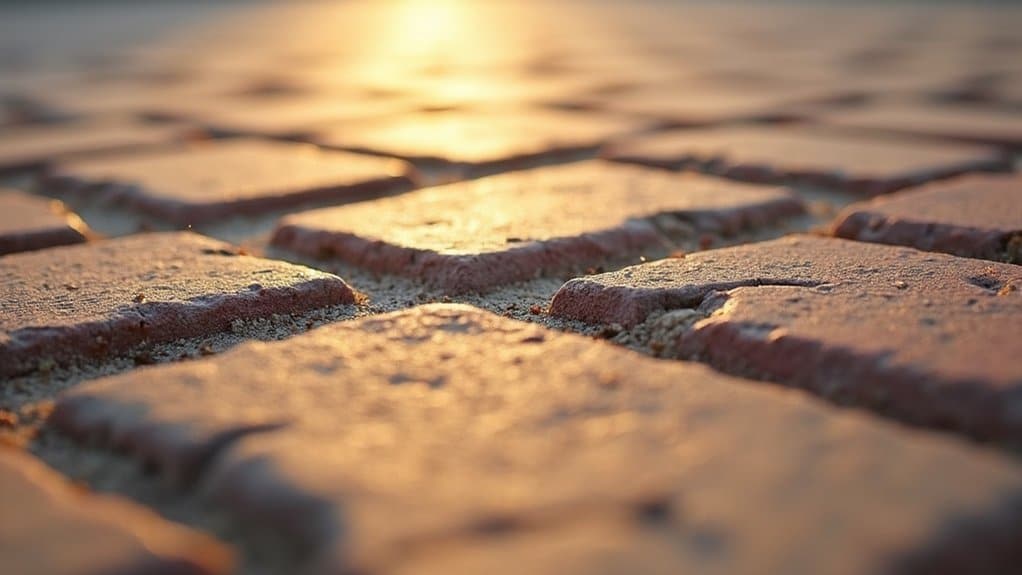
Because empty or eroded paver joints give weed seeds the perfect foothold, keeping them properly filled is your strongest defense against unwanted growth. Polymeric sand hardens when activated with water, creating a firm barrier that resists seed penetration and erosion. Beyond blocking weeds, polymeric sand also stabilizes your pavers, preventing shifting and movement over time.
To maintain weed-free joints effectively:
- Reapply polymeric sand whenever you notice gaps, sweeping it in and misting lightly to guarantee proper activation of binders
- Monitor joint condition seasonally, especially after heavy rain or freeze-thaw cycles
- Seal your pavers every 2, 3 years to lock sand in place and repel organic debris
- Avoid heavy watering for 24 hours after application to ascertain proper curing
- Remove existing weeds roots and all before refilling joints
This proactive approach keeps your patio structurally sound and weed-free long-term.
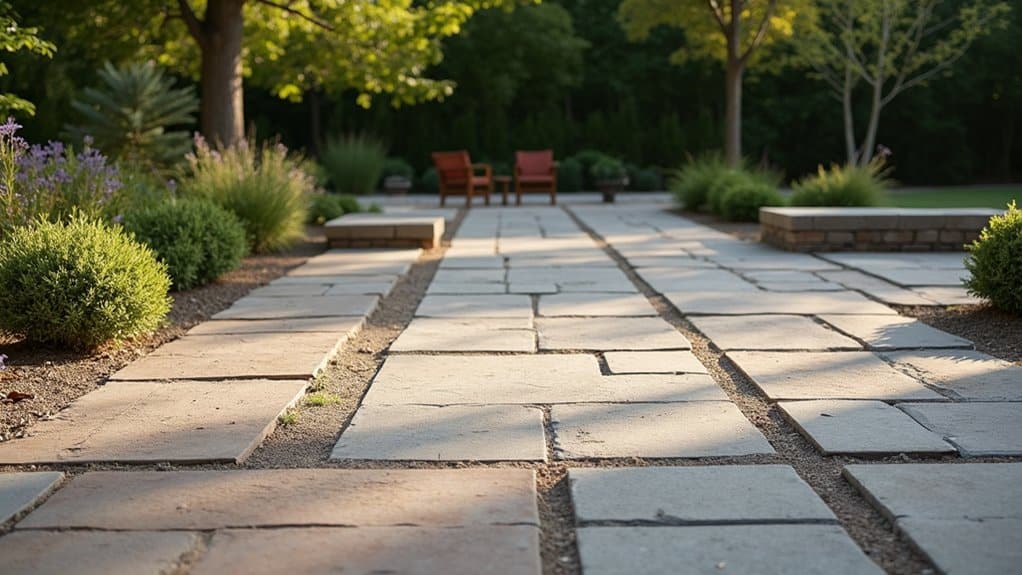
Plan Your Paver Maintenance by Season
Keeping your joints filled handles one piece of the puzzle, but a structured seasonal plan guarantees nothing else slips through the cracks.
In spring, walk your patio to detect uneven surfaces from freeze-thaw shifts, then clear winter debris from corners and shaded spots. During summer, sweep frequently, address spills immediately, and assess joint stability** monthly on high-traffic walkways. Fall demands leaf removal, edge restraint checks, and paver replacement before temperatures drop. You’ll also want to monitor drainage patterns** after rainfall to catch pooling or erosion early.
Winter requires paver-safe de-icers, regular snow removal, and vigilance for shifting pavers. Address damage promptly each season rather than deferring repairs. This proactive approach prevents minor issues from becoming costly restoration projects. Scheduling a professional inspection annually helps identify hidden risks before they compromise the structural integrity of your patio.
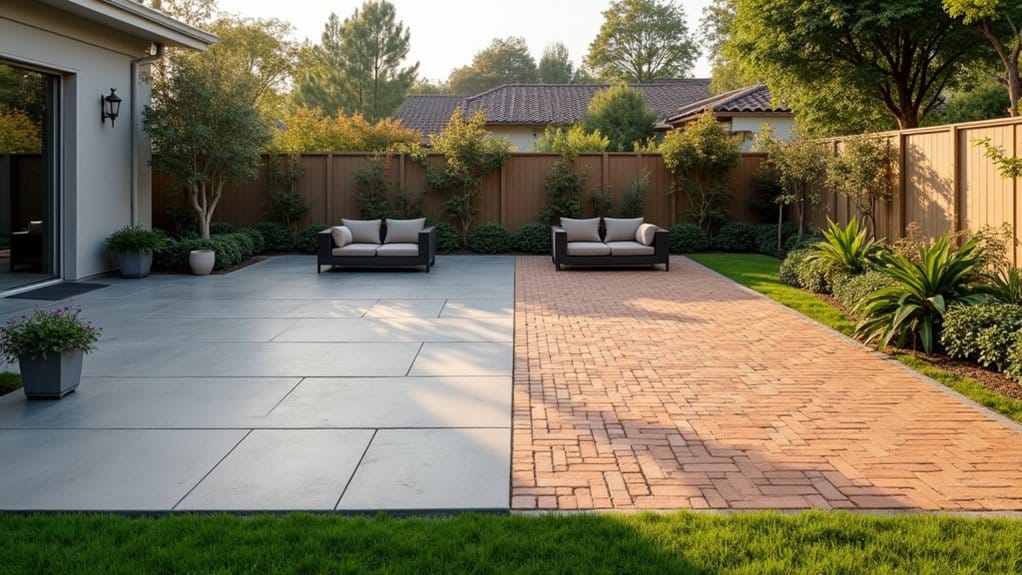
Seal Your Pavers Before Summer UV Hits
Although seasonal upkeep keeps your patio structurally sound, UV radiation quietly strips color and integrity from unsealed pavers long before visible damage appears. High-quality sealers with UV inhibitors deliver both enhanced color appearance and structural reinforcement against sun-induced deterioration.
Apply your sealer before peak summer exposure to maximize protection. Here’s what UV-resistant sealants provide:
- Color preservation that deepens paver tones and prevents sun-bleached fading
- Crack prevention by reducing damage from thermal expansion and contraction cycles
- Quick curing times of 2, 4 hours using simple roller or spray application
- Long-term cost savings by eliminating premature replacement and restoration expenses
- Property value protection through sustained curb appeal year-round
Don’t wait for visible fading, seal proactively to defend your investment against Florida’s relentless ultraviolet exposure.
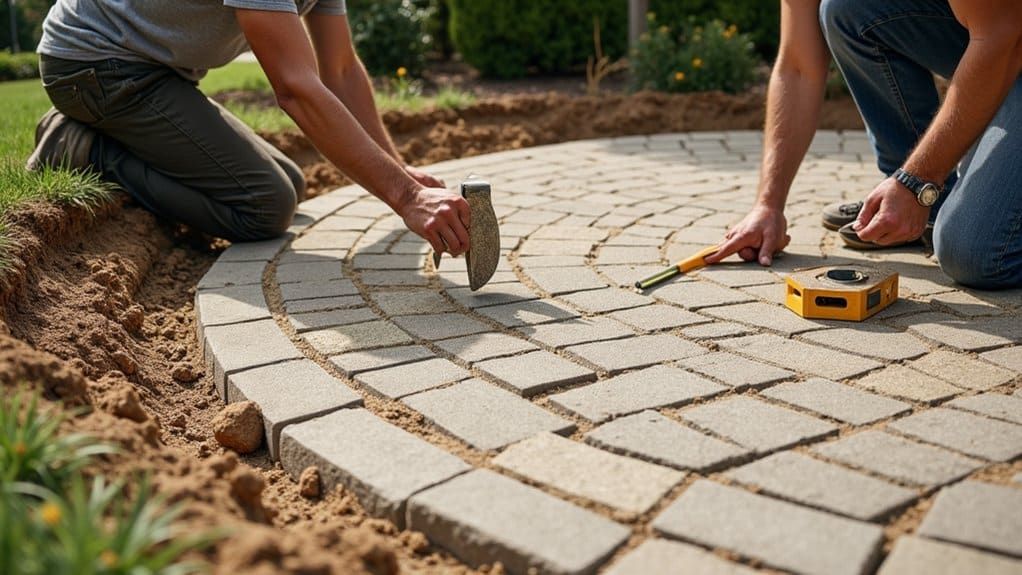
Fix Cracks and Loose Pavers Early
To address settling issues, lift affected pavers, remove old bedding material, and re-level with compacted sand or gravel. Check slope with a spirit level. Match replacements to the original size and orientation, tap them flush with a rubber mallet, then fill joints with polymeric sand. Mist lightly to activate the bond. Acting early prevents costly full-section replacements later.
Frequently Asked Questions
Can I Use a Metal Scraper to Remove Weeds Growing Between My Pavers?
You can use a metal scraper, but it’s not ideal. Avoid metal scrapers on softer stone or sealed pavers, as they’ll scratch surfaces, chip edges, and dislodge joint sand. Instead, use plastic tools or weed pullers with prongs to extract roots without damaging your pavers. Insert the tool behind the weed, lever it out, and brush debris away. Regularly inspect for weed growth so problems don’t escalate, keeping maintenance quick and your patio pristine.
What Common Cleaning Mistakes Can Damage or Discolor My Paver Surface?
Several common mistakes can damage your pavers. Using high-pressure washers dislodges joint sand and erodes surfaces, while avoiding harsh chemicals like acid-based cleaners and bleach protects against discoloration and coating damage. Skipping pre-cleaning prep traps stains beneath sealers, and inconsistent technique creates patchy, worn areas. You’ll also want to focus on preventing mineral buildup by thoroughly rinsing all cleaning solutions, since residue causes etching, staining, and slippery surfaces over time.
Should I Reapply Paver Sealant Again in the Fall for Winter Protection?
Yes, you should consider reapplying sealant before harsh winter weather arrives. Check whether water still beads on your pavers, if it doesn’t, your sealant’s worn down. Apply multiple thin coats when daytime temperatures stay between 50°F and 85°F, ensuring a 24-hour rain-free window for proper curing. Monitor paver condition annually, looking for diminished shine or surface absorption. This proactive approach prevents freeze-thaw damage, salt penetration, and costly structural repairs.
How Do I Prevent Water Pooling and Drainage Issues on My Paver Patio?
You’ll prevent water pooling by ensuring proper slope installation of 1/4 inch per foot, directing water away from your home’s foundation. Combine this with strategic drainage solutions like French drains or channel drains at the patio-house junction to capture excess runoff. You should also use permeable pavers with stone-filled joints to promote infiltration and build a compacted gravel-and-sand base that distributes water effectively beneath the surface.
Is It Safe to Use Regular De-Icing Salt on Pavers During Winter?
You can use regular de-icing salt on pavers, but it’s not ideal. Rock salt accelerates freeze-thaw damage, causes surface flaking, and degrades joint sand. Instead, choose ice melt products like calcium chloride or potassium chloride, they’re effective at lower temperatures without leaving harmful residue. A paver friendly deicer like calcium magnesium acetate is even gentler. If you do use salt, apply minimally and remove it promptly once ice melts.