
To start your backyard garden, choose a spot that gets 8-10 hours of direct sunlight and test the soil quality with a 12-inch drainage hole. You’ll need basic tools like pruners, a sturdy shovel, and a steel-tined rake, plus quality soil enriched with balanced compost. Set up smart watering solutions targeting plant roots, and select reliable starter crops like bush beans and leaf lettuce. Proper planning and these foundational elements will reveal your garden’s full potential.
Finding the Perfect Garden Location
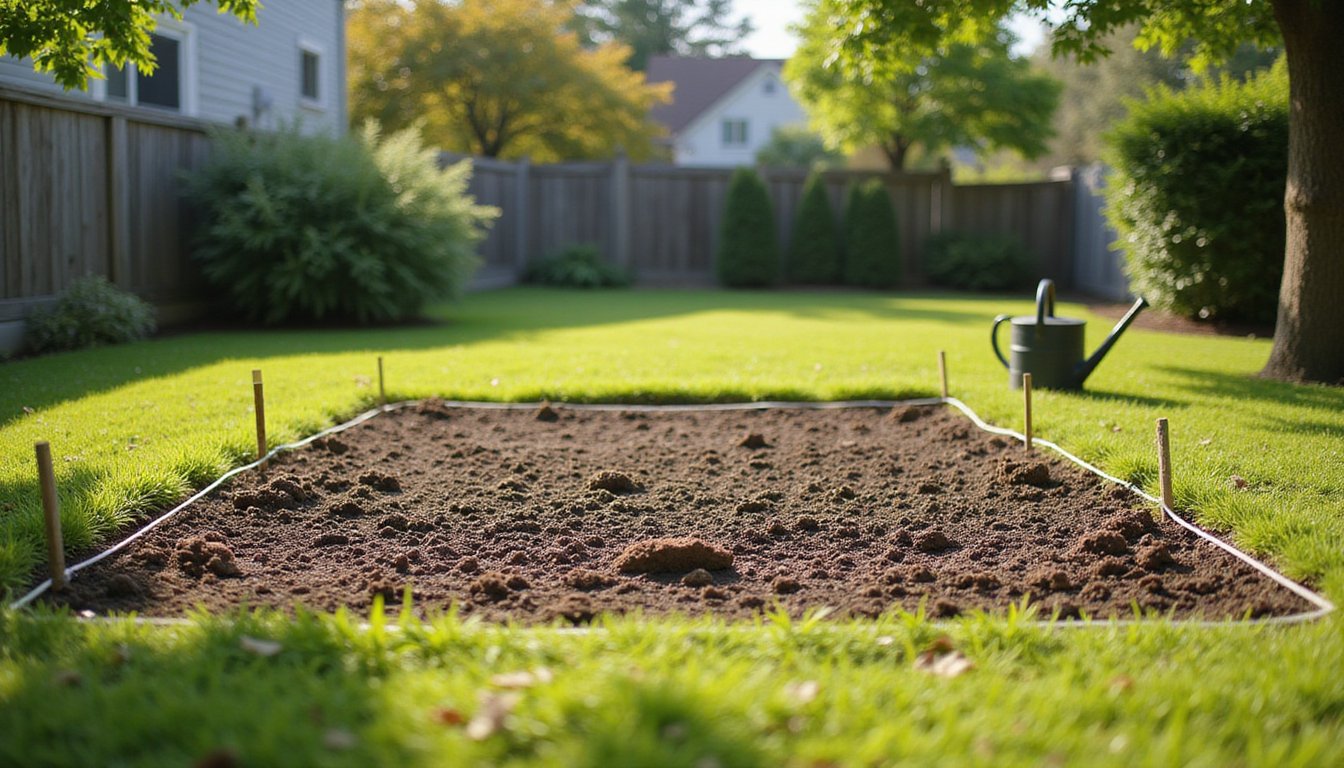
When selecting your garden’s location, prioritize areas that receive 8-10 hours of direct sunlight daily, as this exposure forms the foundation for healthy plant growth. For successful backyard gardening tips, choose spots near your house with easy access to water sources and tools. You’ll want to monitor the space throughout the day to understand sun patterns and identify potential shade issues from buildings or trees. A simple test of digging a 12-inch test hole can help evaluate soil quality and drainage before finalizing your garden site. Using a compass and measuring tape will help you mark cardinal directions for optimal sunlight planning. Testing your soil’s pH levels will ensure your plants can properly absorb nutrients for optimal growth.
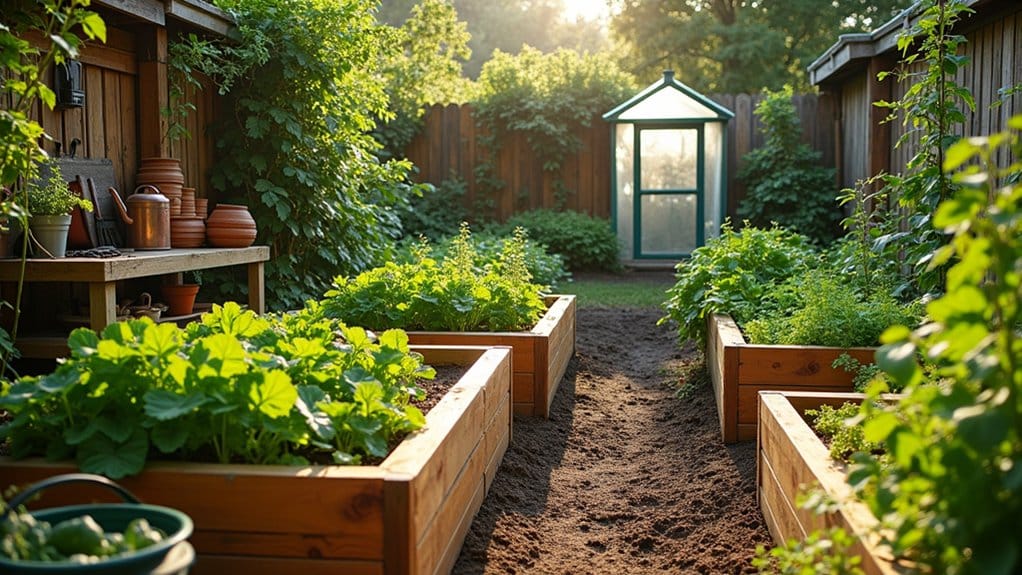
Consider seasonal planting requirements when planning your DIY garden start. South or west-facing locations typically offer ideal sunlight in the Northern Hemisphere. Guarantee proper drainage by avoiding low-lying areas where water pools, and protect your garden from hazards like chemical runoff or wildlife. Map your site thoroughly, noting water access points, existing structures, and terrain changes. This preparation will help you create an efficient, productive growing space that’s convenient to maintain. Additionally, research how to build garden beds that suit the specific plants you wish to grow, ensuring they accommodate root depth and provide adequate drainage. Consider incorporating materials that complement your garden’s aesthetics while also enhancing functionality.
Building Healthy Garden Soil
You’ll need to master three foundational elements to build rich, productive garden soil: proper composting techniques, accurate soil testing, and seasonal nutrient management. Start by testing your soil’s pH and nutrient levels before adding any amendments, which will give you a clear baseline for improvement. Once you’ve established your soil’s needs, maintain its health through consistent composting and organic matter additions that match your plants’ seasonal requirements. For about fifteen dollars, you can get a comprehensive soil test through your local county extension service that will reveal crucial information about your soil’s composition. Regular addition of organic materials creates a thriving environment for beneficial microorganisms that help cycle nutrients and maintain soil health. Including diverse cover crops helps protect the soil from erosion while naturally building fertility and suppressing unwanted weeds.
Compost Basics That Work
Building healthy garden soil starts with mastering the fundamentals of composting – nature’s recycling system that transforms ordinary yard and kitchen waste into nutrient-rich organic matter. You’ll need to maintain the right balance of “browns” (carbon-rich materials like leaves and cardboard) and “greens” (nitrogen-rich materials like grass clippings and food scraps) while ensuring proper moisture and oxygen levels through regular turning. Maintaining a proper 2:1 ratio of browns to greens is essential for optimal decomposition. Setting up your bin in a well-drained area away from fences will ensure proper drainage and accessibility. A minimum size of 3x3x3 feet will provide optimal conditions for heat retention and decomposition.
- Monitor your pile’s temperature, a well-functioning compost heap should reach 130°F during active decomposition
- Maintain moisture similar to a wrung-out sponge and turn materials weekly for ideal oxygen flow
- Look for dark, crumbly texture and earthy smell as signs your compost is ready to use
Your finished compost will dramatically improve soil structure while providing essential nutrients for thriving plants.
Testing Before You Plant
While compost enriches your soil naturally, understanding its precise chemical composition through soil testing sets the foundation for gardening success. You’ll want to collect samples from 6-8 inches deep using stainless steel tools, taking 4-8 subsamples across your garden area. For optimal nutrient availability and plant health, aim to maintain soil pH around 6.5. Consulting Master Gardener volunteers can provide valuable guidance for interpreting your test results. Proper soil testing helps prevent unnecessary fertilizing while reducing environmental impact and gardening costs.
| Testing Options | Benefits | Limitations |
|---|---|---|
| DIY Test Kits | Quick results | Basic nutrients only |
| Mail-in Labs | Thorough analysis | 5-7 day wait |
| Extension Office | Free pH testing | Limited scope |
| Home pH Meter | Instant readings | pH only |
| Pro Lab Analysis | Detailed recommendations | Most expensive |
Test sandy soils every 2-3 years and clay soils every 3-4 years. Don’t sample right after fertilizing or liming. Your results will reveal pH levels and nutrient content, guiding specific amendments needed for ideal plant growth in your garden beds.
Nutrients Through The Seasons
Understanding seasonal nutrient cycles forms the cornerstone of successful garden soil management. You’ll need to adjust your fertilization strategy throughout the year, with spring demanding about 50% of your annual nutrients to support vigorous growth. Summer requires only 20% due to slower uptake in heat, while fall needs 30% to prepare plants for dormancy. Light organic compost can help maintain soil health during winter months. Excess late-season nitrogen applications should be avoided since they can result in groundwater contamination. Maintaining the optimal pH range of 5.5 to 7.0 is crucial for vegetable growth and nutrient absorption.
To maintain ideal nutrient levels year-round:
- Apply nitrogen-rich fertilizers in spring for leafy growth, but watch for signs of excess like unusually dark foliage
- Reduce fertilization during summer heat to prevent salt buildup and root stress
- Switch to balanced nutrients in fall, emphasizing phosphorus and potassium for winter hardiness
Remember that soil texture, organic matter content, and pH greatly impact how nutrients become available to your plants. Regular soil testing will help you fine-tune these seasonal adjustments.
Must-Have Tools for Your Garden
To establish a thriving garden, you’ll need a well-curated collection of essential tools that serve distinct purposes throughout the growing season. Start with quality cutting tools: bypass pruners for live plants, a pruning saw for thick branches, and a versatile hori hori knife for multiple tasks. You’ll also need reliable digging implements, including a sturdy shovel, spade, and hand trowel with stainless steel construction. Consider a trowel with I-beam construction for maximum durability when digging and transplanting.
Don’t overlook soil management tools like a steel-tined rake and wheelbarrow for efficient material transport. Protect yourself with water-resistant gloves, eye protection, and a wide-brim hat. Keep your tools in top condition using a sharpening stone, tool brush, and linseed oil for wooden handles. Store everything on dedicated hooks or racks to prevent damage and guarantee easy access. Additionally, consider using a comprehensive guide to create backyard garden layouts that suit your space and needs. This guide can help you select the right plants, plan your garden’s design, and implement effective irrigation strategies.
Smart Watering Solutions
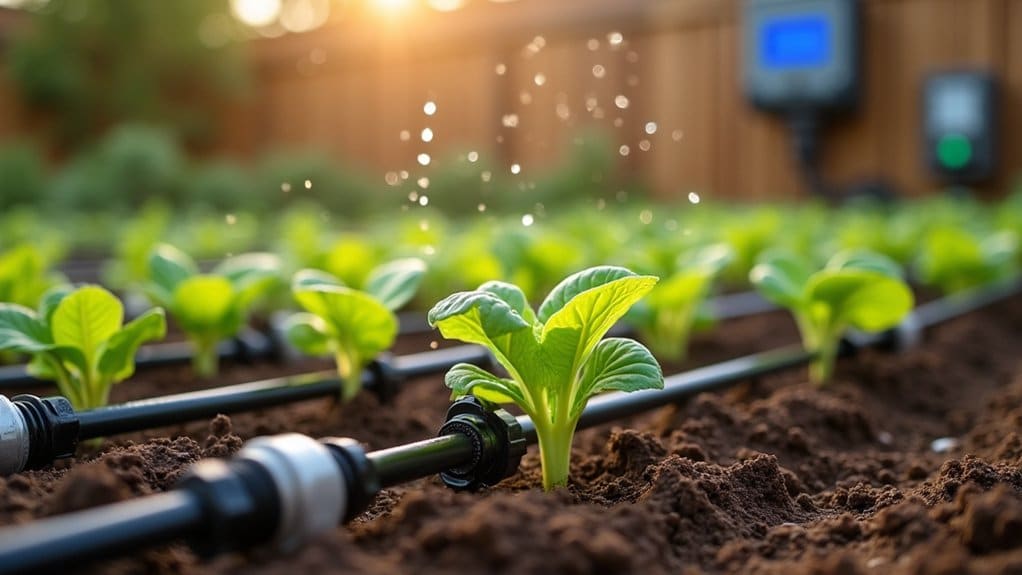
With your tools properly maintained and stored, let’s focus on maximizing your garden’s water efficiency. The key is implementing smart irrigation practices that deliver water directly to plant roots while minimizing waste. You’ll want to water early in the morning when evaporation rates are lowest, applying about half an inch per cycle to encourage deep root growth.
- Install a drip irrigation system that uses only 15 gallons per hour per 100 square feet, targeting water exactly where your plants need it
- Use a water meter and rain gauge to monitor usage, adjusting your schedule based on natural precipitation
- Apply mulch around plants to retain moisture and reduce watering frequency, while keeping soil temperature stable
Selecting and Planning Your Crops
Starting your first garden becomes easier when you select reliable, fast-growing crops like bush beans, leaf lettuce, and cherry tomatoes that provide quick success and boost confidence. You’ll want to grab a local planting calendar that shows exactly when to sow your cool-season crops (peas, spinach, radishes) in early spring and your warm-season vegetables (tomatoes, peppers, squash) after the last frost date. Creating a month-by-month planting schedule helps you maximize your growing space and guarantees you’ll have fresh harvests throughout the season.
First-Time Garden Favorites
Successful first-time gardeners often start with five reliable, low-maintenance crops that consistently deliver satisfying results. Lettuce provides quick harvests and thrives in partial shade, while bush beans offer high yields and improve soil quality. Zucchini produces abundantly with minimal care, though one or two plants suffice for most households. Tomatoes reward even novice growers with versatile fruits, and spring onions provide continuous harvests for both salads and cooking.
- Choose leafy greens for succession planting and easy integration with other crops
- Maximize vertical space by trellising climbing varieties like pole beans
- Consider container-friendly options like lettuce and spring onions for flexibility in placement
Select these starter crops to balance effort with reward while building your gardening confidence. They’ll provide fresh produce throughout the season with basic care and attention.
Seasonal Planting Calendar
When should you plant each crop in your garden? Success depends on understanding your local frost dates and USDA Hardiness Zone. You’ll need to time your plantings around your region’s last spring and first fall frosts, typically spanning 120-180 frost-free days.
Start cool-season crops like spinach and lettuce in early spring and again in late summer for fall harvest. Plant warm-season vegetables such as tomatoes, beans, and corn after all frost danger passes. For continuous harvests, use succession planting, sow beans and summer squash every 2-3 weeks. In fall, focus on beets, broccoli, and root vegetables. During winter months, plan next season’s layout and order seeds. Remember to add 18 days to each crop’s maturity date as a harvest buffer before frost.
Keeping Your Garden Thriving Year-Round
To maintain a thriving garden throughout all seasons, you’ll need a systematic approach that combines proper planning, consistent maintenance, and adaptive care strategies. Dedicate at least 15 minutes daily to essential tasks like weeding, watering, and pest inspection. This proactive approach prevents problems from escalating and keeps your garden healthy year-round. Additionally, consider seeking professional help if your garden requires extensive work or special expertise, such as landscaping services in North Palm Beach. These professionals can provide tailored advice and solutions to enhance your garden’s health and aesthetics.
Your success depends on implementing these proven strategies:
- Monitor soil health regularly, testing pH levels in spring and amending with compost or natural fertilizers to guarantee ideal growing conditions
- Establish efficient watering routines using drip irrigation systems, scheduling deep watering sessions during early morning or late evening hours
- Practice integrated pest management by conducting weekly inspections, removing diseased plant material promptly, and using eco-friendly controls like beneficial insects or neem oil
Frequently Asked Questions
How Do I Keep Neighborhood Cats From Using My Garden as Litter?
You can deter cats from your garden using several effective methods. Start by laying physical barriers like chicken wire, bamboo sticks, or landscape cloth on the soil. Scatter citrus peels or plant strong-smelling herbs like Coleus canina as natural repellents. Install motion-activated sprinklers to startle unwanted visitors. For added protection, maintain dense plant coverage and keep soil moist, as cats prefer dry, bare areas for toileting.
When Should I Start Seedlings Indoors Before the Outdoor Growing Season?
You’ll need to start most seedlings 4-10 weeks before your region’s last spring frost date. Cold-hardy crops like onions and leeks need 8-10 weeks, while tomatoes and peppers require 6-8 weeks. Start brassicas 4-6 weeks ahead, and vining crops just 2-4 weeks before frost. Don’t start too early; leggy seedlings won’t thrive. Check your local frost dates and count backward, using your seed packets as guides for specific timing.
Which Vegetables Can Grow Together in the Same Container?
You’ll find several vegetables that thrive together in containers. Pair tomatoes with basil and onions; they’ll share water needs while basil enhances tomato flavor and onions deter pests. Try leafy greens with chives, or spinach with strawberries. Eggplants grow well with beans, which fix nitrogen in the soil. For root vegetables, combine leeks and carrots since they won’t compete. Just make certain your container’s big enough for proper root development.
How Do I Prevent Squirrels From Digging up Newly Planted Seeds?
You’ll need to create multiple barriers to protect your newly planted seeds from squirrels. Start by covering the soil with chicken wire or mesh, and spray seeds with homemade hot pepper solution before planting. Sprinkle cayenne pepper or coffee grounds around your garden beds, and consider planting deterrent herbs like mint and rosemary nearby. Keep soil consistently damp through regular watering, and plant seeds deeper, at least six inches, to discourage digging.
What’s the Best Way to Store Excess Produce From My Garden?
You’ve got several effective options for storing your garden’s bounty. For maximum shelf life, freeze vegetables after blanching them in airtight containers or vacuum-sealed bags. You can also try traditional canning in glass jars, which preserves nutrients and flavor. For root vegetables, consider creating a cool storage area in your garage or building a root cellar. Don’t forget that pickling and fermenting offer delicious ways to extend your produce’s usability.