Start your backyard garden by conducting a thorough site assessment – measure your space, test soil pH (aim for 6.0-6.5), and map water sources. You’ll need basic tools like hand rakes, pruning shears, and a wheelbarrow for material transport. Choose sustainable materials like recycled lumber for raised beds and create paths with permeable pavers. Maintain 2-3 feet between beds for access, and slope the ground 2-3% for drainage. The following sections will guide you through each essential step of your garden’s development.
Site Assessment and Measurement Basics
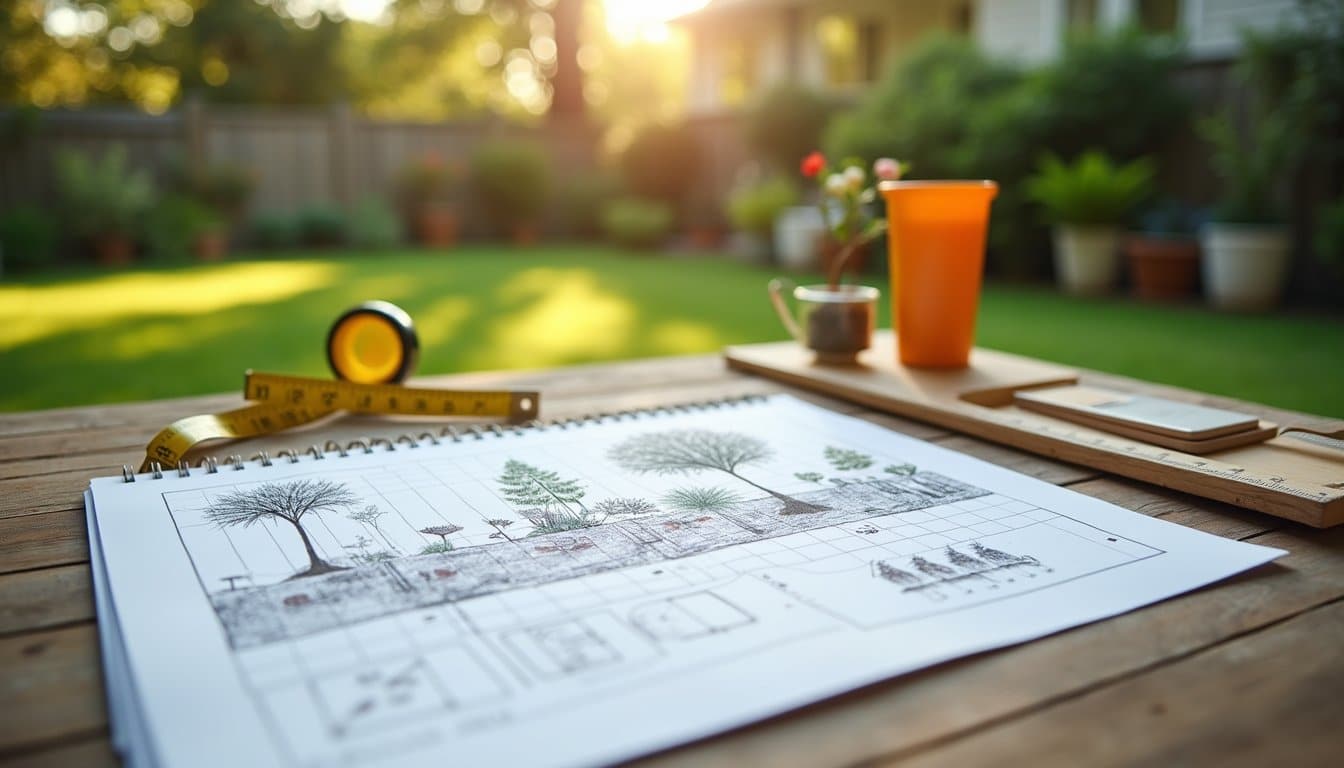
A thorough site assessment forms the foundation of any successful backyard garden. When planning your DIY backyard garden, you’ll need to evaluate vital factors like sunlight exposure, water accessibility, and existing structures. Start by measuring your available space – for rectangular areas, multiply length by width, and for irregular shapes, break them into basic geometric sections. These accurate measurements prevent waste when purchasing materials and supplies for your garden project.
Before installing raised beds, conduct essential soil tests to determine drainage and composition. Fill a test hole with water; proper drainage occurs when water dissipates within 24 hours. Maintaining a detailed vision board can help guide your garden design and plant selection decisions. Document your findings using scaled sketches and a site assessment checklist. For your backyard gardening setup, note microclimates created by buildings or trees, and mark the locations of water sources and potential hazards. Consider slope measurements, as these affect water flow and erosion potential.
Essential Garden Planning Steps
While developing your backyard garden, proper planning creates the foundation for long-term success. Start by determining your growing zone and analyzing seasonal planting windows to select appropriate crops. You’ll need to map your garden’s water sources and design beds with ideal drainage, incorporating irrigation systems where needed. The yard should maintain a 2-3% slope away from structures for proper water flow. Assess your available space and sunlight exposure carefully to determine optimal plant placement.
Create clear pathways that allow easy access for maintenance and tool movement. Your paths should be wide enough for wheelbarrows while keeping bed widths manageable for reaching plants. Consider vertical growing options to maximize space efficiency, and plan zones for composting and storage areas. Prepare to document unique site conditions through a comprehensive inventory that captures the property’s features and flaws.
Establish a record-keeping system to track planting dates, weather patterns, and crop performance. Document your successes and challenges, which will help you refine your garden strategy each season.
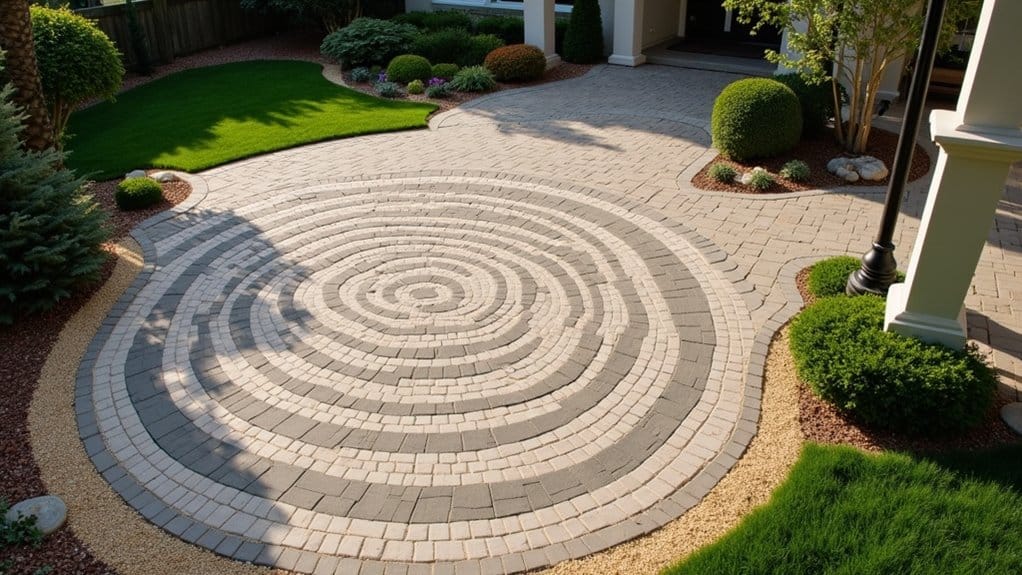
Design Elements and Layout Strategies
Successful garden design integrates five core principles: unity, balance, proportion, rhythm, and focalization. You’ll achieve unity by repeating elements throughout your space, while balance comes from creating either symmetrical or asymmetrical layouts that feel equally weighted. Consider proportion carefully to guarantee all features complement your home’s architecture. Contemporary gardens often blend Eastern and Western traditions to create structured yet naturalistic outdoor spaces. Dividing the garden into distinct functional rooms helps create organized zones for different activities and purposes.
For ideal space utilization, choose from these proven layout strategies:
- Border gardens along fences maximize limited spaces
- L-shaped beds make efficient use of sunny corners
- Raised beds improve accessibility and organization
- Mixed hardscape-softscape combinations add versatility
- Vertical gardening expands growing area without using ground space
When planning features, map your primary and secondary pathways first, then position focal points strategically. Consider incorporating multi-functional elements like seating walls or storage benches to maximize utility in smaller spaces. A minimum spacing of 2 to 3 feet between raised beds ensures proper access for maintenance equipment like wheelbarrows. Additionally, incorporate varying heights and textures to add visual interest and depth to your design. Remember that creating your ideal outdoor space involves selecting plants and materials that reflect your personal style while also being practical. If you’re looking for professional help to bring your vision to life, consider hiring landscaping services in North Palm Beach. They can provide valuable insights and expertise to ensure your outdoor space is not only beautiful but also functional.
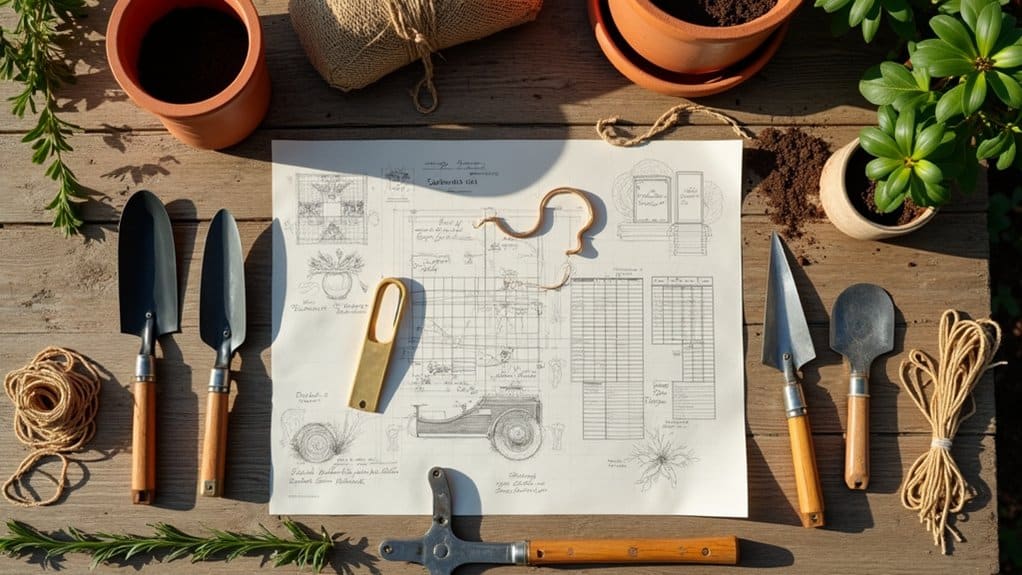
Required Tools and Equipment
Equipping your garden with the right tools forms the foundation of efficient and successful gardening. You’ll need four essential categories of tools: digging and soil preparation, planting and transplanting, cutting and pruning, and ground maintenance equipment. Hand rakes with flexible fan-shaped tines are particularly effective for cleaning garden rows and protecting delicate plants during maintenance. A core aerator can help create essential drainage channels in compacted soil. Using bypass pruning shears provides cleaner cuts on live plants compared to anvil types. Don’t forget safety gear, including sturdy boots, protective eyewear, and garden gloves. For soil movement and material transport, invest in a quality wheelbarrow or garden cart. Keep your tools sharp and maintained with proper sharpening equipment and storage solutions to extend their lifespan.
| Tool Category | Primary Uses | Key Features |
|---|---|---|
| Soil Prep | Digging, aerating, turning | Stainless steel heads, ergonomic handles |
| Planting | Transplanting, seeding, bulb setting | Precision instruments, durability |
| Pruning | Branch cutting, shaping, dividing | Hardened steel blades, clean cuts |
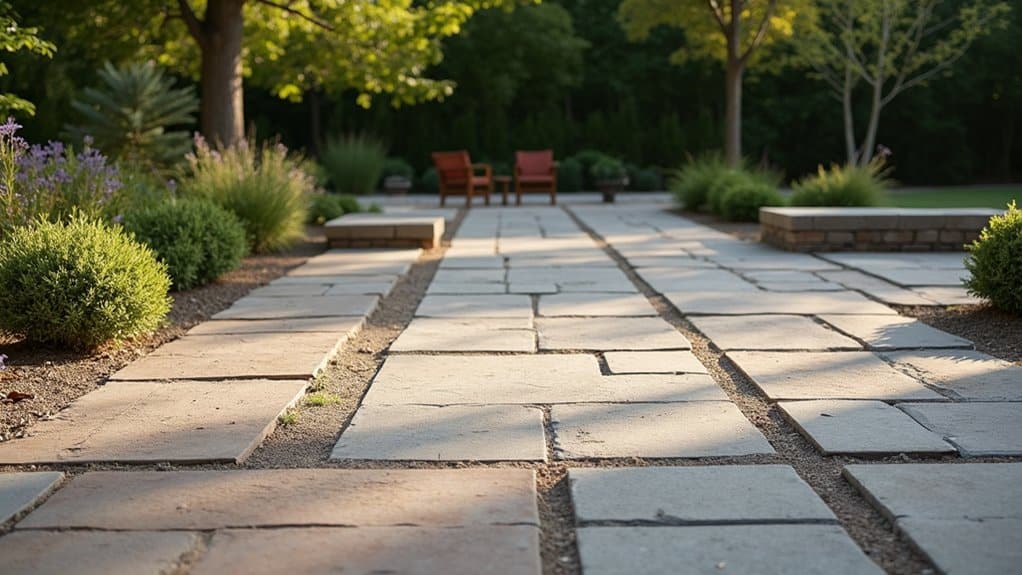
Choosing Construction Materials
When selecting materials for your garden construction, you’ll need to weigh the environmental impact against durability and cost factors. For sustainable options, consider recycled concrete aggregate (RCA) or wood composite materials, which offer excellent longevity while reducing environmental impact and maintenance needs. Natural stone provides the highest durability but comes at a premium price point, while treated wood offers a cost-effective solution but requires regular maintenance to prevent weathering and rot. Incorporating reclaimed materials can add unique character to your garden space while supporting eco-friendly construction practices. Decorative pavers can be arranged in interlocking patterns to create visually striking pathways and patio spaces. Rubber mulch provides an eco-friendly option that can last significantly longer than organic mulch, with a lifespan of decades when properly maintained.
Sustainable Material Options
Building a sustainable backyard garden starts with choosing eco-friendly construction materials that minimize environmental impact while maximizing durability. You’ll want to prioritize recycled, locally sourced, and rapidly renewable materials that support both environmental conservation and garden functionality. These materials significantly reduce your garden’s ecological footprint while creating a beautiful outdoor space.
- Use recycled plastic lumber or reclaimed wood for raised beds and structures
- Select permeable pavers or gravel for pathways to improve water absorption
- Incorporate FSC-certified bamboo or willow for trellises and fencing
- Source local stone, soil, and mulch to reduce transportation emissions
- Choose organic, non-toxic materials for soil amendments and finishes
Consider using coir or jute for erosion control, and implement rain gardens with engineered soils to manage stormwater effectively. By selecting materials that regenerate quickly and avoid harmful chemicals, you’ll create a garden that’s both environmentally responsible and productive.
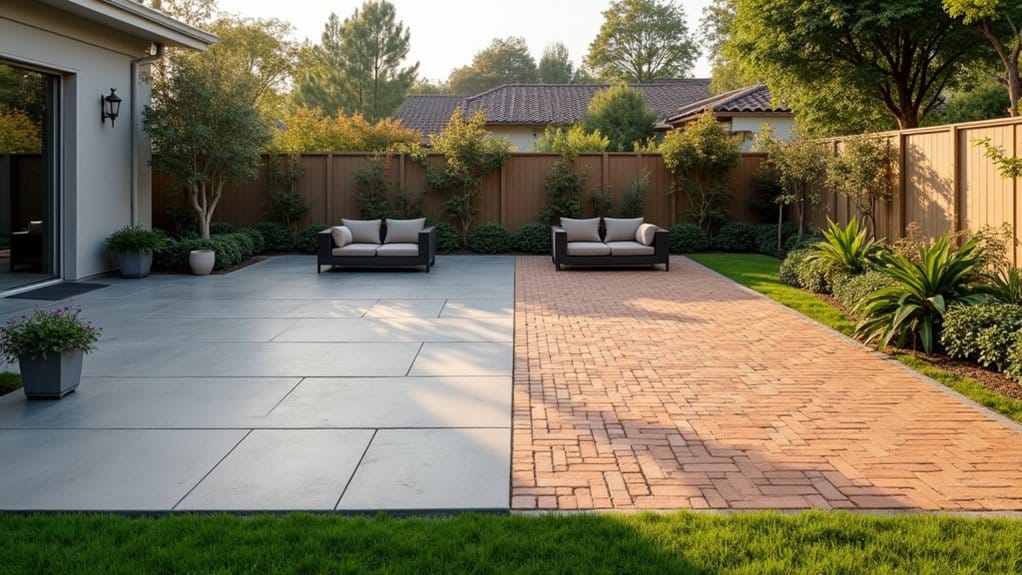
Durability and Cost Analysis
Selecting the right construction materials for your backyard garden requires careful analysis of both durability and cost factors. Natural stone offers the longest lifespan at $15-$50 per square foot, making it ideal for permanent structures despite higher upfront costs. If you’re working with a moderate budget, concrete pavers ($8-$25/sq ft) provide a reliable 25-50 year solution with easier repair options.
For raised beds, consider composite materials over wood. While wood costs less initially ($3-$10/sq ft), composites last 15-25 years with minimal maintenance. For pathways, gravel presents the most cost-effective option at $1-$5/sq ft, though you’ll need periodic leveling. Brick and porcelain tiles ($10-25/sq ft) strike a balance between durability and cost, lasting decades with proper installation and minimal upkeep.
Soil Preparation and Amendment
Before planting your garden, you’ll need to test your soil’s pH level using a reliable testing kit or professional lab service to guarantee it falls within the ideal 6.0-6.5 range for vegetables. You’ll want to incorporate high-quality organic matter like compost, aged manure, or leaf mold to improve soil structure and nutrient availability, working it into the top 7-8 inches of soil. If your pH test reveals acidic conditions, apply dolomitic lime at least 2-3 months before planting to adjust the pH and supplement magnesium levels.
Testing Soil Ph Levels
Since soil pH directly affects nutrient availability and plant health, testing your garden’s pH levels is an essential first step in soil preparation. You’ll need to gather distilled water, clean containers, and either a digital pH meter, test strips, or a professional mail-in kit for accurate results.
For reliable DIY testing, use the slurry method by following these key steps:
- Collect soil samples from multiple areas at consistent depths
- Mix equal parts soil and distilled water in a clean container
- Let the mixture settle for 15-30 minutes, stirring occasionally
- Insert your calibrated pH meter into the stabilized slurry
- Record readings to identify areas needing amendment
If readings fall below 6.0, you’ll need lime amendments; above 7.0, consider adding sulfur. Most garden plants thrive in slightly acidic to neutral conditions (pH 6.0-7.0).
Adding Organic Matter Properly
The addition of organic matter stands as one of the most critical steps in preparing healthy garden soil. You’ll want to incorporate 2-3 inches of organic materials like compost, well-rotted manure, or leaf mold into the top 6 inches of your soil annually. Target a soil organic matter content of 4-8%, with vegetable gardens benefiting from levels up to 10%.
When adding organics, thoroughly mix them into your soil without over-tilling. If you’re working with new beds, use the double-digging method to guarantee even distribution. Don’t apply fresh manure directly; it must be composted first to prevent plant damage. For poor-draining sites, consider raised beds or mounded soil enriched with organic matter. This practice will improve moisture retention, soil structure, and nutrient availability while supporting beneficial soil organisms.
Smart Plant Selection Guide
Successful plant selection begins with a thorough assessment of your garden’s unique conditions and constraints. You’ll need to match plants to your specific climate zone, sun exposure patterns, and soil characteristics. Consider your yard’s microclimate factors like wind exposure, temperature fluctuations, and drainage rates to guarantee plant survival.
- Check your USDA hardiness zone for climate-appropriate selections
- Test soil pH and structure to match plant requirements
- Group plants by water needs for efficient irrigation
- Choose native species for lower maintenance and ecological benefits
- Select plants based on mature size to prevent overcrowding
Focus on sustainability by incorporating drought-tolerant and disease-resistant varieties. You’ll want to balance functional needs like privacy or shade with aesthetic elements such as seasonal color and texture. For problematic areas, opt for specialized plants adapted to challenges like deer pressure, poor soil, or salt exposure.
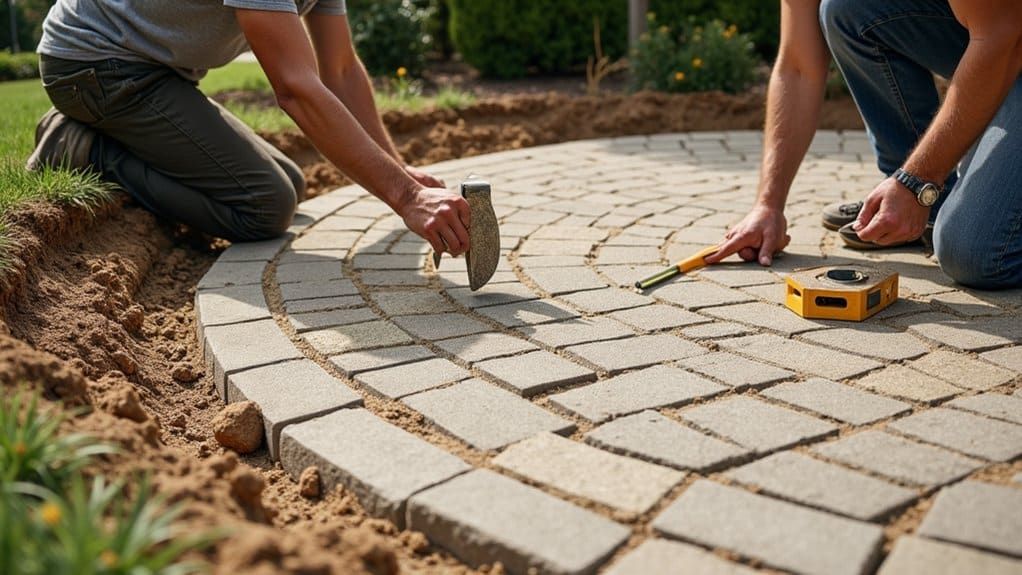
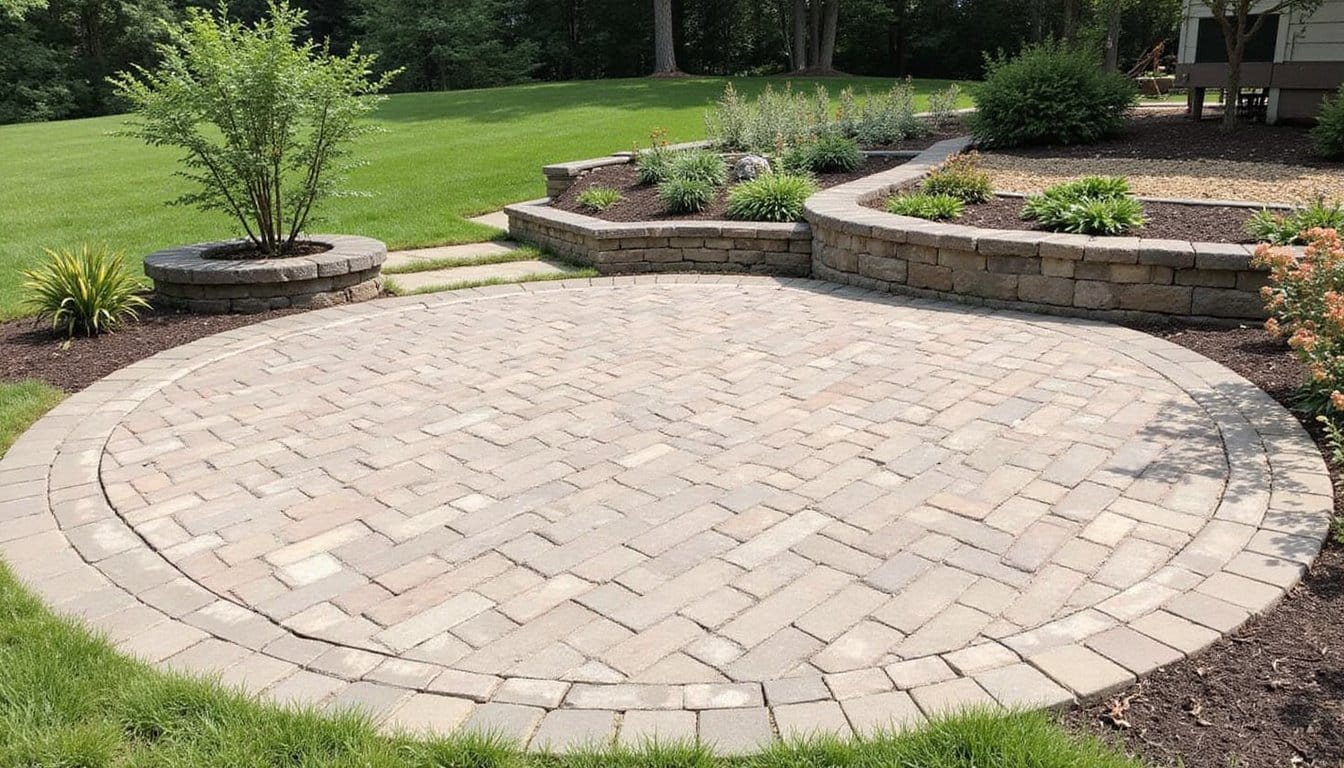
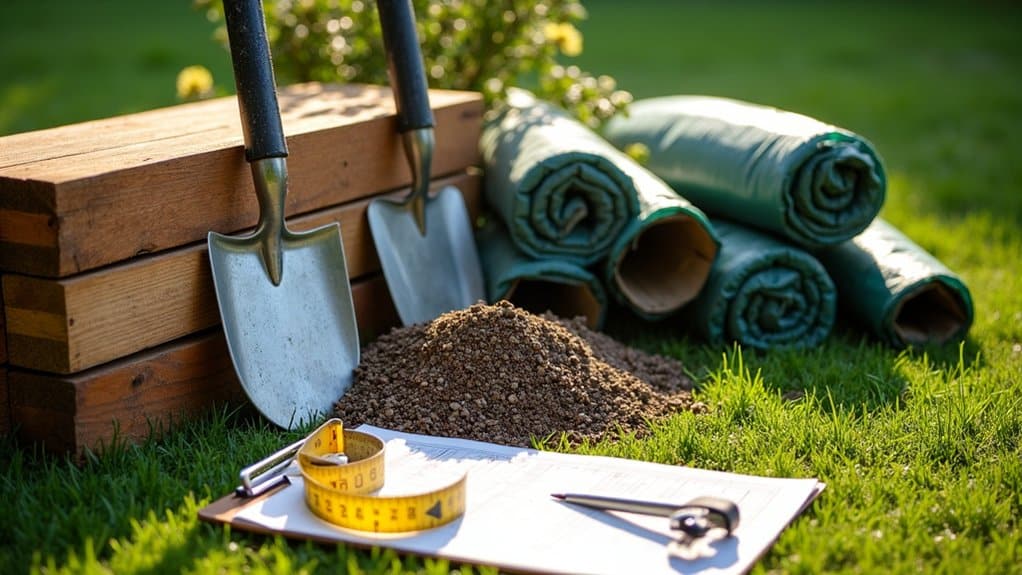
Installing Garden Features and Pathways
Installing garden features and pathways begins with meticulous site preparation and material selection. You’ll need to mark your layout using stakes and string, then clear the site of vegetation and debris. Excavate 2-6 inches deep, depending on your chosen materials. Once the site is prepared, it’s essential to follow a structured approach to ensure a seamless installation. Step by step gardening for beginners will help you understand each phase, allowing you to tackle the project with confidence. After laying down your pathways, remember to compact the base material to ensure stability and prevent shifting over time.
For pathways, maintain a 3-foot width and create a proper foundation with crushed stone, followed by leveling sand and your surface material. You’ll want to slope paths 1/4 inch per foot for drainage and install sturdy edging to prevent material spread. When installing features like benches or arbors, make certain they match your garden’s aesthetic and use weather-resistant materials.
Don’t forget to add a weed barrier beneath paths and features, and consider incorporating lighting for safety. Regular maintenance includes refilling joints between pavers and promptly repairing any settling or damage.
Sustainable Garden Infrastructure
Building sustainable garden infrastructure complements well-designed pathways and features by focusing on long-term environmental impact and resource efficiency. You’ll want to incorporate water management systems like rainwater harvesting and drip irrigation, while using permeable surfaces to reduce runoff. Select eco-friendly materials for your garden structures, prioritizing recycled, reclaimed, or low-impact options.
Sustainable gardens thrive on smart infrastructure, combining eco-friendly materials with efficient water management to create lasting, environmentally responsible spaces.
- Install soaker hoses and rain barrels to optimize water usage
- Use reclaimed wood or recycled composites for raised beds
- Create permeable pathways with gravel or recycled pavers
- Build trellises from sustainable materials like bamboo
- Incorporate rain gardens to manage stormwater naturally
When constructing your garden’s foundation, integrate deep soil preparation techniques and implement proper drainage systems. This approach guarantees your garden’s longevity while minimizing its environmental footprint through smart material choices and resource conservation strategies.
Frequently Asked Questions
How Long Should I Wait After Building Raised Beds Before Planting?
You’ll need to wait several days to 2 weeks after filling your raised beds to allow proper soil settling. Water the soil in 3-6 inch layers during installation to speed up compaction. For best results, build your beds in fall for natural settling over winter. If you’re planting immediately, make sure you’ve leveled the soil with a rake and maintained moisture without saturation. Test drainage and watch for signs of uneven settling before adding plants.
What’s the Ideal Height for Raised Garden Beds to Prevent Back Strain?
You’ll want to build your raised garden beds between 24-30 inches high for ideal back strain prevention. This height allows you to maintain an upright posture while gardening at waist level, greatly reducing pressure on your knees and spine. If you’re planning to garden while seated, this height range is particularly beneficial as you can sit on the bed’s edge while working. It’s a proven ergonomic standard that works for most adults.
Should I Remove Grass Completely Before Building Garden Beds?
Yes, you should completely remove grass before building garden beds, especially for in-ground or low raised beds. For beds under 8 inches tall, grass removal prevents unwanted regrowth and nutrient competition. You’ll need to supplement with compost after removal to replace lost organic matter. While tall beds (12+ inches) can work without grass removal using cardboard barriers, complete removal guarantees better long-term success and easier maintenance.
How Far Apart Should I Space Multiple Raised Garden Beds?
You’ll want to space your raised garden beds 18-24 inches apart for basic access, or 24-36 inches if you need wheelbarrow clearance. This spacing guarantees proper air circulation, prevents plant shadowing, and allows easy maintenance. For beds near fences, maintain 12-18 inches of clearance. If you’re planning U-shaped or L-shaped beds, opt for wider 24-36 inch paths at corners and intersections to accommodate turning radius and tool maneuverability.
Can I Build a Garden Over Existing Tree Roots?
While you can garden near tree roots, it’s risky and requires careful planning. You’ll need to avoid adding more than 2-3 inches of soil over existing roots, as this can suffocate them. Your best options are to plant small, shallow-rooted species or install raised beds with sheet metal barriers. Keep new plantings several feet from tree trunks and choose shade-tolerant, drought-resistant varieties. Monitor both tree and garden health regularly.