Your backyard garden bed setup requires careful planning for success. Choose a location with 6-8 hours of daily sunlight and position beds north-south for maximum exposure. Build beds 3-4 feet wide using untreated cedar or redwood for longevity, and guarantee paths are at least 18 inches wide for easy access. Fill with a 50/50 mix of topsoil and compost, adding perlite for drainage. Understanding these foundational elements will set you up for years of productive growing.
Planning Your Garden Bed Location and Layout
Where you place your garden beds can make or break your growing success. When planning your raised garden beds, prioritize locations that receive 6-8 hours of direct sunlight daily, with south-facing spots being ideal for most vegetable bed setups. You’ll want to position tall crops and trellises on the north side to prevent shading shorter plants. Group crops by family to optimize your garden space and make rotation easier. For hot climates, aim to utilize morning sun exposure when possible.
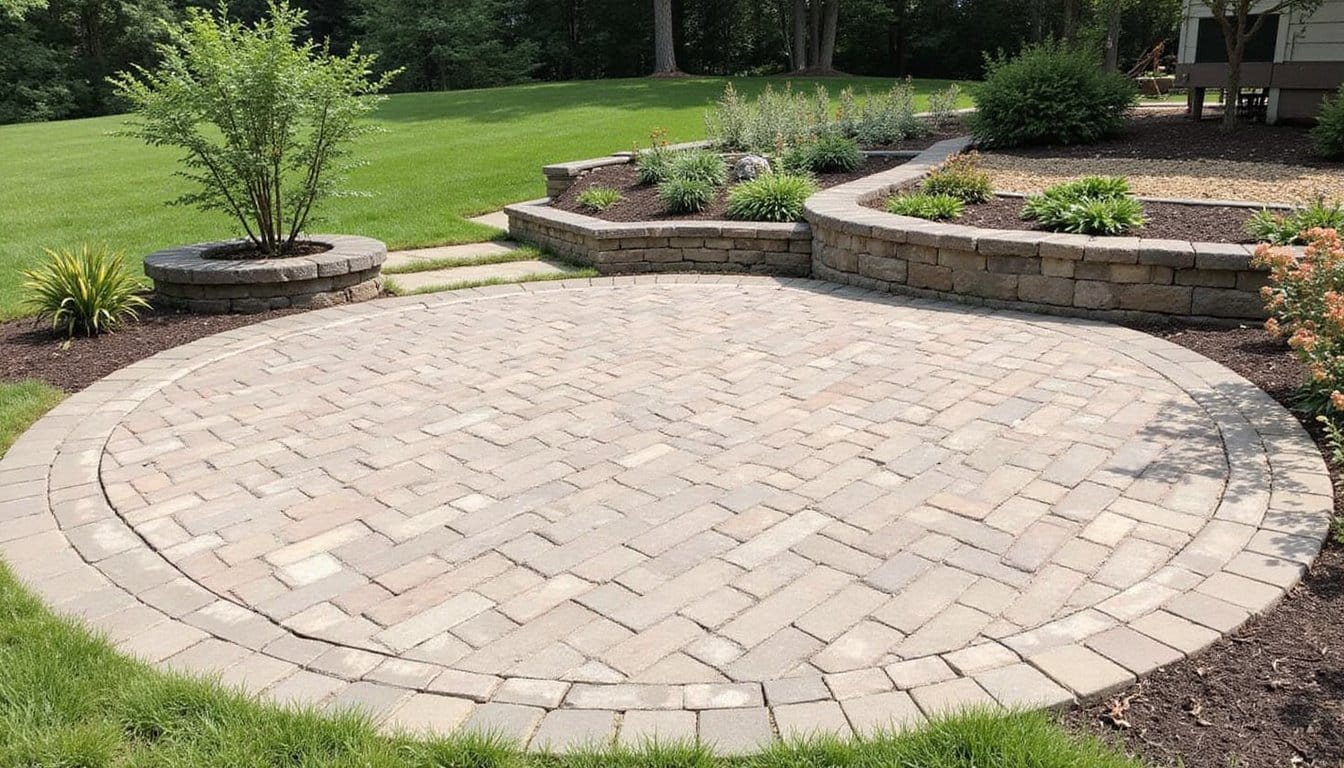
Consider selecting a spot that’s easily accessible and close to your daily activities, making kitchen harvesting and maintenance more convenient. Ensure your wooden garden beds are within 25-50 feet of a water source and protected from strong winds. Create paths at least 3 feet wide between beds for easy access, and make them 4 feet if you’ll need wheelbarrow access. Stay clear of underground utilities and tree root zones. Test your soil drainage by digging a 12″x12″ hole, if water drains within 1-4 hours, you’ve found a suitable spot. Consider incorporating elements such as raised beds, trellises, and pathways that align with your gardening goals. When designing your perfect garden space, think about the sun exposure each area receives throughout the day, as this will influence plant growth.
Materials Selection and Cost Considerations
When choosing materials for your raised garden beds, you’ll need to carefully weigh both initial costs and long-term durability. While wood options like cedar and redwood offer natural appeal, composite materials and HDPE provide superior longevity despite higher upfront costs. A percolation test can determine if raised beds are necessary for your soil conditions. Custom designs like the Durable GreenBed kits can be assembled in under two hours, saving significant time compared to building traditional wood beds. Additionally, investing in essential tools for garden building can enhance the efficiency and quality of your raised garden bed setup. Tools such as a level, a cordless drill, and a saw will ensure that your beds are not only sturdy but also precisely constructed.
Smart garden planning means balancing cost with longevity, natural wood charm comes cheaper, but modern materials last longer.
- Cedar and redwood beds cost around $200 for a 4’x8′ setup and last 10+ years, making them popular choices for organic gardening
- Fir and pine are budget-friendly but require replacement within 5 years, potentially costing more over time
- HDPE and composite kits, though expensive initially ($470+), can last decades with minimal maintenance
- Concrete blocks offer durability at moderate cost ($154), but reduce growing space and may pose contamination risks
Avoid treated lumber and railroad ties, as they can leach harmful chemicals into your soil. Consider your budget, maintenance preferences, and food safety when making your final selection.
Essential Design Features for Successful Growing
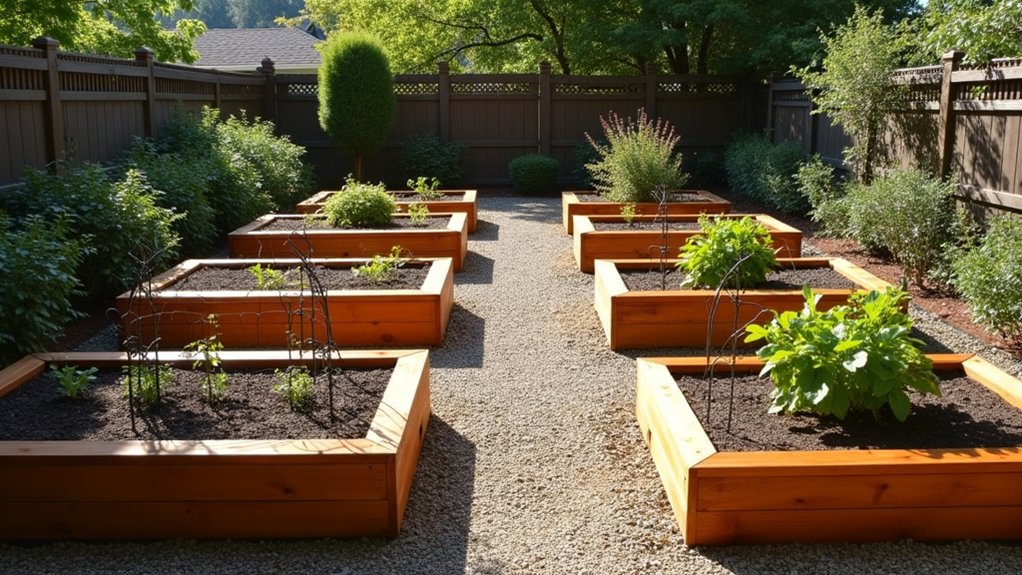
Beyond selecting the right materials, successful raised bed gardening hinges on thoughtful design and layout choices. You’ll want to maintain bed widths between 3-4 feet to guarantee easy reach without stepping in, while keeping heights at 12-24 inches for ideal root growth and drainage. Position your beds to receive 6-8 hours of direct sunlight, orienting them north-south for even exposure. Chemical-free gardening promotes healthier and more sustainable vegetable growth in your raised beds. The four-garden classic design creates a balanced and harmonious layout that enhances the visual appeal of your space.
Create paths 18-24 inches wide between beds for comfortable access with tools and wheelbarrows. Your bed length can vary based on available space, but stick to rectangular shapes for efficient planning. Don’t forget to account for water accessibility and keep beds away from mature trees to prevent root competition. Consider adding vertical growing options on the north or east sides to maximize your growing space. Adding a layer of gravel or sand beneath the soil will significantly improve drainage and prevent waterlogging issues. To enhance your garden’s aesthetics and functionality, consider incorporating native plants that require less water and maintenance. For those seeking professional guidance, north palm beach landscaping services can provide expert advice and implementation strategies tailored to your specific needs.
Step-by-Step Construction Guide
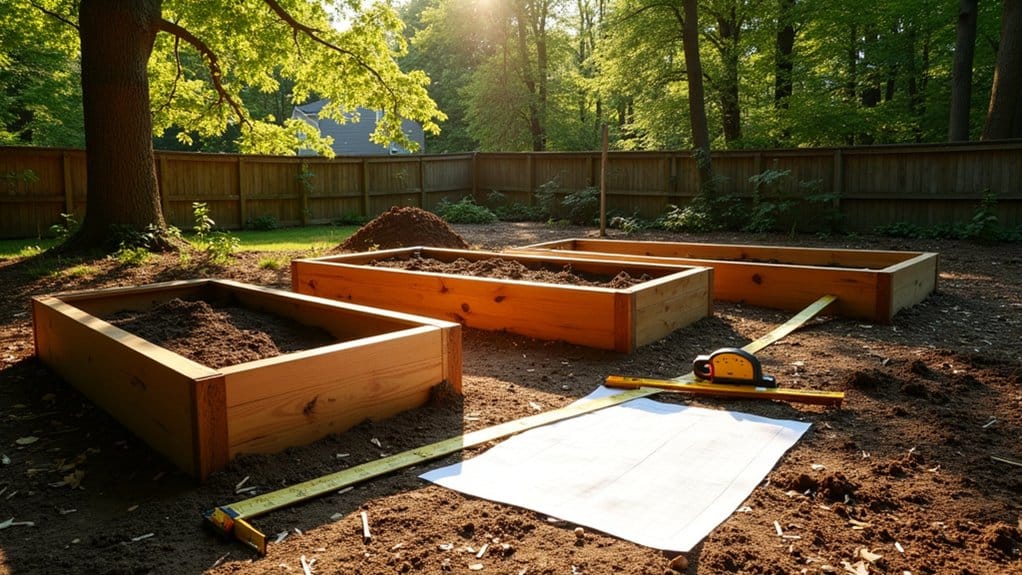
Building a raised garden bed requires five essential construction phases: site preparation, material gathering, frame assembly, proper placement, and soil filling. Start by selecting a level spot with adequate sunlight and clearing all vegetation and debris. Selecting an area that gets full sun exposure will ensure your vegetables thrive and produce abundant yields. These beds create ideal drainage conditions that prevent waterlogged soil and root problems. Using raised beds allows you to bypass issues with poor clay soil commonly found in Virginia gardens.
- Choose untreated cedar or pine boards, cutting them to your desired dimensions (typically 4’x4′ to 4’x10′), and gather 2.5-3 inch deck screws and a cordless drill
- Assemble the frame using 2×4 corner supports, pre-drilling holes to prevent splitting, and ensuring square corners
- Position your completed frame on the prepared site, check for level placement, and anchor with stakes at corners and mid-points
- Line the base with weed barrier material, fill gradually with quality garden soil, and allow settling before planting
For beds longer than 6 feet, install additional support stakes to prevent bowing.
Soil Preparation and Maintenance Tips
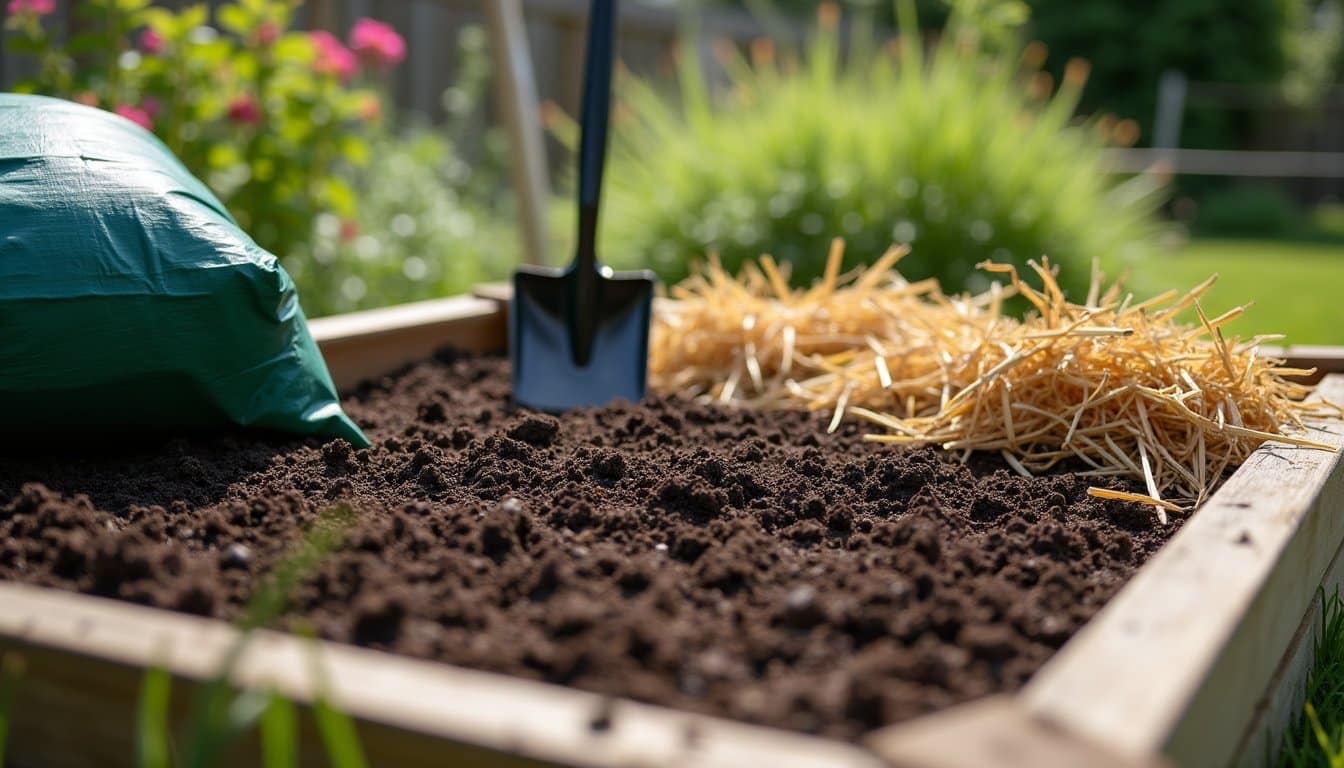
A properly prepared soil mix serves as the foundation for a thriving raised bed garden. You’ll want to start with a balanced mix like Mel’s Mix or a 50/50 topsoil-compost blend, ensuring your compost comes from diverse sources for complete nutrition. Before filling your bed, lay cardboard or newspaper to suppress weeds, and consider solarizing the area to eliminate pathogens. For optimal results with Mel’s Mix, use diverse compost sources including bulk materials, worm castings, and aged manure. No-till gardening helps maintain healthy soil structure while minimizing disruption to beneficial organisms. Healthy soil supports plant growth throughout the entire growing season.
Maintain your soil’s health by top-dressing annually with quality compost and adding worm castings for microbial activity. Don’t forget to mulch with straw or shredded leaves to conserve moisture and prevent weed growth. Regular soil tests will help you identify nutrient deficiencies and pH imbalances that need correction. For ideal drainage, incorporate perlite or vermiculite, and avoid over-compacting when filling your beds.
Frequently Asked Questions
How Long Will Vegetables Take to Grow in Raised Garden Beds?
You’ll find that growth times vary considerably in your raised beds. Quick-growing crops like radishes mature in 20-30 days, while leaf lettuce takes 30-45 days. Bush beans need 50-55 days, and carrots require 60-80 days. Tomatoes take 60-85 days from transplant to harvest. You’ll get faster results in raised beds since the soil warms earlier and drains better, potentially shaving weeks off traditional growing times.
Can I Move Raised Beds After They’re Filled With Soil?
While it’s technically possible, you shouldn’t move filled raised beds as this can damage the frame and compromise soil structure. The weight of soil in a standard bed can exceed 1,000 pounds. Instead, you’ll need to empty the bed first, transfer the soil using wheelbarrows or tarps, move the frame, then refill it. This preserves both your garden bed’s integrity and proper soil layering for ideal growing conditions.
Should I Cover Raised Beds During Winter Months?
Yes, you should definitely cover your raised beds during winter. It’s essential for protecting your soil from erosion, preventing nutrient leaching, and maintaining beneficial microbial activity. You’ll want to use organic mulch, plastic sheeting, or cover crops after removing dead plants and adding compost. This practice will help preserve soil structure, discourage pests, and allow for earlier spring planting. Plus, you’ll have less weed management when growing season returns.
What Vegetables Shouldn’t Be Planted Together in Raised Beds?
You’ll want to avoid several key vegetable combinations in your raised beds. Don’t plant tomatoes with potatoes, as they share diseases like verticillium wilt. Keep corn away from tomatoes since they’ll compete for nitrogen. Avoid pairing fennel with lettuce, as fennel inhibits growth. Don’t mix squash with cucumbers due to nutrient competition, and keep pole beans separate from beets. Also, skip planting brassicas near nightshades to prevent disease spread.
How Often Should I Replace the Soil in Raised Beds?
You don’t need to replace your raised bed soil completely unless it’s contaminated or showing persistent problems. Instead, refresh it annually by adding 2-3 inches of compost or organic matter. Well-maintained soil can remain productive for 10+ years with proper care. Watch for signs like sluggish plant growth, poor drainage, or recurring pest issues. Test your soil every 2-3 years to monitor nutrient levels and determine if amendments are needed.