Start your garden by selecting a location that receives 6-8 hours of daily sunlight, preferably with southern exposure and well-draining soil. Check your USDA plant hardiness zone and local frost dates to determine your growing season. Build raised beds or prepare ground beds with a mix of 60% topsoil and 30% compost. Choose beginner-friendly, disease-resistant plants like bush beans and cherry tomatoes. Install an efficient watering system with a pressure regulator. The following steps will transform your backyard into a thriving garden sanctuary.
Choosing the Perfect Location for Your Garden
Where you place your garden can make or break its success. For beginner backyard gardening, start by identifying a spot that receives 6-8 hours of direct sunlight daily, particularly with southern exposure. Map sun patterns throughout the day to pinpoint ideal growing zones. Testing soil quality by counting earthworms present can help determine if your chosen location has fertile ground suitable for planting. Vegetables requiring full sun exposure will need 8-12 hours of direct sunlight to thrive and produce optimal yields.
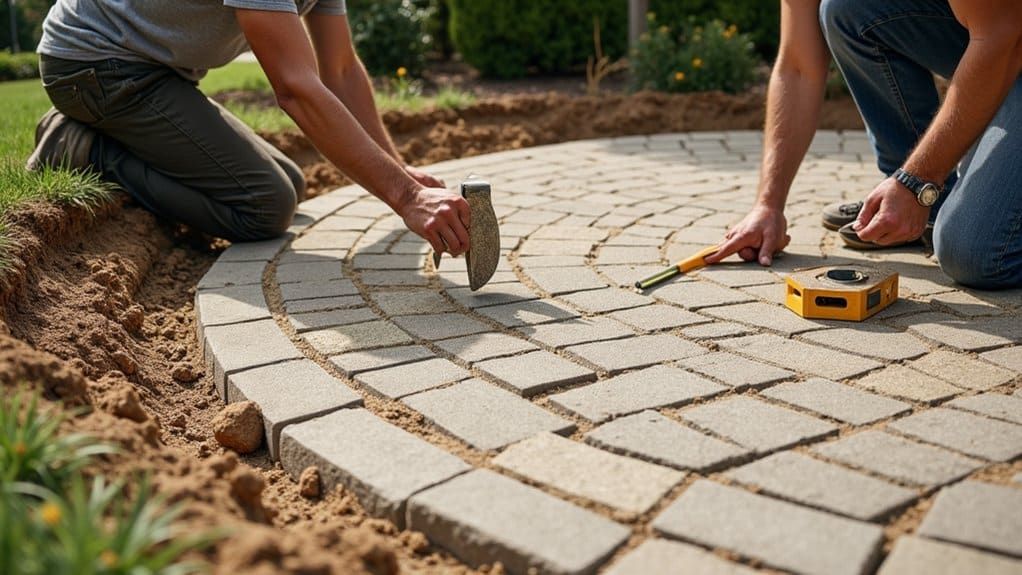
Your garden’s location should offer convenient access to water sources and tool storage, enabling efficient soil preparation and maintenance. Using a compass and measuring tape, mark out the dimensions of your potential garden space to ensure optimal layout. Choose level ground with well-draining soil, avoiding low-lying areas prone to water accumulation. During garden planning, consider protection from environmental hazards by selecting sites away from dense shrubbery and incorporating natural windbreaks.
Position your garden where you’ll see it regularly from windows or pathways, but maintain moderate distance from high-traffic areas. This visibility promotes consistent monitoring while preventing accidental damage from daily activities. Additionally, consider incorporating seating arrangements nearby to enhance your enjoyment and interaction with the garden. This thoughtful placement not only invites relaxation but also encourages creativity in perfecting your outdoor space.
Essential Tools and Materials for Getting Started
A well-equipped gardener relies on five core categories of tools: cutting and pruning implements, digging equipment, soil preparation tools, protection gear, and measuring instruments. You’ll need hand pruners and loppers for managing plant growth, plus a pruning saw for thicker branches. For soil work, invest in a quality shovel, spade, and garden fork with stainless steel construction to prevent rust. Essential soil preparation tools include both leaf and garden rakes, a hoe, and a hand trowel for detailed work. A forged aluminum handle on your pruning tools will provide lasting durability while keeping the weight manageable. Using a planting line helps create straight, organized rows when sowing seeds or transplanting. Choose gloves with breathable materials that keep hands cool during warm weather gardening sessions. Don’t overlook personal protection; sturdy gloves, knee pads, and a tool belt will make gardening safer and more efficient. Finally, keep measuring tools handy: a tape measure for proper spacing, plant markers for identification, and a soil thermometer to monitor growing conditions.
Understanding Your Local Growing Season

You’ll need to determine your local frost dates, both the last spring frost and first fall frost, to establish your garden’s growing window. Your specific climate zone and these frost dates will dictate which crops you can grow and when to plant them throughout the season. Resources like Garden.org and the Farmers Almanac can provide detailed frost date information based on your zip code. Your location’s latitude position significantly affects how much sunlight your garden receives and influences the overall growing season length. By tracking these dates and understanding your climate zone’s characteristics, you can develop a precise planting schedule that maximizes your garden’s productivity within the available frost-free period. With recent data showing a 29-day increase in growing seasons compared to previous decades, gardeners now have more flexibility in planning their cultivation schedules.
Frost Dates Matter Most
When planning your backyard garden, understanding local frost dates becomes the cornerstone of successful growing seasons. These dates mark the 50% probability threshold of ground temperatures reaching 36°F, potentially damaging or killing your plants. Your local frost dates vary based on geography, elevation, and nearby water bodies, making it crucial to research your specific microclimate. Cold exposure during the critical growing period can stress young plants and lead to transplant shock. The Department of Agriculture analyzes 30 years of historical weather data to help predict these crucial planting dates. Experienced gardeners typically allow for a two-week variance around predicted frost dates to ensure plant safety.
- Check online frost date calculators or consult local agricultural extensions to determine your area’s last spring frost and first fall frost dates
- Plan your planting window with a two-week buffer after the last frost date to protect tender seedlings
- Calculate harvest timing to guarantee crops mature before the first fall frost threatens your garden
Seasonal Planting Windows
Building on frost date knowledge, understanding your local growing season reveals the full potential of your garden’s planting calendar. You’ll need to adapt your planting schedule based on your specific region, as timing varies considerably by location and climate. Understanding your local hardiness zone number will be essential for selecting appropriate vegetables to grow.
In northern areas, you’ll face shorter planting windows, requiring quick-maturing varieties and strategic succession planting. Southern regions offer extended growing opportunities, sometimes allowing spring crops in fall and winter. With approximately 330 frost-free days in Florida, gardeners there enjoy one of the longest growing seasons in the country. Florida gardeners should refer to the regional editions available for their specific area. You’ll want to focus on heat-tolerant crops during summer months, like okra and sweet potatoes, while reserving cool-season vegetables like broccoli and carrots for spring or fall.
To optimize your growing season, utilize ZIP code-based planting tools and local extension office resources. These will provide customized guidance for your exact location, accounting for microclimates and regional weather patterns.
Climate Zone Basics
Understanding your garden’s climate zone forms the foundation for successful plant selection and cultivation. The USDA Hardiness Zone system divides North America into distinct regions based on average minimum winter temperatures, helping you determine which plants will survive in your area. While these zones primarily focus on cold tolerance, you’ll also need to take into account factors like summer heat, rainfall patterns, and local microclimates. Smart gardening decisions rely on understanding planting zones to maximize your growing success and minimize plant loss.
- Check your specific zone using the USDA plant hardiness map, which ranges from zones 1-13, with each zone split into ‘a’ and ‘b’ subzones
- Factor in your region’s climate type (tropical, dry, temperate, continental, or polar) to understand broader growing conditions
- Identify any microclimate factors in your yard, such as wind exposure, shade patterns, or proximity to structures that might modify local growing conditions
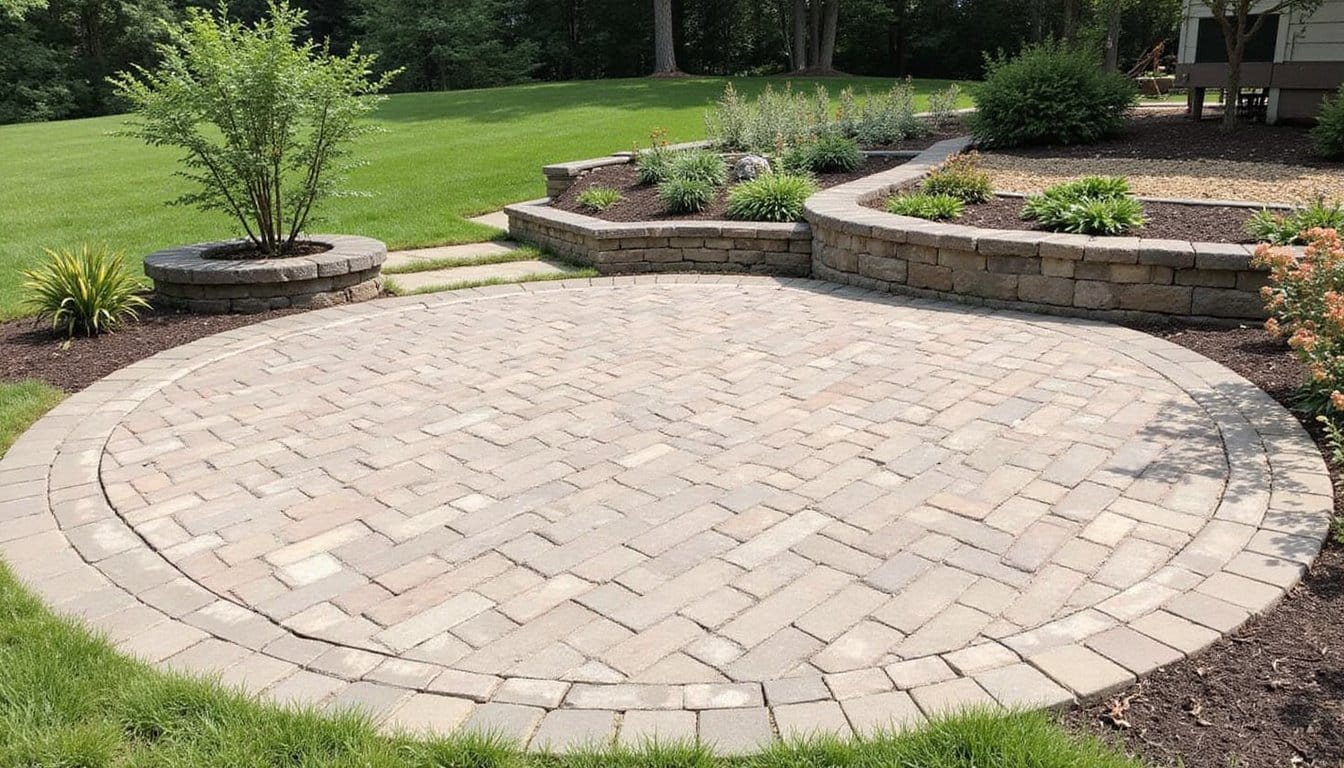
Planning Your Garden Layout and Design
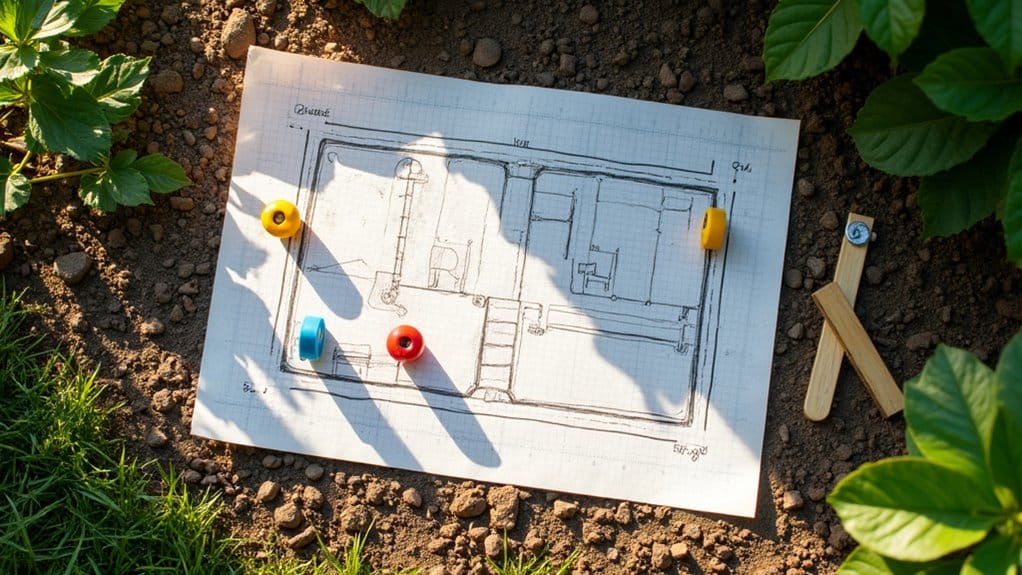
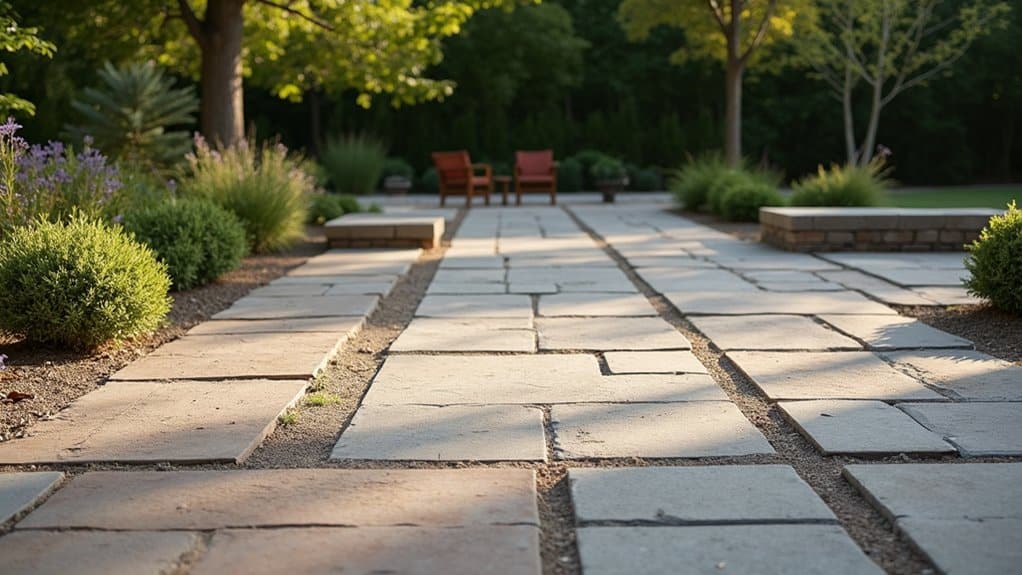
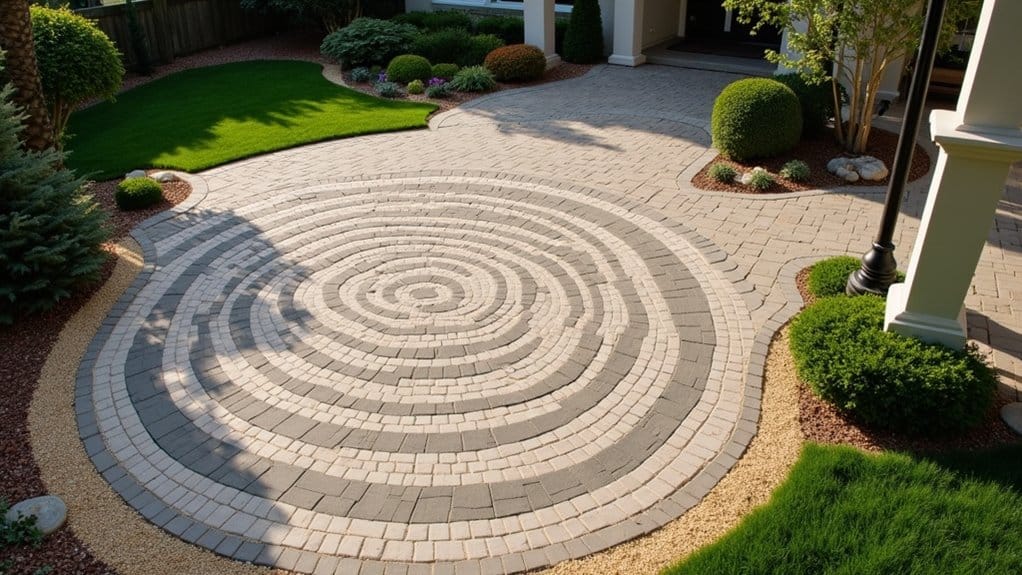
A well-planned garden layout serves as the foundation for your backyard’s success, merging both aesthetic appeal and practical functionality. Start by mapping your site’s sunlight exposure, soil conditions, and existing features. You’ll need to designate specific zones while considering mature plant sizes and maintenance access.
Incorporate core design principles: maintain proper scale between elements, establish visual balance, and create rhythm through repetition of colors or shapes. Choose a layout type that suits your space; border gardens maximize peripheral areas, while linear rows simplify maintenance. Verify pathways are 2-3 feet wide for wheelbarrow access.
Group plants in odd numbers for natural clustering, and include backbone plants for year-round structure. Consider vertical elements like trellises to add depth, and plan for staggered bloom times to maintain continuous visual interest.
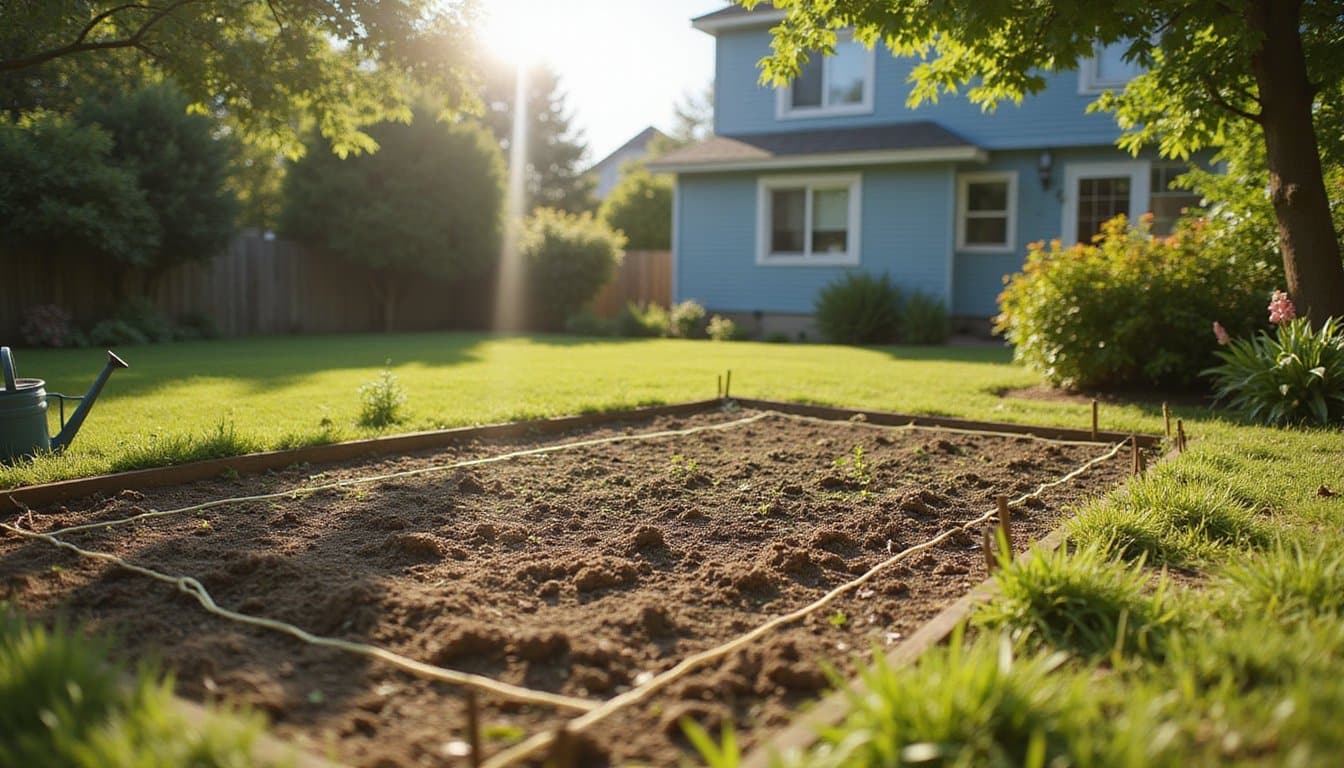
Building and Preparing Garden Beds
You’ll need to decide between raised beds, which offer better drainage and soil control but require more materials, or ground beds that utilize existing soil but may need more amendment work. For raised beds, gather rot-resistant lumber, galvanized screws, and landscape fabric, while ground beds require quality tools like spades and garden forks for proper soil preparation. Your ideal soil mix should consist of 60% topsoil, 30% compost, and 10% additions like perlite or vermiculite, ensuring proper drainage and nutrient retention for either bed type.
Raised vs. Ground Beds
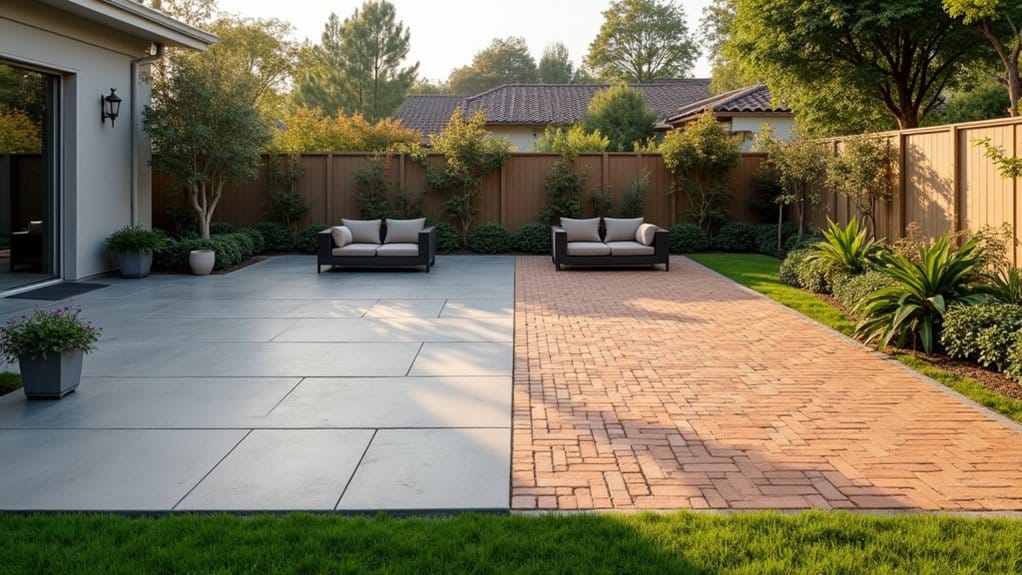
When planning your garden’s foundation, choosing between raised beds and ground beds represents one of the most essential initial decisions. Each option offers distinct advantages based on your specific circumstances and gardening goals. Raised beds provide superior drainage, controlled soil composition, and ergonomic benefits, while ground beds offer natural soil ecology and lower initial costs.
- Raised beds require 6-12 inches of soil depth and construction materials but allow you to garden in areas with poor soil conditions, offering precise control over soil quality and improved accessibility for those with mobility concerns.
- Ground beds utilize existing soil and require minimal setup costs, but you’ll need significant amendments if your native soil isn’t ideal.
- Consider your climate: raised beds dry faster and need more frequent watering but warm earlier in spring, while ground beds retain moisture better and maintain more consistent soil temperatures.
Materials and Tools Needed
Having decided between raised and ground beds, gathering the right materials and tools guarantees proper garden bed construction and preparation. You’ll need untreated wood like cedar or redwood, or durable alternatives such as Corten steel, along with galvanized screws and corner braces for structural integrity.
Essential tools include a cordless drill, circular saw, measuring tape, and speed square for accurate assembly. For site preparation, collect weed barrier fabric, landscape staples, and paver sand for a stable foundation. Don’t forget basic gardening implements: a hand trowel, garden fork, and wheelbarrow for soil management. Additionally, gloves and pruning shears are essential for backyard gardening, ensuring you can handle plants safely and effectively. A quality hose or irrigation system will also help maintain proper watering, which is critical for plant health.
Protect yourself with appropriate safety gear, work gloves, safety glasses, and knee pads for comfort during construction. A sun hat, gardening sleeves, and sturdy boots will guarantee you’re well-equipped for the physical demands of bed installation.
Proper Soil Mix Recipe
The foundation of a successful garden lies in crafting the perfect soil mix, which requires carefully balanced proportions of key components. For best growing conditions, you’ll want to blend materials that provide essential structure, nutrients, and proper drainage. The most reliable recipe follows the “Perfect Soil Recipe” ratio: combine 50% topsoil, 30% compost, and 20% organic matter.
- Mix thoroughly moistened peat moss or coco coir (more sustainable) with vermiculite and perlite to create proper aeration and moisture retention
- Add diverse compost sources (leaf, manure, worm castings) to guarantee a complete spectrum of nutrients and healthy microbial activity
- Test the final mixture by squeezing a handful – it should hold shape but crumble easily, indicating ideal texture and drainage properties
If using peat moss, don’t forget to add lime to neutralize acidity.
Selecting the Right Plants for Success
Selecting the right plants can make or break your first gardening experience. You’ll want to focus on disease-resistant varieties that match your climate zone and growing conditions. Start with proven beginner-friendly crops like bush beans, cherry tomatoes, and radishes, which offer reliable yields and minimal maintenance.
| Crop Type | Days to Harvest | Success Rate |
|---|---|---|
| Radishes | 30-45 days | Very High |
| Bush Beans | 50-60 days | High |
| Herbs | 20-30 days | High |
Consider your garden’s space constraints when selecting plants. Bush varieties won’t need trellising, while vining crops require vertical support. You’ll maximize success by choosing disease-resistant hybrids and implementing succession planting for continuous harvests. Remember to position taller plants on the north or east side to prevent unwanted shading of smaller crops.
Setting Up an Effective Watering System
Once you’ve chosen your starter plants, proper irrigation becomes your next priority. An effective watering system guarantees consistent moisture delivery while conserving water. Start by evaluating your garden’s specific needs and selecting the most suitable irrigation method for your layout.
- Install a pressure regulator (25 psi) and backflow preventer at your spigot, then connect your main water line using a T-connector. This setup protects both your plants and water supply.
- Choose between drip irrigation for precise root-level watering, soaker hoses for even coverage, or sprinklers for larger areas. Position emitters or hoses at plant bases for maximum efficiency.
- Add an automatic timer and consider a weather-based controller to optimize watering schedules. Monitor soil moisture levels and adjust your system as plants grow, guaranteeing proper coverage without waste.
Basic Garden Maintenance and Care Tips
Maintaining a thriving garden requires systematic care through essential daily, weekly, and seasonal tasks. You’ll need to dedicate 10-15 minutes daily for weeding and pest inspection, while performing more intensive tasks monthly. Use sharp, clean tools to prune dead branches and spent flowers, which improves air circulation and plant vigor.
Apply 2-3 inches of organic mulch to control weeds and retain moisture, while monitoring soil pH to maintain levels between 6.0-7.0. Add compost before planting to enhance soil structure and nutrients. During summer, implement deep watering practices to strengthen root systems, and increase pest monitoring. In winter, protect plants with mulch covers against frost damage. Store your garden tools in dry locations, clean them after each use, and maintain sharp edges for peak performance and plant health.
Common Challenges and Solutions for New Gardeners
Managing your new garden’s biggest challenges starts with implementing basic integrated pest management through companion planting and manual removal of insects before they multiply. You’ll need to establish consistent watering schedules based on soil moisture tests and weather patterns, while considering drip irrigation systems for water conservation and even distribution. When planning your garden’s layout, guarantee proper spacing between plants by following seed packet recommendations and using succession planting techniques to maximize your growing area without overcrowding.
Pest Control Made Simple
As your garden begins to flourish, you’ll inevitably encounter unwanted visitors that can threaten your plants’ health and productivity. Implementing integrated pest management (IPM) strategies early can prevent major infestations and protect your harvest without relying on harsh chemicals.
For effective pest control in your new garden:
- Monitor plants regularly for signs of damage; curling leaves often indicate aphids, while holes in foliage typically mean slugs or caterpillars are present
- Start with physical barriers like row covers to protect vulnerable seedlings, and introduce beneficial insects such as ladybugs and lacewings to naturally control pest populations
- Apply organic solutions strategically, use neem oil for soft-bodied insects, diatomaceous earth for crawling pests, and maintain proper plant spacing to reduce pest-friendly conditions
When issues arise, always identify the pest before taking action to guarantee targeted, effective treatment.
Managing Water Requirements
Proper water management stands as one of the most critical yet challenging aspects of maintaining a successful backyard garden. You’ll need to strike a delicate balance, as overwatering can cause root rot and nutrient leaching, while underwatering leads to stunted growth and wilting.
To optimize your garden’s water efficiency, consider installing a drip irrigation system, which uses up to 80% less water than traditional sprinklers. You can also implement mulching, reducing evaporation by 50% while improving soil health. For precise control, bury olla pots or lay soaker hoses beneath mulch to deliver water directly to plant roots.
Monitor soil moisture by checking 2-3 inches below the surface, and water early in the morning to minimize evaporation. During weather changes, adjust your watering schedule to match your plants’ varying needs.
Space Planning For Success
While water management sets the foundation for garden health, successful space planning determines your garden’s long-term viability. Proper measurement and layout prevent common pitfalls like overcrowded beds, inadequate pathways, and poor sun exposure that can doom your garden from the start.
- Map your site’s dimensions on graph paper, marking utilities, structures, and shade patterns throughout the day. Reserve sunny spots (6+ hours direct light) for vegetables while utilizing partially shaded areas for shade-tolerant species.
- Design paths at least 3 feet wide between beds that are no more than 4 feet across. This guarantees comfortable access for maintenance and harvesting.
- Leave adequate space between plantings by anticipating mature sizes. Install raised beds with 2-foot minimum spacing, and incorporate future expansion zones into your initial layout.
Making the Most of Your Harvest
The key to maximizing your garden’s harvest lies in strategic planning and efficient use of space. Implement succession planting by staggering crop sowings every 2-3 weeks, particularly with fast-growing vegetables like lettuce, beans, and radishes. You’ll maintain continuous yields while preventing overwhelming harvests.
Utilize vertical space with trellises for indeterminate tomatoes, pole beans, and cucumbers, while growing shade-tolerant leafy greens underneath. This intensive approach maximizes your yield per square foot. When crops peak, preserve excess through canning, freezing, or dehydrating to extend their use year-round.
Maintain soil fertility through crop rotation and cover crops between growing seasons. Create detailed garden diagrams tracking planting and harvest dates, and monitor for pests regularly. Consider joining community gardens to expand your growing options beyond your backyard’s limitations. Additionally, seek out local resources and professionals, such as north palm beach landscaping services, who can provide expert advice on optimizing your garden’s layout and plant choices. Engaging with these services can help you implement sustainable practices that enhance both aesthetics and productivity.
Frequently Asked Questions
How Long Should I Wait Before Eating Vegetables From Treated Soil?
You’ll need to wait 90 days before harvesting vegetables that don’t contact the soil, and 120 days for those that do, following USDA organic standards for treated soil amendments. These waiting periods are essential for pathogen die-off. While composted materials may have shorter wait times, it’s safest to follow these minimum intervals. Consider extending the wait time in cool or wet conditions where pathogen breakdown occurs more slowly.
Can I Grow a Garden if I Have Pets That Dig?
Yes, you can grow a garden with digging pets by implementing protective measures. Install hardware cloth or metal netting beneath your soil to prevent excavation, and create designated digging zones like sandboxes to redirect your pet’s behavior. You’ll need to establish physical barriers such as fencing or thorny plants around garden beds, and you can apply natural deterrents like cayenne pepper to problem areas while training your pet to avoid the garden space.
What Should I Do With My Garden When Going on Vacation?
Before your vacation, install an automated irrigation system with timers for consistent morning watering. Apply slow-release fertilizer and add mulch to retain moisture. You’ll need to deadhead flowers, prune plants, and harvest ripe produce. Don’t forget to inspect for pests and treat any issues. For longer trips, arrange for a garden assistant to monitor your plants. Test all watering equipment several days before leaving to guarantee everything’s working properly.
How Do I Prevent Neighbors’ Cats From Using My Garden as Litter?
You’ll need a multi-layered approach to deter cats effectively. Install physical barriers like mulch fabric or chicken wire over your soil, and scatter citrus peels or coffee grounds as natural repellents. Plant defensive herbs such as rue or lavender around vulnerable areas. For extra protection, set up motion-activated sprinklers. Remember to wear gloves when removing any cat waste, as it can contain harmful parasites like Toxoplasma gondii.
Should I Cover My Garden During Heavy Rain or Hailstorms?
Yes, you should cover your garden during severe weather. Use sturdy protection like hail netting suspended 4-8 feet above plants with posts spaced 12 feet apart, or deploy overturned buckets for smaller areas. Don’t rely on loose fabric, which can collapse when wet. Install UV-protected HDPE netting with reinforced edges and secure anchor points. Remove covers promptly after storms to restore proper airflow and sunlight for ideal plant health.