
Place your landscape lighting where movement happens and where you look after dark. Start with usable zones, light seating areas first, then paths, steps, and entryways. Set walkway fixtures low, staggered 6 to 10 feet apart on alternating sides. Aim tree spotlights upward from the base, and angle water features downward at 30 to 45°. Skip flooding the whole facade; brighten just the threshold. Test everything at night for glare and shadows. There’s more worth knowing below.
Key Takeaways
- Light areas that are actually used and seen after dark, starting with seating areas, then paths, steps, and entryways.
- Position walkway fixtures low and staggered on alternating sides, spaced 6 to 10 feet apart, tightening to 5 to 6 feet around curves and steps.
- Place spotlights at the base of trees aiming upward, using two or three angles 120° apart for fuller coverage.
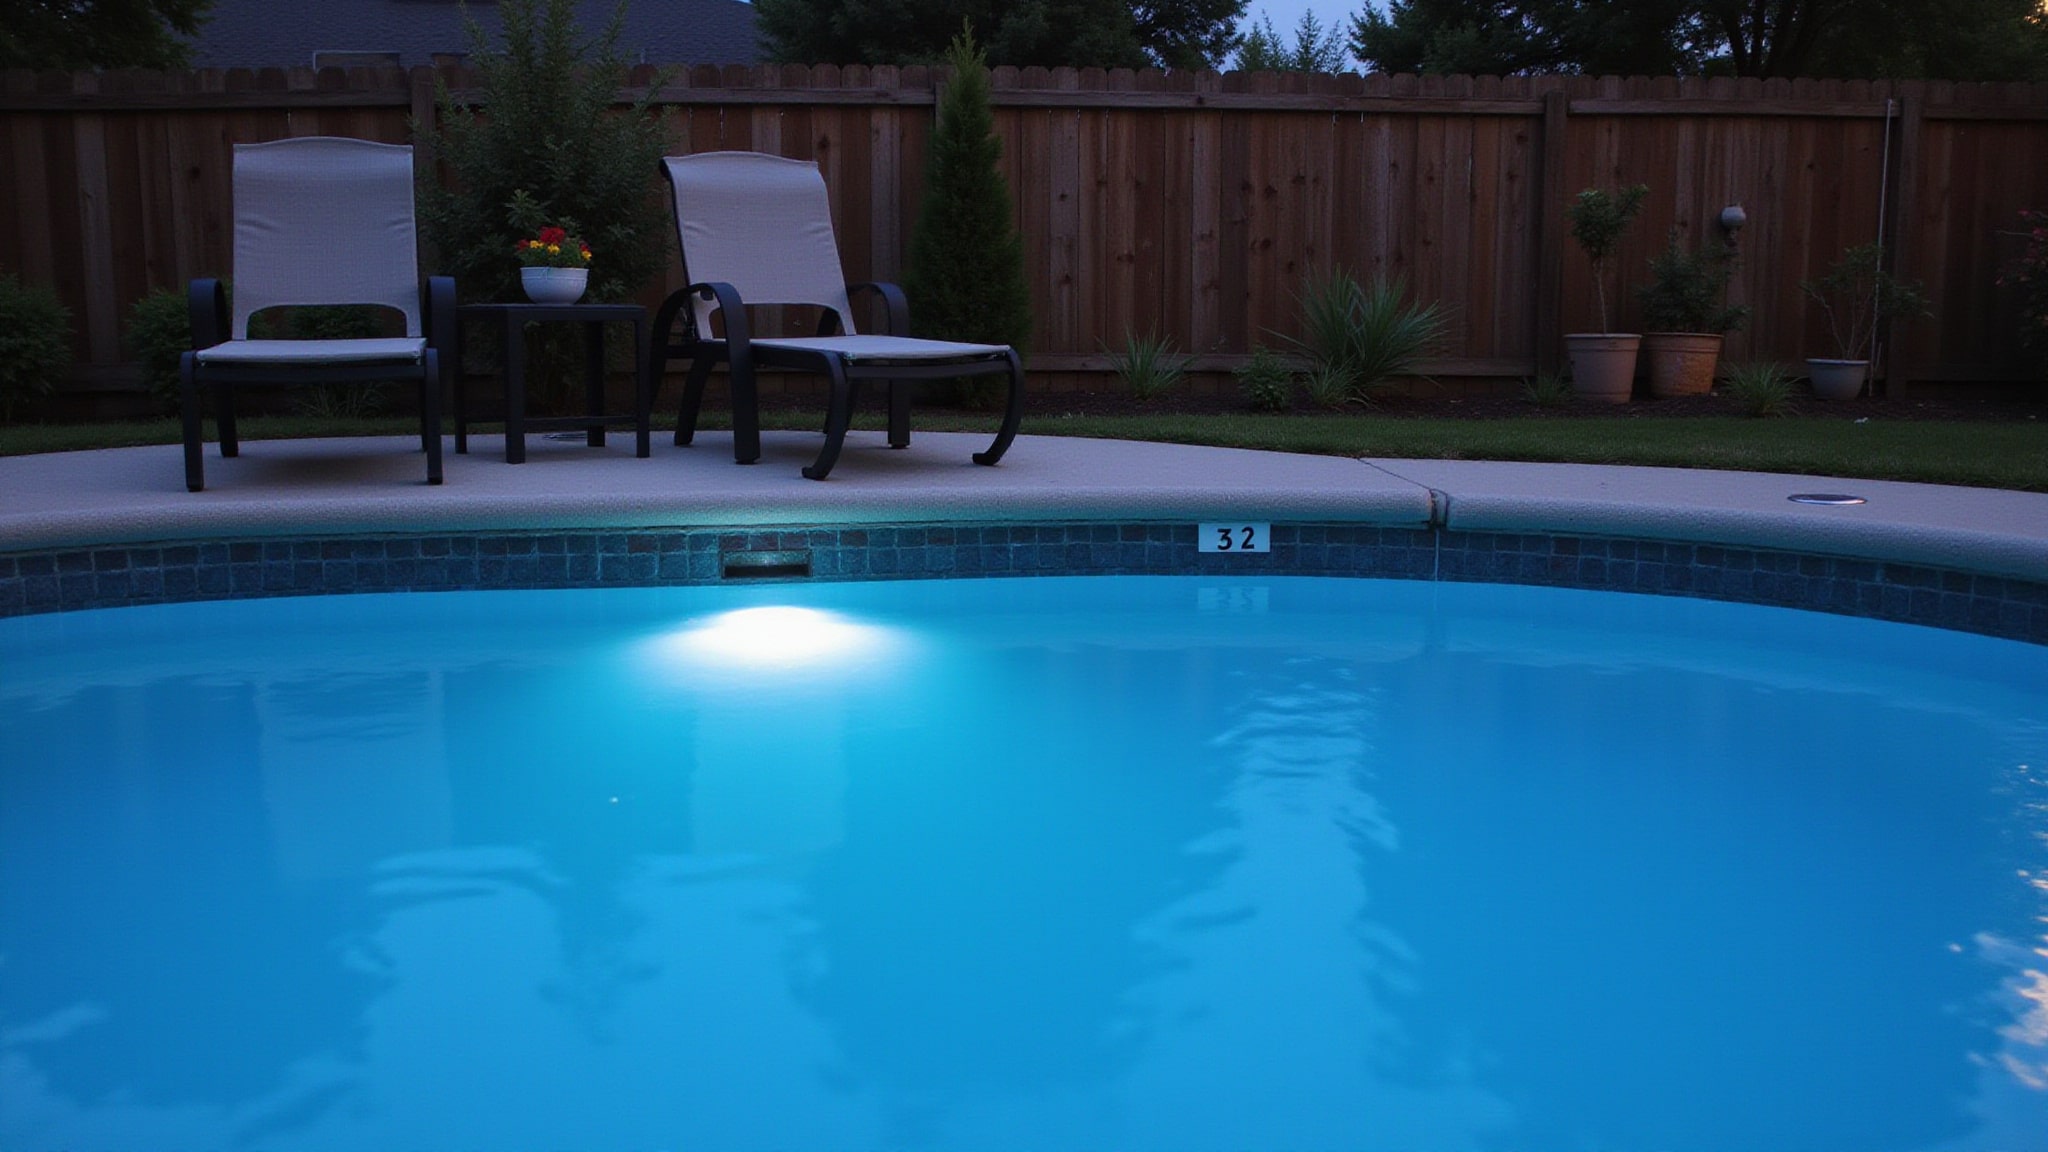
- Angle submersible water-feature fixtures downward at 30 to 45° below horizontal to highlight movement without glare.
- Test lighting at night to check glare, shadows, and visibility, and light only the threshold rather than flooding the entire facade.
Where to Place Landscape Lighting
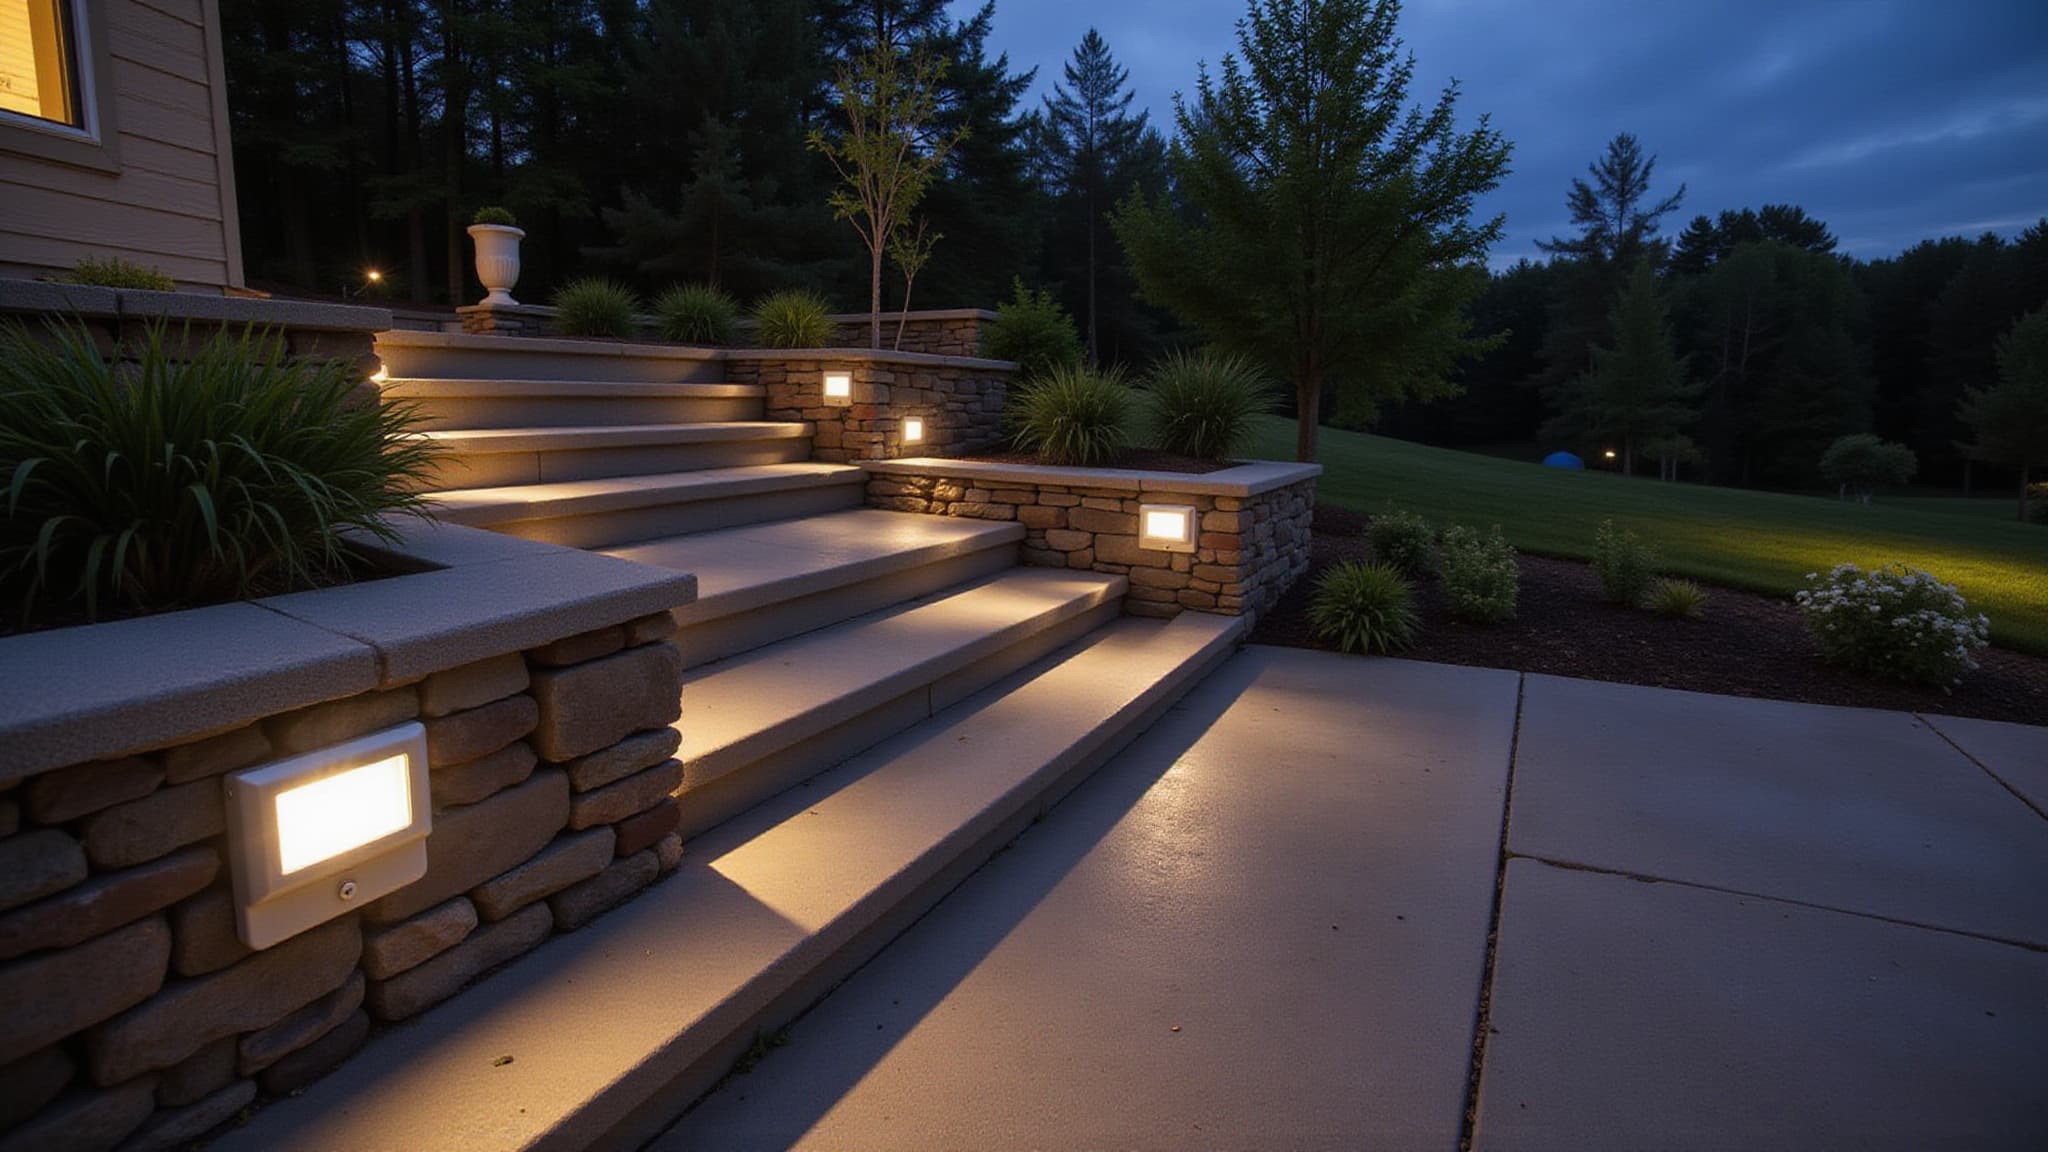
Place landscape lighting where you move through and view the space, prioritizing usable areas first, then features and paths. Effective landscape lighting starts with a plan rather than guesswork. Begin with a sketch, marking walkways, trees, patios, beds, and doorways so your landscape lighting placement reflects how you actually move through and view the space. Smart outdoor lighting placement uses a layered approach: ambient, accent, task, security, and decorative lighting working together for depth and function.
Conceal fixtures where you can, revealing the light while hiding the source to reduce glare. Test placement at night before you commit, checking shadows, glare, and visibility from key viewpoints. Re-check and re-aim seasonally, since soil movement, pets, and plant growth can gradually shift your fixtures out of alignment.
What areas of your yard should you light
Light the areas you actually use and see after dark, working outward from the most important zones. Start with a solid landscape lighting design by sketching your yard and marking the spaces that carry the most nighttime activity. Prioritize usable areas first, then layer in features and transitions to build a balanced lighting layout.
Design from the inside out, light where you live first, then let features and transitions fill in the rest.
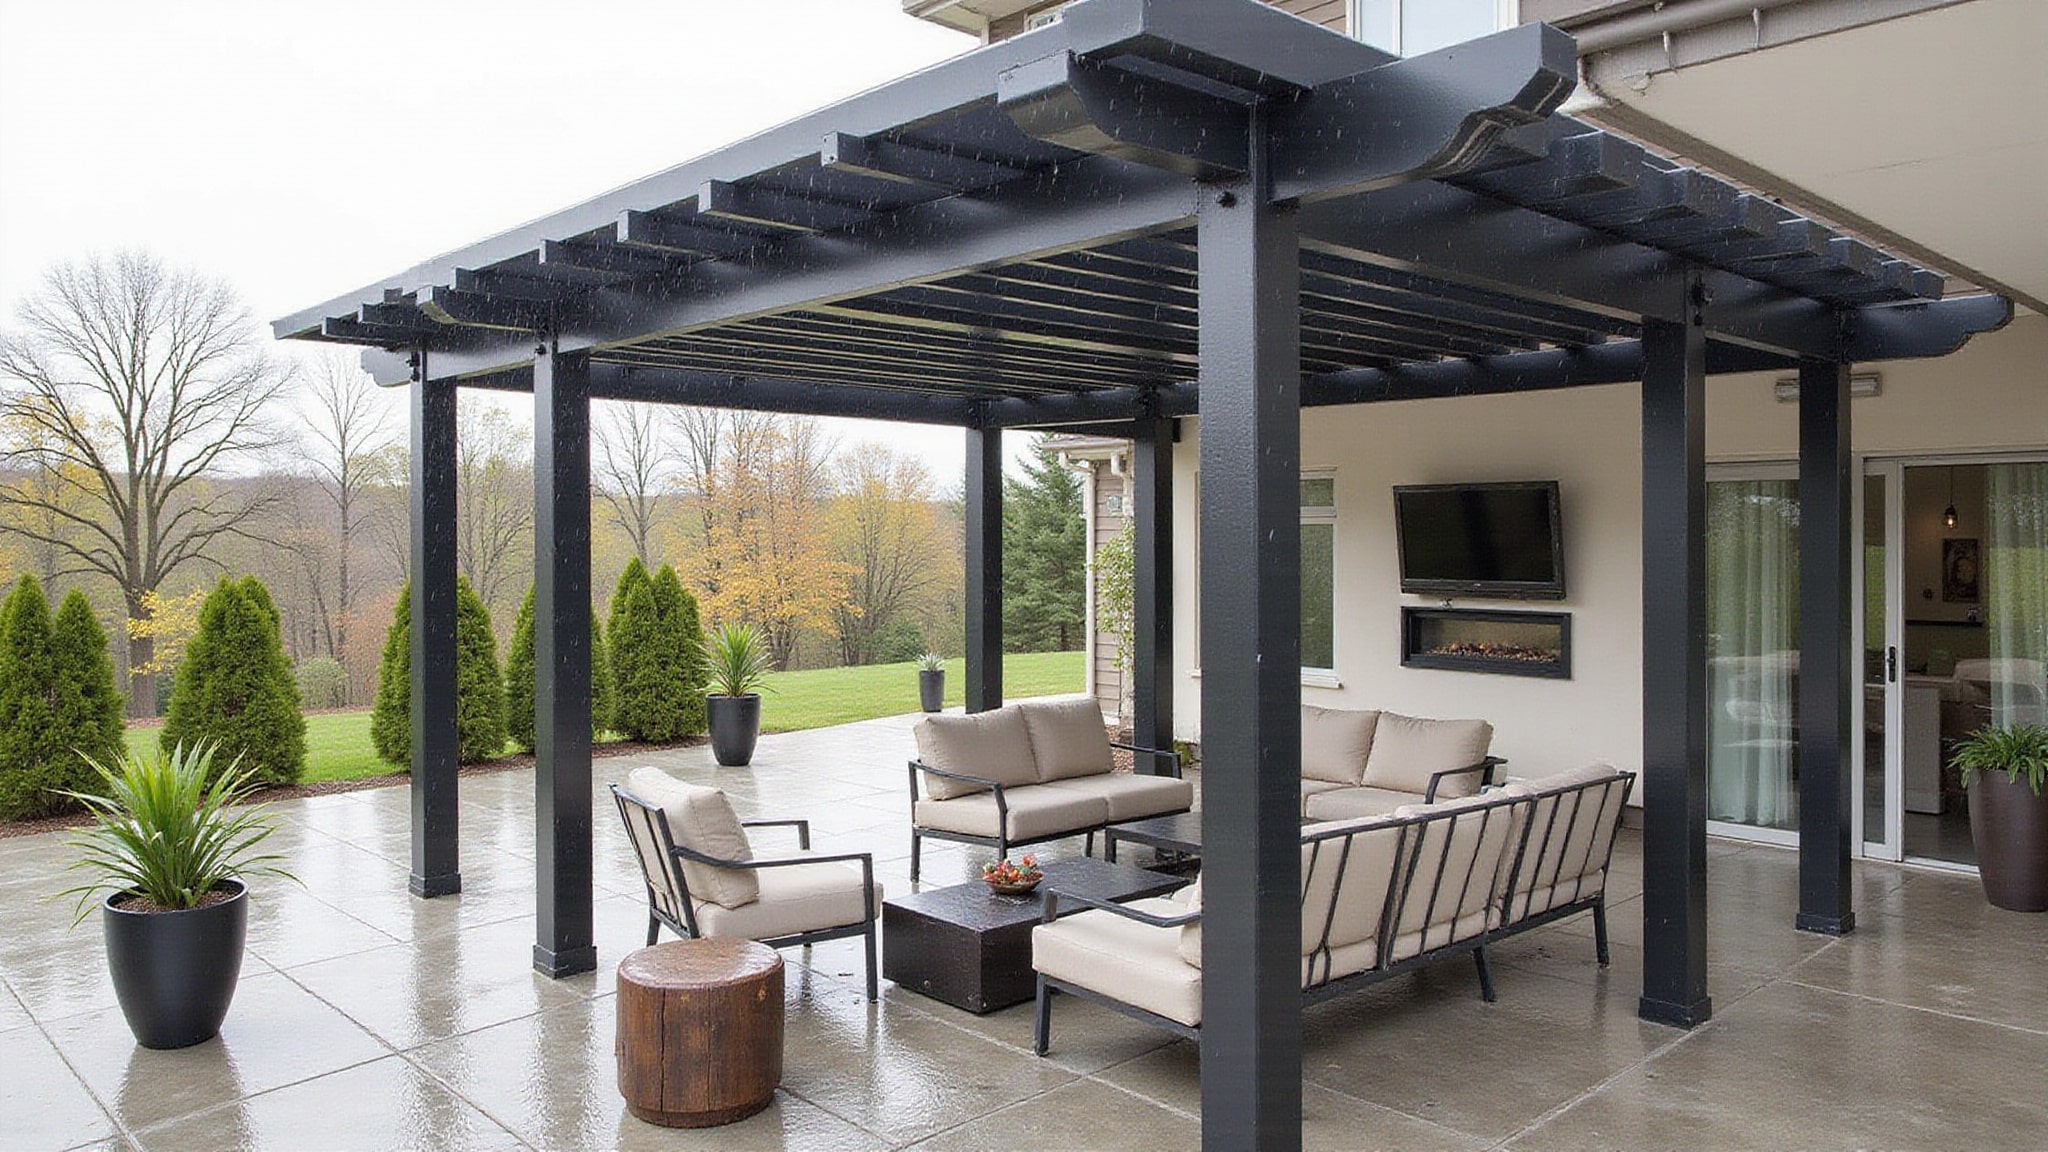
- Seating areas: Patios and decks come first, since usable outdoor space matters most at night.
- Paths and steps: Light walkways and connections to reduce trip hazards.
- Entryways: Brighten the threshold and approach so the front door’s easy to find.
- Features: Accent trees, statues, and water features for depth.
Add security zones near the driveway last, keeping illumination functional and restrained throughout.
How do you place landscape lighting for each feature
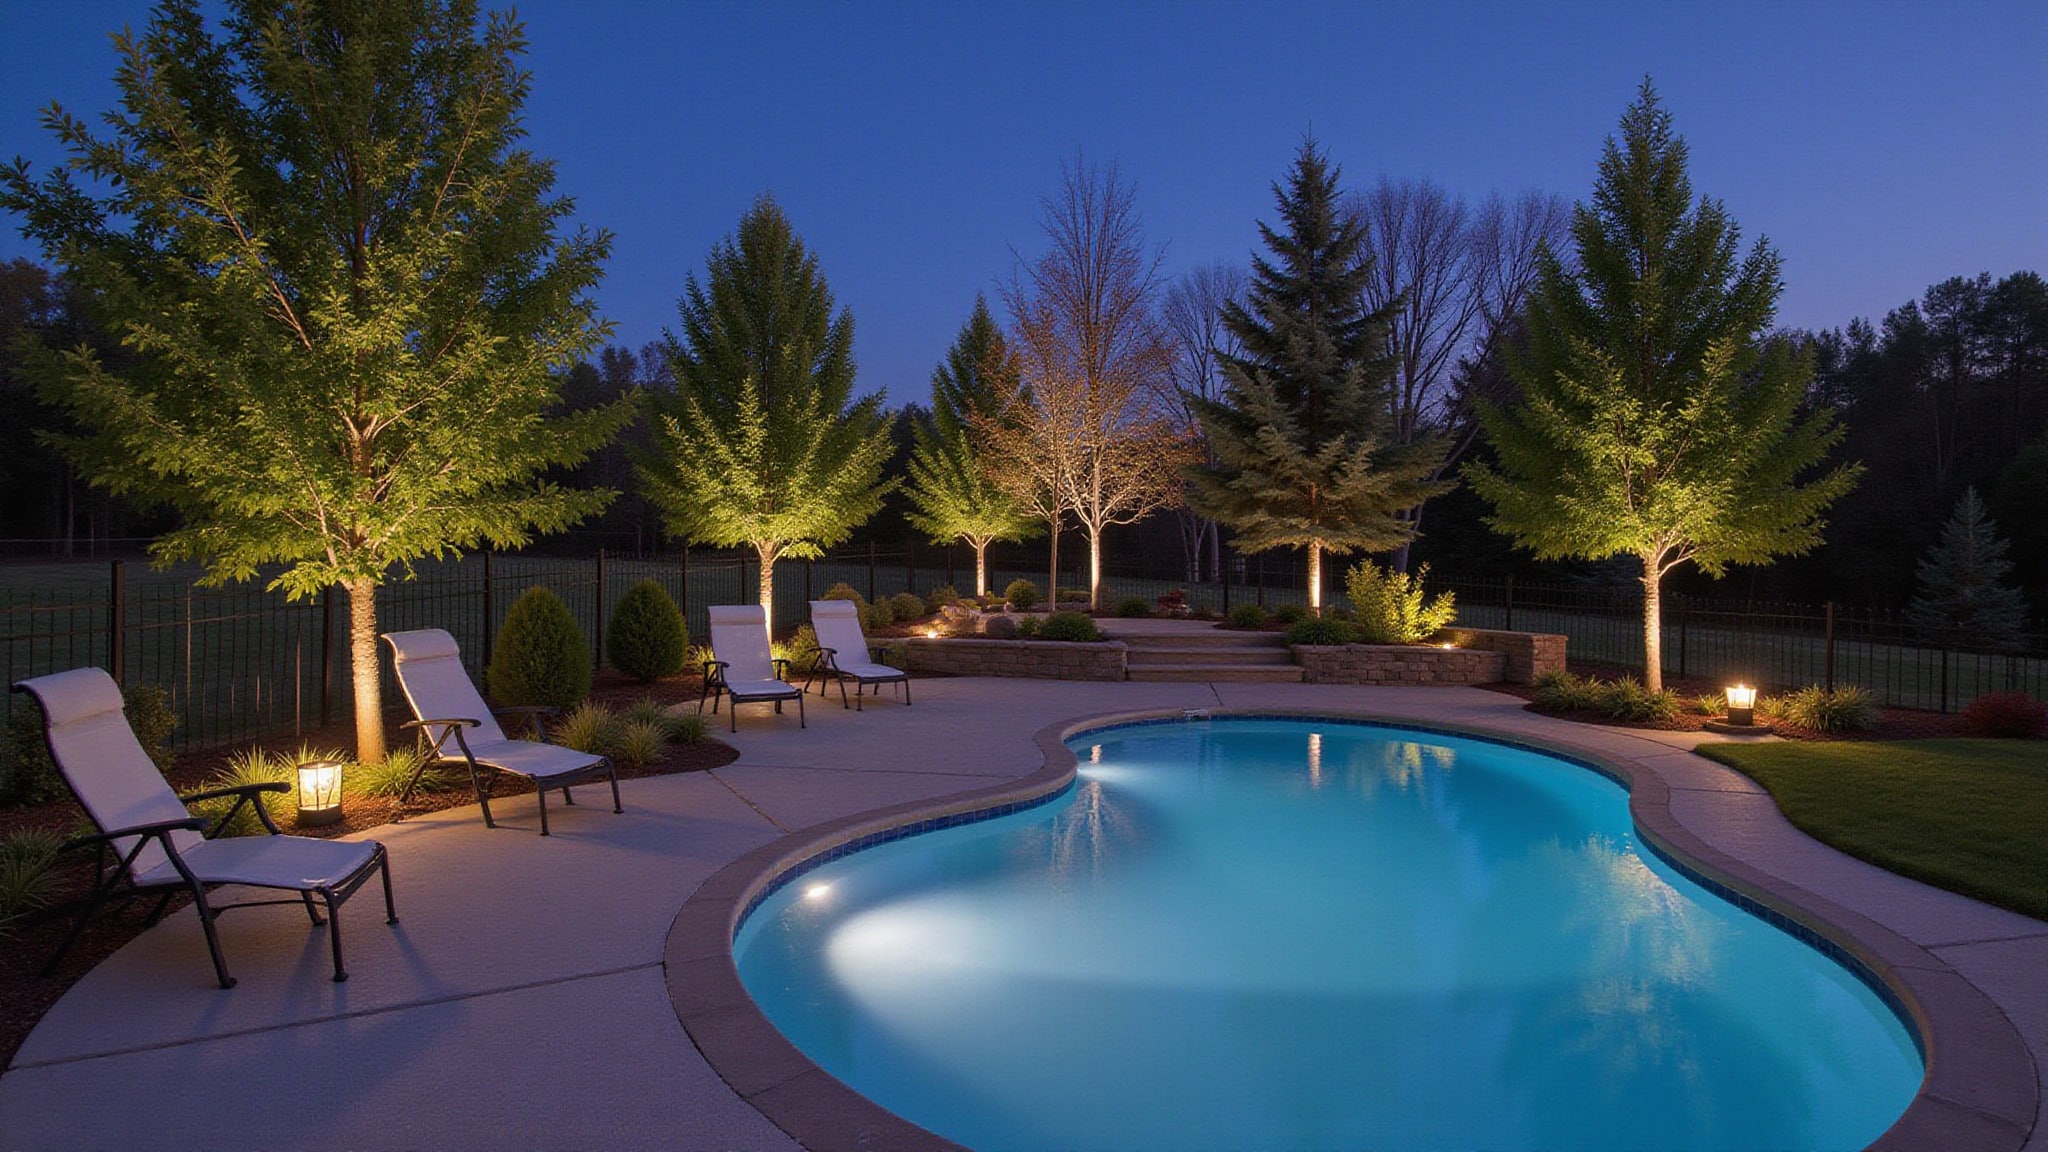
Each feature calls for its own placement logic, since a path light and a tree spotlight serve entirely different purposes.
Along walkways, set fixtures low and stagger them on alternating sides, spacing them 6 to 10 feet apart, or 5 to 6 feet around curves and steps. For trees and garden features, position spotlights at the base and aim upward, lighting from two or three angles 120° apart for fuller coverage. At entryways, conceal the source while brightening the threshold, avoiding glare toward guests. Around patios, hide fixtures from seating angles and layer gentle illumination. Mark driveway edges with a few staggered spread lights. For water features, angle submersible fixtures downward at 30 to 45° below horizontal. Always test placement at night before committing.
What spacing and placement techniques work best
The best spacing and placement techniques rely on even, overlapping illumination that guides movement without harsh contrast or glare. Consistent spacing and staggered placement keep the scene balanced and inviting rather than mechanical or overlit. A few spacing techniques carry across your whole yard and shape how the light reads at night.
Even, overlapping light guides movement and keeps the scene balanced, inviting, and free of harsh glare.
- Space walkway fixtures about 6 to 10 feet apart, tightening to 5 to 6 feet around curves, steps, and lower-output lights.
- Stagger lights on alternating sides of paths and driveways to avoid a runway effect and improve visual balance.
- On walks under 5 feet wide, alternate placement instead of lighting both sides for a cleaner look.
- Keep fixture sources hidden and test placement at night to check glare, shadows, and sightlines.
What placement mistakes should you avoid
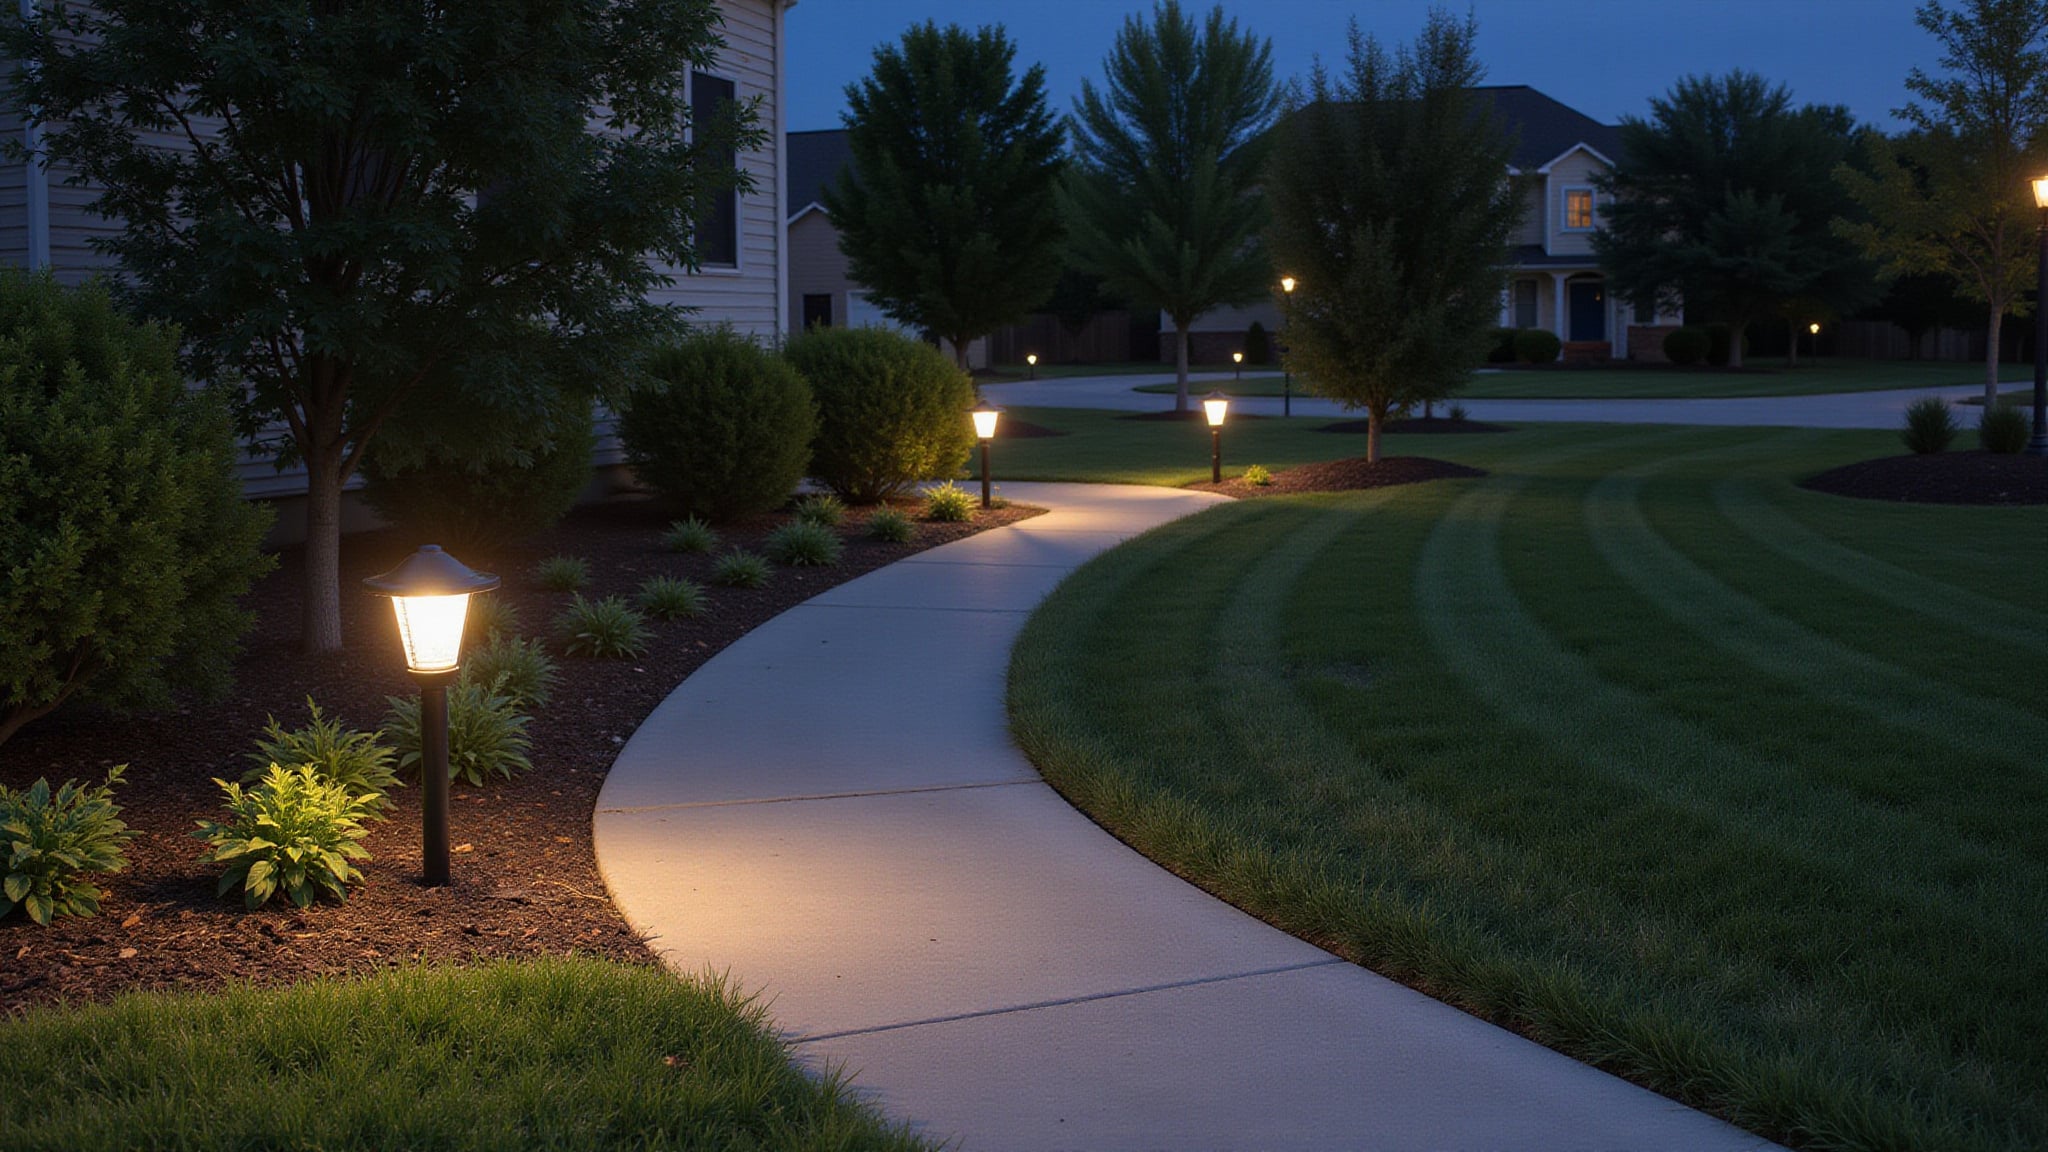
The placement mistakes to avoid start with aiming path lights upward into pedestrians’ eyes, so keep them low so light lands on the walking surface. Avoid lining walkways or driveways with evenly spaced fixtures in straight rows, which creates a runway effect; stagger them instead. Don’t flood the entire facade when you only need to brighten the threshold and approach. Keep fixture sources hidden from seating angles to prevent glare. Don’t overlight driveways or let security lighting overpower the design. Avoid fixed placements that ignore plant growth, since shrubs and trees eventually block the light. Finally, don’t skip a nighttime test before final installation. Checking glare, shadows, and visibility from key viewpoints catches problems you’d otherwise miss until it’s too late.
How do you plan your landscape lighting layout
Plan your landscape lighting layout by sketching your yard first, marking walkways, trees, patios, beds, and doorways so you can see how each zone relates to the next. From there, build a layered scheme that gives your space both depth and function:
- Ambient lighting for overall visibility and mood
- Accent lighting to highlight trees, statues, and architectural details
- Task lighting for steps, cooking areas, and links
- Security lighting near the house and driveway
After mapping these layers, test fixture placement at night before committing. Check glare, shadows, and sightlines from key viewpoints, then re-aim as needed to refine the final composition.
Conclusion
Where landscape lighting goes matters as much as how much of it there is: lighting the paths for safety, the trees and facade for drama, and the seating areas for warmth turns a dark yard into an inviting one after sundown. Thoughtful placement, tested at night and layered for depth, is what separates a lit yard from a beautifully lit one. Innovative Outdoor Living plans lighting placement around each property’s best features, so every fixture earns its spot and the whole scene comes alive after dark.
Light Up Your Backyard Beautifully
Well-designed landscape lighting transforms any outdoor space into a stunning evening retreat, safely and efficiently. At Innovative Outdoor Living in Palm Beach Gardens, FL, our experienced team provides trusted Landscaping with expert lighting design and installation. Call +1 (561) 594-1495 today and see your backyard shine.
Frequently Asked Questions
How Much Do Landscape Lighting Fixtures Typically Cost to Install?
Installation cost depends heavily on the placement strategy, since fixture count, spacing, and layering all drive it. Curves and steps use more fixtures at tighter 5 to 6-foot spacing, while straight runs use fewer at 6 to 10 feet. Fixture quality, wiring runs, and transformer size factor in as well. For accurate pricing on a specific yard, a local lighting professional can put together a detailed quote.
What Type of Bulbs Last Longest for Outdoor Landscape Lighting?
LED bulbs last by far the longest for outdoor landscape lighting, often 20,000 to 50,000 hours, which can mean many years of nightly use before replacement. They also run cooler and use far less power than halogen or incandescent bulbs, which burn out much sooner. Warm-white LEDs in the 2700K to 3000K range give the natural glow most landscapes want. Testing placement at night and re-aiming seasonally, as soil movement and plant growth shift alignment, keeps them looking their best.
Should I Hire a Professional or Install Lighting Myself?
Landscape lighting is DIY-friendly with low-voltage fixtures and a bit of layout planning. Sketching the yard, marking walkways, trees, and doorways, then testing placement at night to check glare and shadows before finalizing, sets it up well. Line-voltage wiring or complex electrical work is better handed to a professional for safety and code compliance. For layered, precise results, weighing comfort level against the project’s technical demands is the deciding factor.
How Do I Power Outdoor Lights Without Visible Wiring?
Low-voltage fixtures make this straightforward, since their thin cable buries just beneath soil or mulch along paths and beds. Routing the wiring behind shrubs, edging, or hardscape keeps it hidden, running back to a concealed transformer near an outdoor outlet. For fixtures far from power, quality solar units are an option. Testing placement at night first, and re-checking alignment seasonally as soil movement shifts fixtures, keeps everything looking intentional.
Are Solar Landscape Lights as Reliable as Low-Voltage Options?
Generally not. Solar lights depend on daily sunlight, so output dims and runtimes shorten on cloudy days or in shaded spots. Low-voltage fixtures deliver consistent, controllable brightness, allowing overlapping pools of light and precise accents that solar cannot reliably match. For dependable, layered illumination on paths, steps, and seating areas, low-voltage is the stronger choice, with solar best reserved for low-stakes, sun-exposed decorative touches.