

To choose the right patio drainage, you’ll need to assess three factors first: your soil type, your slope grade (aim for at least 3% away from the home), and your area’s peak rainfall intensity. French drains handle subsurface groundwater, while channel and trench drains manage surface runoff. Match the system’s capacity to your specific problem, whether that’s pooling on flat slabs, roof runoff, or clay soil saturation. Each scenario demands a different solution, and the details below break down exactly how to get it right.
Why Poor Patio Drainage Destroys More Than Your Yard
Poor patio drainage doesn’t just leave puddles in your yard, it actively undermines your home’s structural integrity, safety, and value. Water seeping into foundation soil causes expansion cycles that crack walls, shift floors, and jam doors. Meanwhile, 98% of U.S. basements experience water damage tied directly to inadequate drainage.
Beyond structural threats, you’ll face serious landscaping consequences as unchecked runoff erodes topsoil, suffocates grass roots, and washes out garden beds. Standing water breeds mosquitoes and creates slippery algae on hardscapes, elevating health and safety risks.
The property value impacts compound quickly, foundation repairs average $4,000 to $14,000, while patio replacements reach $5,400. Addressing drainage proactively costs considerably less than repairing cascading damage across your home’s systems.
Check Your Soil, Slope, and Rainfall First
Before you install any drainage system, you need to assess your soil type, clay-rich soils restrict water flow and demand different solutions than sandy soils that allow direct infiltration. Next, measure your yard’s slope using a laser level or straightedge, confirming you’ve got at least a 3% grade directing water away from your foundation. Conducting soil percolation tests at this stage will directly inform which drainage media and features are best suited for your specific ground conditions. Finally, factor in local rainfall intensity data and historical flooding patterns, because sizing your swales, French drains, or detention basins without accounting for peak storm events will leave you with an undersized system that fails when it matters most.
Soil Type Drainage Impact
You’ll want to test your soil first. Rub wet soil between your fingers, sticky means clay, gritty indicates sand, slippery signals silt. A jar test reveals exact particle ratios by letting layers settle visibly.
Loam offers the best soil nutrient retention and balanced drainage, combining clay, sand, silt, and organic matter. If you’re working with problematic soil types, you’ll need targeted solutions like French drains or amended soil profiles to correct deficiencies. Without proper drainage, waterlogging and root suffocation can damage plants and compromise the health of your entire outdoor living area.
Assess Your Slope
The slope of your yard determines where water travels, and whether it ends up safely away from your home or pooled against your foundation. You need a minimum 3% grade directed away from your structure; slopes between 3-10% provide ideal runoff without excessive erosion.
Using survey equipment like laser levels or construction altimeters, measure your yard’s existing grade to identify high and low points. Simulate rainfall with a garden hose to visualize drainage patterns and pinpoint where water accumulates. A front-to-back slope toward your house is the most dangerous configuration, driving hydrostatic pressure against basement walls.
If your grade falls below 3%, regrading reshapes the terrain to direct flow toward designated drainage areas. Minor corrections typically cost $1,500, $3,500 depending on severity.
Rainfall Volume Considerations
Even after confirming your yard’s slope meets the 3% minimum grade, you can’t design an effective drainage system without accounting for how much water actually hits your property during peak storms. Understanding rainfall volume thresholds prevents undersized pipes from failing when you need them most.
When calculating flood capacity, assess these converging factors:
- Peak storm intensity: Systems sized for half-inch-per-hour storms fail during events exceeding 2 inches
- Converging water sources: Rooflines, neighboring yards, and patios channel runoff toward single collection points
- Soil saturation limits: Saturated ground eliminates absorption, forcing 100% surface runoff into your drainage infrastructure
- Debris surge risk: Heavy rainfall carries leaves, mud, and sediment that amplify blockage potential mid-storm
Cross-reference local historic rainfall data with your pipe sizing to identify capacity gaps before installation.
French Drains vs. Channel Drains vs. Trench Drains
| Feature | French Drain | Trench/Channel Drain |
|---|---|---|
| Water Source | Subsurface groundwater | Surface runoff |
| Visibility | Buried, invisible | Surface-level grates |
| Installation | Deep excavation, gravel backfill | Shallow trench, modular channels |
| Maintenance | Professional pipe cleaning | Homeowner grate and sediment removal |
You’ll find trench drains handle heavy vehicle traffic, while French drains protect against subsurface erosion.
How to Match a Patio Drain to Your Problem
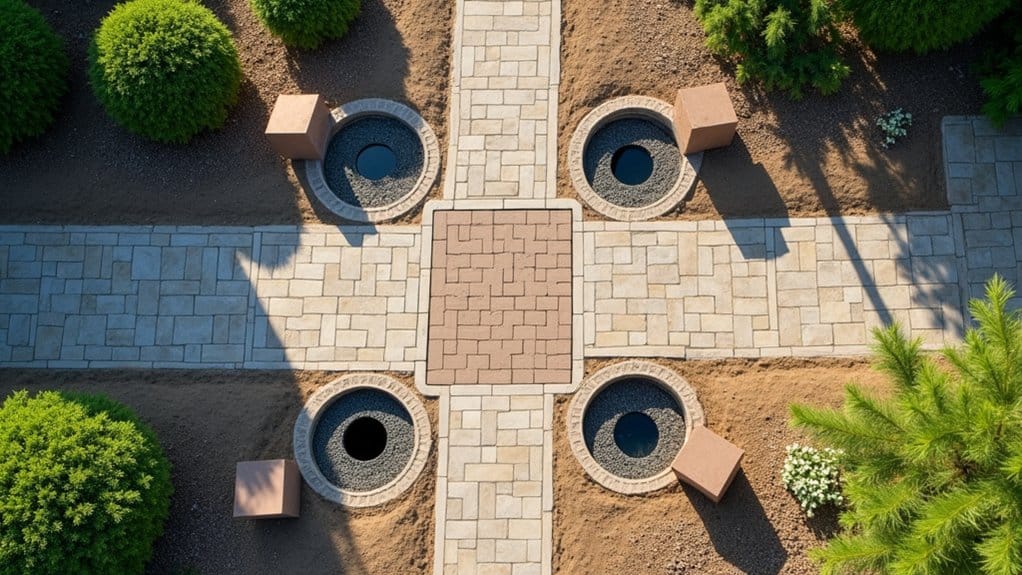
Knowing the differences between drain types matters only if you can accurately diagnose what’s causing water problems on your patio. Start by identifying your specific failure point, then align your drainage material selection accordingly.
- Surface pooling on flat slabs: Install channel drains along edges or center lines where water collects.
- Subsurface saturation from high water tables: Deploy dry wells or soakaways for controlled percolation below grade.
- Roof runoff overwhelming the patio perimeter: Extend downspouts and add gutter diversions before water reaches the surface.
- Heavy sheet flow across hardscapes: Use trench drains sized for high-volume capture and rapid conveyance.
Effective drainage performance management requires matching each solution’s capacity to your site’s slope, material type, and water volume.
Best Patio Drainage for Clay Soil and Heavy Rain
Because clay soils resist water absorption at nearly every level, standard drainage strategies often fail to keep patios dry during sustained downpours. Dense clay particles compact into impermeable surfaces, trapping water and creating persistent pooling.
You’ll need layered water-resistant clay remedies to address this. Start by aerating compacted subsoil with a hollow-tined tool, creating 10, 15cm channels for water movement. Brush horticultural sand into each hole to maintain permeability. Organic matter incorporation, mixing compost directly into clay, improves long-term filtration and soil structure.
For engineered solutions, install French drains with perforated pipe sloped toward an outlet, paired with a gravel-filled trench. Add linear channel drains across patio spans to intercept surface runoff before it accumulates. Combine these with catch basins at low points for all-encompassing protection.
Your Patio Slope Decides Where the Drain Goes
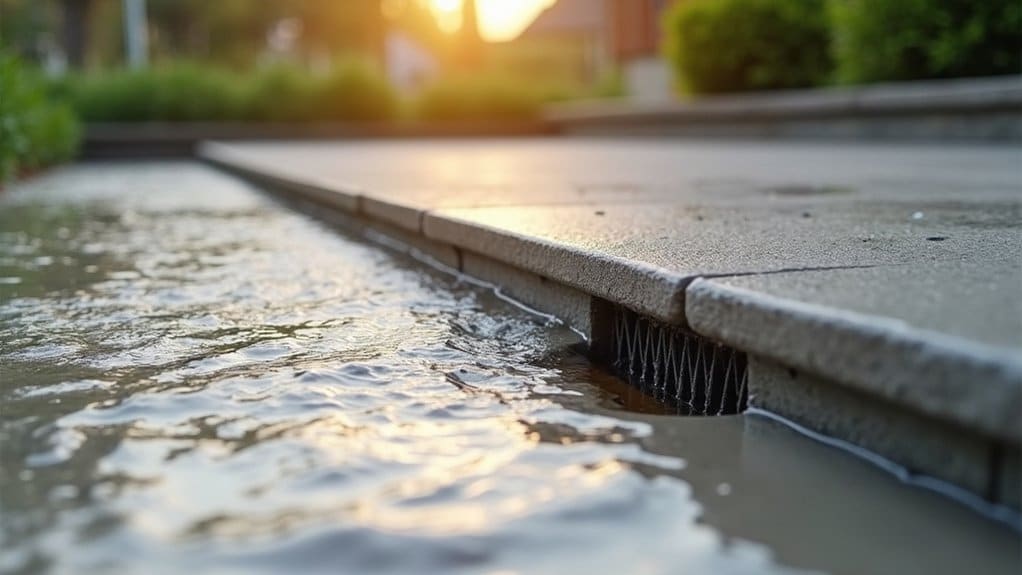
Your patio’s slope percentage, ranging from 1% (1/8 inch per foot) to the ICPI-recommended maximum of 2% (1/4 inch per foot), directly determines where water exits and where you’ll need to position drains. You should place drains at the lowest elevation point of the slope’s path, particularly where physical barriers like lot lines or retaining walls prevent water from traveling the full runoff distance. If your existing patio falls short of the minimum 1/8-inch-per-foot grade, you’ll need to correct the slope through regrading or compensate with strategically placed channel drains to intercept water before it pools or reverses toward your foundation.
Ideal Slope Percentage
Key factors determining your ideal percentage:
- Surface texture: Smooth finishes perform at 1%, while textured pavers demand 2%
- Shade exposure: Tree-covered patios need 1/4 inch per foot since moisture evaporates slower
- Material permeability: Brick-on-sand or flagstone installations function well at 1% minimum
- Jointing compounds: Polymeric sand requires at least 1/8 inch per foot
A 2% slope keeps silt and debris in suspension during runoff. Your slope maintenance requirements increase below 1%, where puddles and slip hazards develop.
Drain Placement Strategy
For simple patios, a uniform single-direction slope channels water to the far edge. Multi-directional configurations create swales where two grades converge, ideal locations for strip drains with resin-bound aggregate surfaces. Position joints 1/8 inch below pavement top to function as secondary collection points.
Your slope to drain positioning depends on site-specific conditions. Consider existing landscaping, neighboring properties, and soil permeability. On non-draining soils, slope toward pond liners or storage tanks for full exfiltration management.
Correcting Insufficient Slopes
Once you’ve mapped out where your drain goes, the next challenge is ensuring your patio actually moves water to it. If your existing grade doesn’t support the required 1/8 to 1/4 inch per foot slope, you’ll need corrective measures to establish proper drainage pathways.
Consider these proven solutions for insufficient slopes:
- Build up soil at the patio’s low end to achieve adjustable paver height relative to your home’s foundation
- Construct raised patios when the grade difference demands significant elevation changes
- Use retaining wall construction to lower the patio grade below existing levels while maintaining structural integrity
- Adjust foundation-side height to minimize steps and reduce the need for additional structural support
Keep hardscape slopes under 2 percent for long-term stability.
Best Patio Drains for Pools, Walkways, and Curves
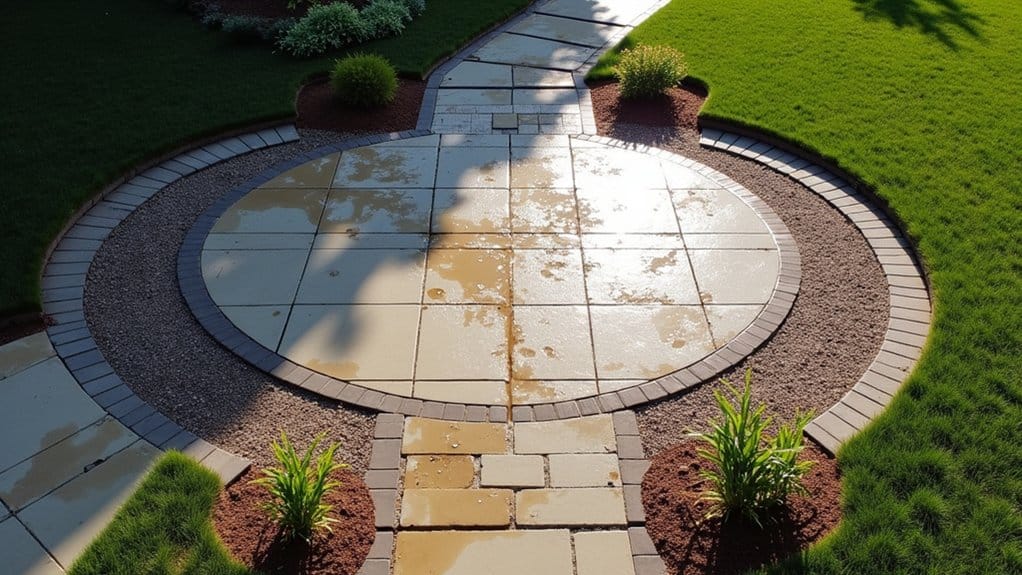
Choosing the right patio drain comes down to matching the drain type with your specific layout, whether that’s a straight pool deck, a curved walkway, or a freeform patio design. Strip drains excel along pool decks and structural edges where water collects linearly. Spot drains support customized drainage layouts for freeform patios with curved geometries. For broader surface coverage, porous paving alternatives like permeable pavers eliminate runoff at the source.
| Drain Type | Best Application |
|---|---|
| Strip Drains | Straight pool decks and structural edges |
| Spot Drains | Freeform patios and curved walkways |
| Channel Drains | Paved surfaces requiring color-matched, low-profile drainage |
You’ll achieve ideal results by combining drain types based on your patio’s geometry rather than relying on a single solution.
What Each Patio Drain Costs to Install
Understanding installation costs helps you budget accurately before committing to a specific drainage system. Channel drains run $30 to $150 per linear foot depending on complexity, while French drains cost $10 to $50 per linear foot with total projects averaging $2,000 to $6,000. Trench drain expenses fall within a similar range as channel drains, but multi-level patios exceeding 300 square feet can push costs beyond $6,000.
Channel Drain Costs
Because channel drain costs range from $30 to over $1,000 per linear foot, your total investment depends heavily on material choice, drain type, and installation complexity. A standard trench drain runs $2,000 to $6,000, while full-width systems with surface modifications reach $5,000 to $12,000+.
Key cost variables include:
- Material selection: Plastic channels offer the lowest entry point; steel averages $100/ft; concrete exceeds steel pricing
- Drain type: Slot drains cost $129/ft installed; radius drains range $30, $150/ft
- Channel drain installation challenges: Cutting into existing surfaces increases costs considerably, with excavation alone running $40, $100 per cubic foot
- Channel drain accessories: Decorative grates add $300, $1,000; dry well connections cost $800, $2,500
Prefabricated sections averaging $80, $185 per foot provide a cost-effective, predictable solution for most residential applications.
French Drain Pricing
French drains represent the most versatile patio drainage option, but their pricing structure differs markedly from channel drains. You’ll pay $10 to $75 per linear foot for exterior installations and $40 to $100 per linear foot for interior systems. A standard 100-foot exterior drain costs $1,000 to $7,500, while interior equivalents run $4,000 to $10,000.
Your total depends on several variables. Drain depth considerations directly affect excavation labor, which runs $50 to $100 per hour. Material grade options, particularly pipe quality and pea gravel at $25 to $53 per ton, shift costs substantially. Factor in site assessments ($100 to $200), permits ($50 to $150), and potential grading adjustments ($500 to $2,000). DIY installation drops costs to approximately $21.12 per linear foot, though professional installation averages $1,650 to $12,250.
Trench Drain Expenses
Trench drains cost $30 to $150 per installed linear foot, with total projects ranging from $2,500 to $8,000 depending on material selection, drain width, and site complexity.
A cost comparison across configurations reveals significant price variation:
- Precast trench drains start at $85 per installed foot for the smallest sizes, reaching $185 for 24-inch prefabricated units.
- Wide trench drains (10-inch) begin at $187 per foot, scaling to $510 for 48-inch systems.
- Plastic and wood materials approach the lower $30 range, while concrete and metal push toward $150.
- Labor rates add $50 to $150 per hour, with specialized equipment like concrete pumps costing $125 to $200 hourly.
Your material selection directly controls budget outcomes. Site preparation adds $300 to $1,000 before installation begins.
Low-Maintenance Patio Drains That Last for Years
For water retention solutions, permeable pavers double as French drain strips, infiltrating runoff directly into the subgrade. Pair them with dry wells for controlled groundwater integration. Grated catch basins with removable strainer baskets require only monthly checks. EZ Drain’s gravel-free Poly-Rock technology achieves 30% better flow rates and cuts installation labor by half. Quick-E-Adjustable stainless steel drains allow post-installation fine-tuning as pavers settle, extending system lifespan without reconstruction.
How to Choose and Plan Your Patio Drain System
Even the most durable drain hardware underperforms without a site-specific plan behind it. You’ll need to assess your yard’s natural water flow, test soil permeability, and evaluate grading foundations before selecting components. Start by mapping slopes with a spirit level to identify pooling zones and discharge paths.
Before choosing a single fitting, map your yard’s slopes and soil, site-specific data always outperforms assumptions.
Your underground piping layouts should maintain a minimum 1% trench slope, directing water decisively away from structures. Prioritize these planning steps:
- Survey terrain to locate low spots and natural drainage corridors
- Design slope at 1/8 to 1/4 inch per foot away from the house
- Select drain types matching conditions, channel, French, or catch basin
- Map multiple outlets to prevent system overload during heavy rainfall
Match each component to site-specific data, not assumptions.
Frequently Asked Questions
Can I Install a Patio Drainage System Myself or Do I Need a Professional?
You can handle basic patio drainage yourself if you’re comfortable trenching, cutting PVC, and achieving precise slope measurements. DIY installation considerations include mastering glued fittings, landscape fabric wrapping, and leveling drains 1/8-inch below chamfer height. However, professional installation benefits become critical when routing through foundations, integrating complex manifold systems, or connecting multiple reducers and catch basins. If your project requires permits or involves site-specific soil challenges, you’ll want expert assessment to guarantee long-term efficacy.
Do Patio Drainage Systems Require Permits or Local Building Code Approval?
Yes, patio drainage systems typically require permits and local code approval. In San Francisco, you’ll need building permits for any drainage fixtures connecting to your building’s sanitary system. You must verify permitting requirements by checking your property’s environmental category and historic resource status before submitting applications. To achieve local code compliance, you’ll need to guarantee your drainage doesn’t discharge rainwater into sewer systems and includes proper covers preventing contamination.
How Long Does a Typical Patio Drainage System Installation Take to Complete?
Your average installation time ranges from 2, 3 days for small, localized patio projects to over one week for large, complex systems involving extensive excavation, utility conflicts, or permit requirements. Medium projects typically fall within 3, 5 days. You’ll optimize timelines by scheduling during dry seasons and hiring professional crews. Proper installation directly impacts your drainage system lifespan, so you shouldn’t rush critical steps like slope calibration, gravel backfill, and landscape fabric integration.
Can Existing Patio Drainage Be Upgraded Without Tearing Out the Entire Patio Surface?
Yes, you can upgrade existing patio drainage without full demolition. You’ll replace solid pointing with permeable resin-based jointing compound, allowing water infiltration through current joints. Install channel drains by cutting directly into the existing surface at low spots. Add French drains along the perimeter with minimal trenching. Incorporate surface grade adjustments at problem areas and perform downspout relocation to redirect roof runoff underground, extending lines five feet from the foundation.
Will Adding a Drainage System Affect My Property Value or Home Resale Potential?
Yes, adding a drainage system positively affects your property value. You’ll achieve increased property appeal by eliminating standing water, protecting your foundation, and creating functional outdoor spaces that attract buyers. Poor drainage can reduce home value by 5, 15%, while corrected systems signal move-in readiness during inspections. You’ll also lower long-term home maintenance costs by preventing mold, landscape deterioration, and structural damage, factors that directly strengthen your resale position and protect equity.