
After a storm passes, wait at least 30 minutes past the last thunder before heading outside. Walk your property’s perimeter and photograph all damage with timestamps before touching anything. Tarp any openings with heavy-duty poly sheeting, clear debris while wearing protective gear, and extract standing water immediately to prevent mold. Hire an ISA-certified arborist for damaged trees and test your well water for contamination. Each step below breaks down exactly how to do it right.
Wait for the All-Clear Before Going Outside After a Storm
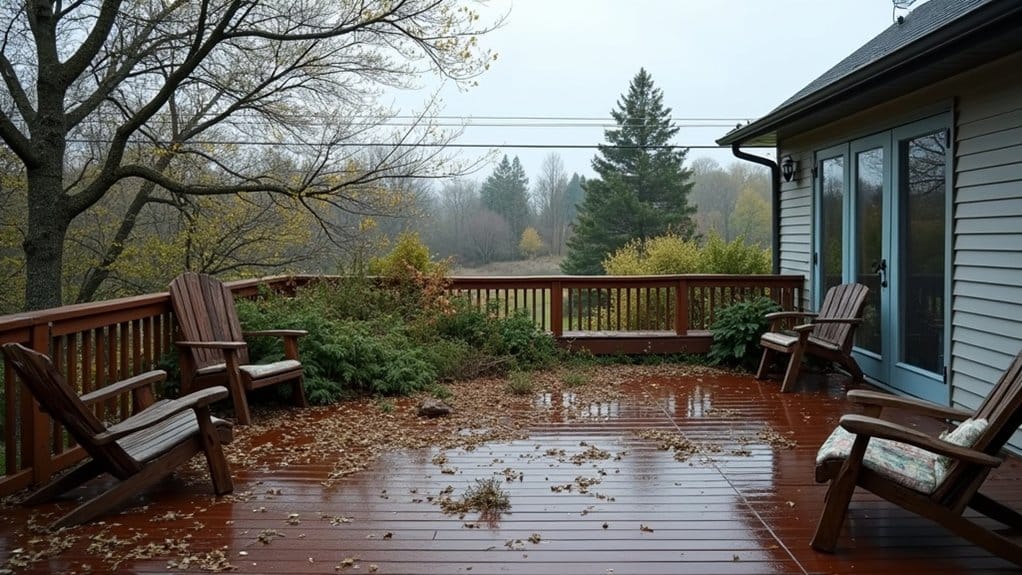
After a storm passes, don’t head outside until official warnings have expired or local authorities issue an all-clear. Lightning can strike even after rain stops, as electrical charges persist in clouds. The National Weather Service recommends you wait for the all-clear by observing the 30-minute rule, stay sheltered at least 30 minutes after the last audible thunder before beginning any post hurricane backyard cleanup.
Thunder carries roughly 10 miles, so if you hear it, you’re within strike range. Don’t rely on clearing skies as a safety indicator. If thunder resumes during outdoor work, return to a substantial building immediately. A proper structural damage assessment requires safe conditions first, weather clearance and confirmed lightning safety, not just dry skies. If anyone is struck by lightning, remember that victims carry no electrical charge, so provide immediate medical attention including CPR or AED use while waiting for emergency responders.
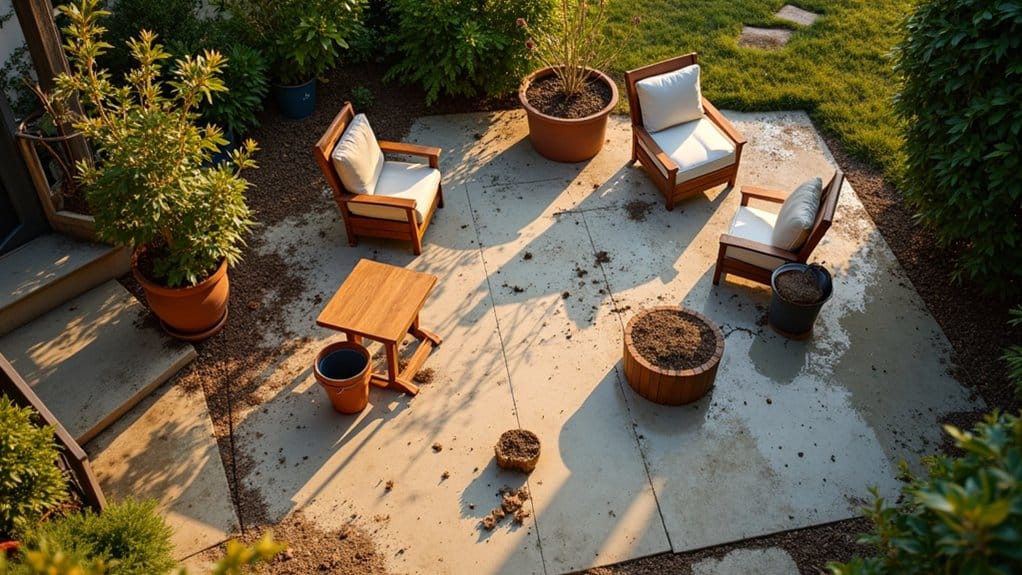
Walk Your Property and Photo-Document All Storm Damage
Once it’s safe to move through your yard, walk the full property perimeter and photograph every damaged area using wide shots first, then close-ups with timestamps enabled. Note structural hazards like cracked pergola posts, leaning fences, or shifted patio covers that may pose collapse risks during cleanup. Record all missing items, displaced furniture, detached fixtures, lost equipment, in written notes paired with video narration to build a complete damage record. Include estimated values, purchase dates, and any available warranty information for each damaged or missing item to strengthen your insurance claim.
Photograph Every Damaged Area
Before you move any debris or begin cleanup, walk your entire property and photograph all storm damage in its original condition. Capture wide shots first to establish context, then take close-ups of every crack, dent, hole, and displaced material. You’ll want to photograph every affected outdoor zone, patios, pergolas, pools, outdoor kitchens, lighting systems, retaining walls, and landscaping features. For areas that are unsafe or difficult to reach, consider using drone photography services to capture aerial footage that identifies damage you might otherwise miss.
Document each property side from consistent viewpoints to support before-and-after comparison. Keep images well-lit, in focus, and time-stamped. Organize photos by location and damage type to streamline your insurance claim outdoor living review process. Store everything in a secure digital backup immediately. This structured documentation creates the foundation for effective outdoor living restoration after hurricane damage and gives contractors the detail they need to plan repairs accurately.
Note Structural Hazards
While photographing damage is essential, your primary goal during this walk-through is identifying structural hazards, not planning repairs. Treat every step as a hazard check. Avoid areas with sagging roofs, slanted walls, or separated foundations until a professional confirms they’re safe. If you hear shifting sounds, leave immediately.
Check for widened foundation cracks, uneven floors, and gaps between walls and ceilings. Inspect for diagonal cracks in load-bearing walls, stuck doors, and frame misalignment, all indicators of storm-related movement. Document hurricane damage outdoor furniture positions relative to structures, since wind-driven debris often causes hidden impact damage.
Stay clear of downed power lines and standing floodwater. Record all findings thoroughly; this documentation supports the insurance adjuster process and helps verify compliance with current Florida building code requirements during rebuilding.
Record Missing Items
Every missing or damaged item needs photographic proof before you move, clean, or discard anything. Capture wide shots for context and close-ups for detail across every affected zone. If you need to repair pergola after hurricane damage or fix outdoor kitchen storm damage, photograph each component separately from multiple angles.
Build a room-by-room inventory covering every outdoor area, pool deck, kitchen, pergola, lighting systems. Note displaced, destroyed, or missing items with specific locations. Search your phone for pre-storm images showing items in place, and pull receipts or bank statements to verify ownership and value.
Maintain a written damage log with dates, times, and photo locations. Store copies in multiple secure locations. Citizens insurance adjusters require organized, timestamped documentation, so update your log as you discover additional losses during cleanup.
Tarp Openings and Make Temporary Storm Damage Repairs
When a storm tears open your roof or strips away shingles, tarping the breach immediately prevents additional water intrusion from compounding the original damage. Select a heavy-duty polyethylene tarp (minimum 6 mil thickness) extending 3, 4 feet beyond the damaged zone on all sides. Secure edges with 2×4 boards fastened every 8, 10 inches. Document all damage before covering, you’ll need this for insurance claims and FEMA disaster assistance applications.
| Tarping Element | Specification | Purpose |
|---|---|---|
| Tarp material | Heavy-duty polyethylene, 6 mil+ | Waterproof barrier |
| Overlap coverage | 3, 4 feet beyond damage | Prevents edge water entry |
| Fastener spacing | Every 8, 10 inches | Wind resistance |
| Top placement | At or near roof peak | Promotes water runoff |
| Attachment method | Sandwich-board clamping | Secure hold without tearing |
Clear Storm Debris Without Creating New Hazards
Before you pick up a single branch, survey the entire area for hazards that could injure you during cleanup. Identify downed power lines, leaning trees, gas leaks, and unstable structures before entering any work zone. Stop all work during high winds, heavy rain, or lightning.
Clear access routes first by removing the largest obstacles so equipment can reach the site. Keep pathways away from power lines, utility meters, and hydrants. Separate debris by type, vegetative, construction, hazardous waste, electronics, and appliances, following local disposal rules. Stage piles curbside but away from storm drains, fire hydrants, and mailboxes.
Wear gloves, steel-toed boots, goggles, and hard hats. Don’t operate chainsaws alone. Establish clear perimeters and maintain communication between equipment operators and ground crews.
Dry Out Water-Damaged Areas Before Mold Takes Hold
Once debris is cleared and access routes are open, shift focus to removing water before it causes secondary damage. Extract standing water from the deepest zones first using pumps or a wet/dry vacuum. Begin drying within 24, 48 hours to limit mold risk.
| Action | Method | Target |
|---|---|---|
| Extract water | Pumps, wet/dry vacuum | Deepest zones first |
| Increase airflow | Fans every 10, 15 ft | Wet surfaces |
| Reduce humidity | Dehumidifiers, continuous run | Below 50% RH |
| Remove saturated materials | Discard insulation, padding, soaked items | Trapped moisture sources |
| Monitor progress | Moisture meter, daily checks | All affected materials |
You should run dehumidifiers continuously for 24, 72 hours alongside air movers. Check moisture levels daily and discard materials that won’t dry completely.
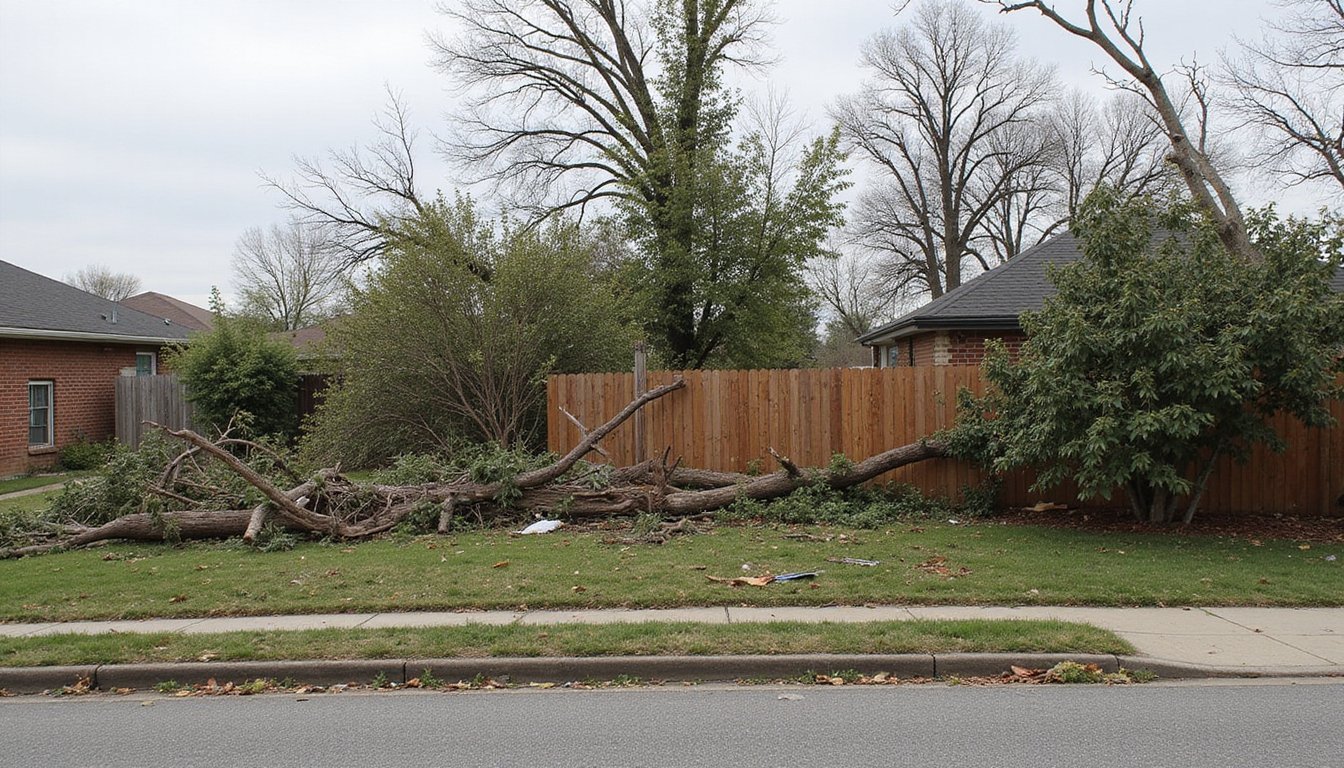
Hire an Arborist for Storm-Damaged or Uprooted Trees
After a storm, you should hire an ISA-certified arborist who carries liability and workers’ compensation insurance to assess split trunks, hanging limbs, and uprooted trees before attempting any cleanup yourself. A qualified arborist uses proper pruning techniques, like the three-cut method, to remove damaged branches without causing further trunk injury and determines whether each tree can be salvaged or needs removal. If you’re replanting uprooted trees, keep exposed roots moist and covered, and consider replacing lost trees with wind-resistant species better suited to your local storm conditions.
Certified Arborist Selection
| Verify Before Hiring | Why It Matters |
|---|---|
| ISA Certified Arborist credential | Confirms formal training in tree diagnosis, care, and safe work practices |
| Liability insurance and workers’ comp | Protects you from liability for injuries or property damage during tree work |
Request written estimates that include credentials, scope of work, cleanup responsibilities, start and end dates, and total cost. Avoid uninsured crews, door-to-door solicitations, and pressure to sign immediately after a storm.
Assessing Tree Damage
With a qualified arborist identified, your next step is evaluating the actual damage your trees sustained. Check for hanging or split branches over structures, driveways, and walkways first, these pose the greatest immediate risk. Look for trunk cracks, sudden leaning, visible decay, or bark loss exceeding one-third of the trunk’s circumference, as these conditions often require removal.
Don’t attempt cleanup involving climbing, chainsaws, or large branch removal yourself. Have your arborist assess any broken tops, structural splits, or uprooted mature trees, which rarely survive repositioning. Young uprooted trees may be salvageable if reset and staked promptly.
Before any repair work begins, clear ground debris from the area. Contact your utility company, not your arborist, for any tree damage involving power lines due to electrical hazard risk.
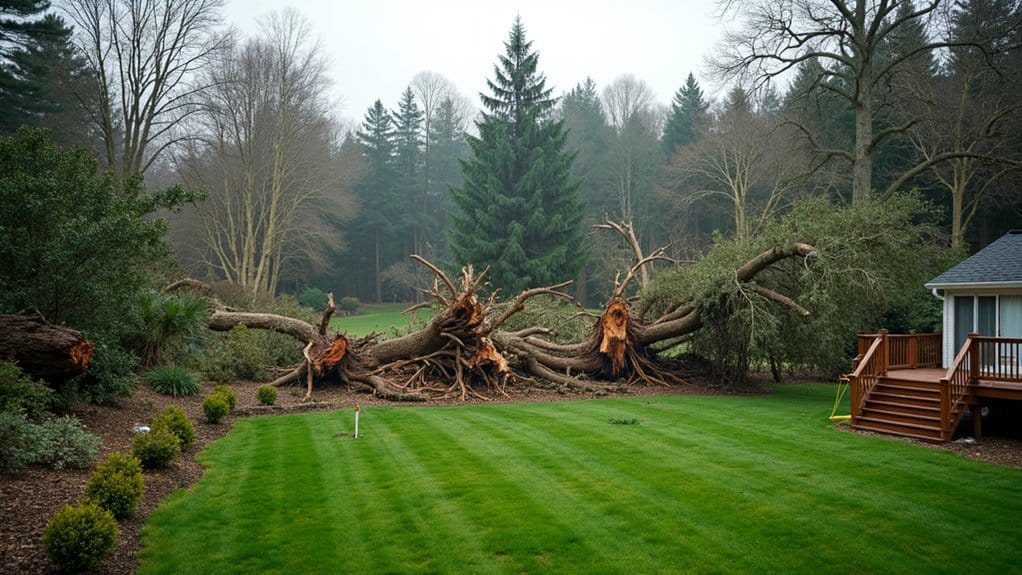
Replanting Uprooted Trees
Because uprooted trees often carry hidden structural damage, trunk fractures, severed roots, or tension-loaded limbs, resetting them isn’t a simple lift-and-replant job. A certified arborist can assess whether the tree is salvageable or requires removal instead.
Before any repositioning occurs, your arborist will evaluate three critical factors:
- Root ball integrity, Successful replanting depends on how much of the root system remains intact and undamaged.
- Trunk and canopy condition, Severe splitting or major breakage typically makes restoration impractical.
- Site hazards, Proximity to structures, utilities, or overhead lines dictates safe handling procedures and equipment needs.
If the tree has fallen onto property or blocks a road, call 911 first. Don’t attempt to stabilize or move storm-damaged trees yourself, unexpected shifting creates serious injury risk.
Test Well Water and Inspect Utilities After Storm Damage
If floodwater reached your wellhead or standing water pooled near the well casing, assume your water is contaminated until lab results confirm otherwise. Check that the sanitary well cap is sealed, undamaged, and sitting at least 12 inches above ground level. Inspect the casing for cracks, rust, or deterioration, and look for mud, debris, or exposed wiring in the electrical conduit.
Contact a certified lab to test for coliform bacteria and nitrates. Run the pump 5, 10 minutes before collecting your sample in a sterile container, and deliver it within 24 hours. Use alternate drinking water until results clear.
If contamination’s confirmed, shock-chlorinate the well, let disinfectant sit 12, 24 hours, then flush until the chlorine odor disappears. Wait seven days before retesting for bacteria.
Track Every Storm Recovery Expense for Your Insurance Claim
Once your utilities and water supply check out, shift your focus to capturing every dollar you spend on storm recovery, because undocumented expenses are the fastest way to lose reimbursement during a claim.
- Photograph all damage before cleanup using time-stamped images, then maintain a chronological expense diary logging each purchase, contractor, and mitigation action with dates and costs.
- Save every receipt and invoice, temporary repairs, debris removal, emergency lodging, meals, and transportation, ensuring vendor name, amount, date, and purpose are clearly visible on each document.
- Categorize expenses into mitigation, cleanup, lodging, personal property, and business interruption, matching subtotals against your policy’s sublimits to avoid coverage gaps.
Store digital copies of all documentation separately from originals. Log every adjuster call, email, and report with dates and discussion summaries.
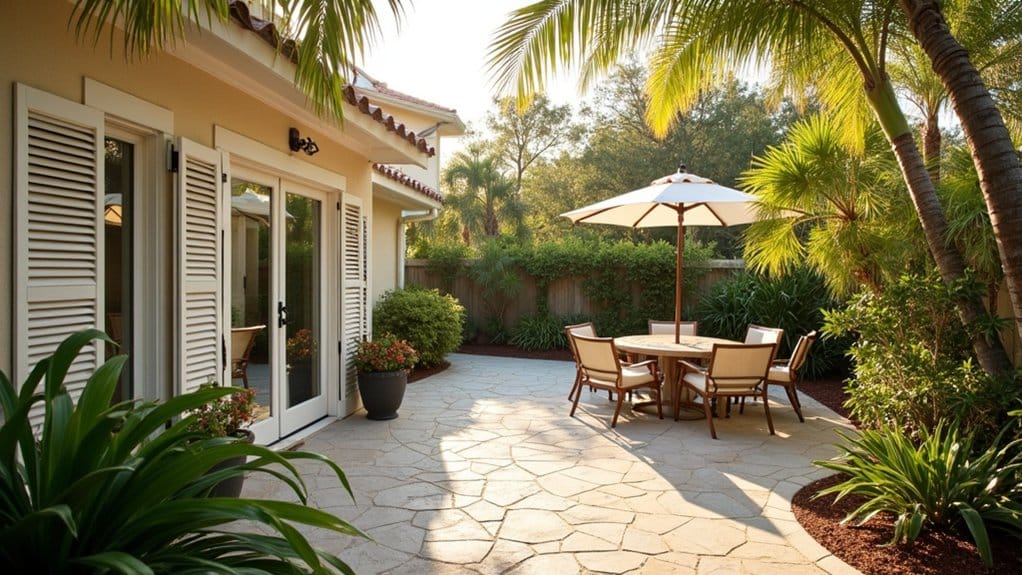
Restore Your Outdoor Living After the Storm
After a hurricane, getting your outdoor space back to life takes the right team and a thoughtful restoration plan. At Innovative Outdoor Living, our experienced team provides trusted Backyard Makeovers with expert craftsmanship and a personalized recovery approach. Call +1 (561) 594-1495 today and start rebuilding your outdoor.
Frequently Asked Questions
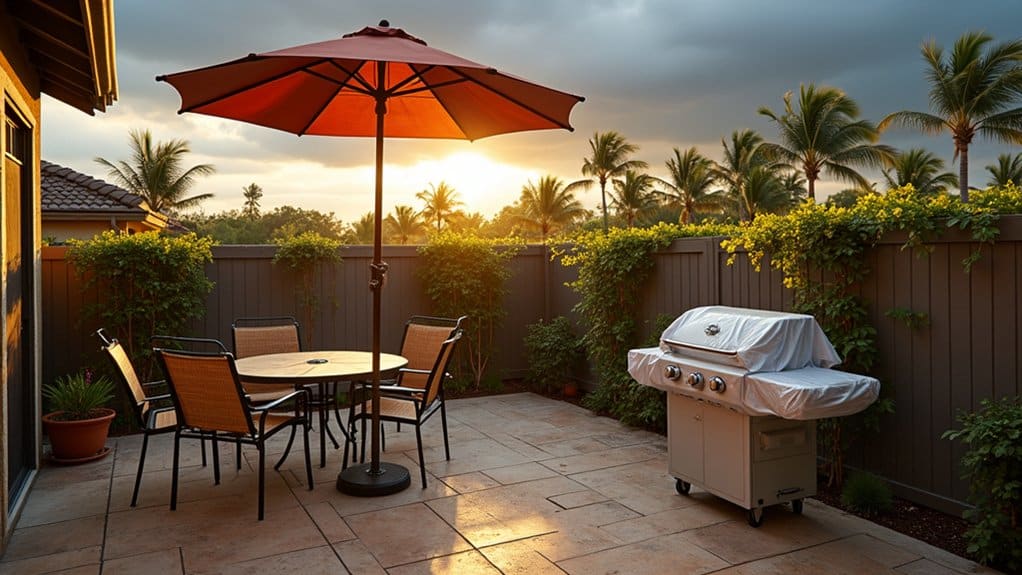
Can I File an Insurance Claim for Damaged Outdoor Kitchen Appliances After a Hurricane?
Yes, you can file an insurance claim for damaged outdoor kitchen appliances after a hurricane. Your homeowners policy may cover permanently installed appliances like built-in grills, refrigerators, and range hoods damaged by wind or debris. File your claim promptly, document all damage with photos before making repairs, and keep receipts and warranties as proof of ownership. If your insurer underpays, you can request an independent contractor estimate or consult a public adjuster.
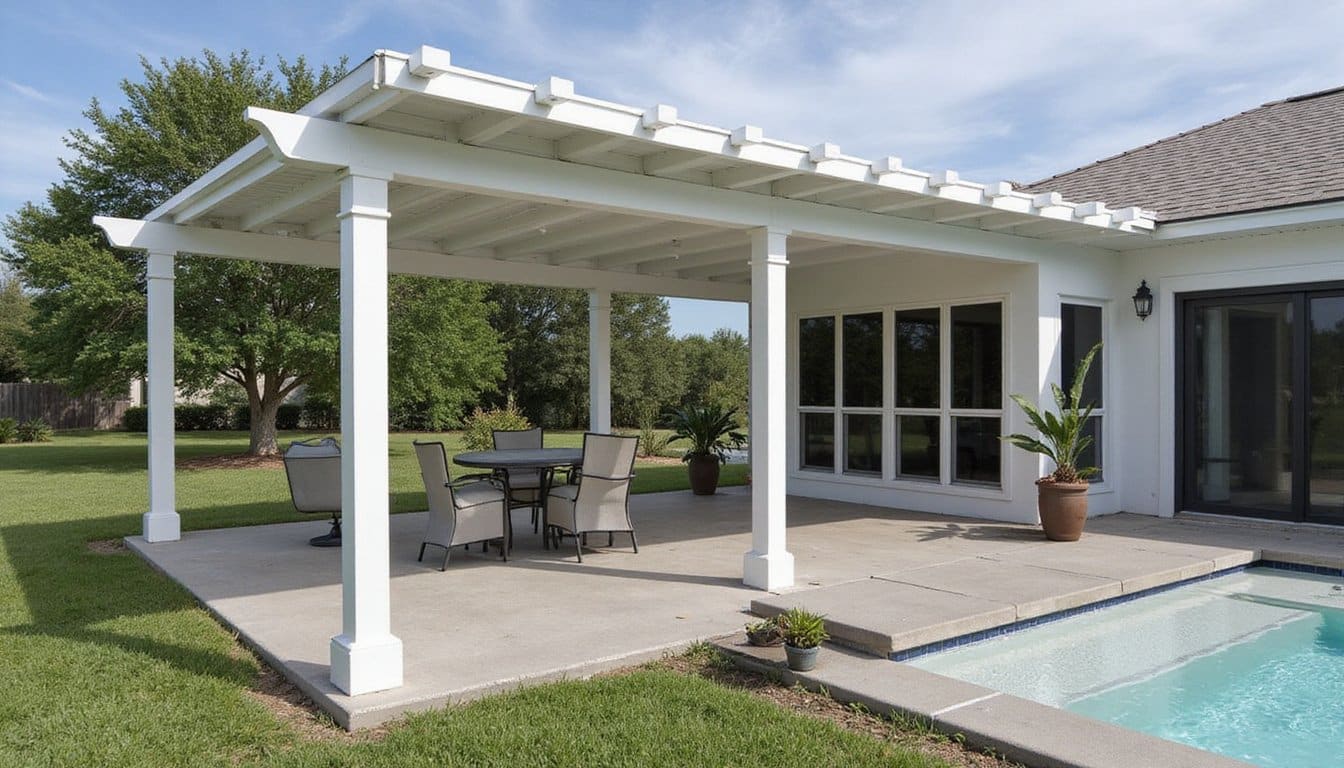
How Do I Know if My Pergola Is Structurally Safe After Storm Damage?
Check for leaning posts, open joints, loose or bent fasteners, cracked beams, and a non-straight roofline. Push laterally on each post, any movement signals racking damage. Verify that post anchors are firm in their footings and that brackets remain intact from roof to footing. If you find multiple failed connections, visible cracks in structural members, or widespread loosening, don’t rely on a visual check alone, call a licensed contractor for a professional assessment.
Should I Replace or Repair Pool Equipment Exposed to Hurricane Floodwater?
You should replace pool equipment that shows electrical failure, cracked housings, severe corrosion, or water intrusion into sealed compartments. Don’t restore power until a qualified technician confirms everything’s dry and structurally intact. If exposure was minor and limited to exterior surfaces, repair may work after thorough drying, cleaning, and professional inspection. Watch for tripping, burning smells, or abnormal startup, these signal replacement. In flood-prone areas, consider raised replacement equipment for future protection.
Do I Need Permits to Rebuild Storm-Damaged Outdoor Structures Like Patios?
It depends on the scope of your repairs. You likely won’t need a permit for surface-level patio work like resealing or replacing pavers at grade. However, you’ll typically need permits when you’re rebuilding structural components, adding covers or enclosures, or repairing electrical, plumbing, or mechanical systems. Storm damage that triggers structural changes often requires permit review. Check with your local building department, since permit thresholds vary by city.
How Can I Improve My Outdoor Living Space’s Resilience Against Future Storms?
You can strengthen your outdoor space by using wind-resistant materials like steel or aluminum framing, impact-rated glass, and heavy-profile planters. Improve drainage with permeable pavers, French drains, and proper yard grading. Install hidden anchor points and quick-release fasteners to secure furniture before storms. Add built-in storage for cushions and décor. Maintain quarterly inspections of all structures, reseal surfaces twice yearly, and keep drainage channels clear before storm season.