To build a backyard wellness retreat, you’ll want to map your yard’s microclimates, then position your sauna and cold plunge close together on slip-resistant surfaces with lit pathways between them. Choose an insulated hard-shell tub with reliable filtration and a sauna style that fits your space and climate. Add a recovery bench, ambient lighting, and layered plantings for privacy. Below, you’ll find the full layout strategy, material picks, and phased budgeting approach to bring it all together.
Plan Your Backyard Wellness Retreat Layout
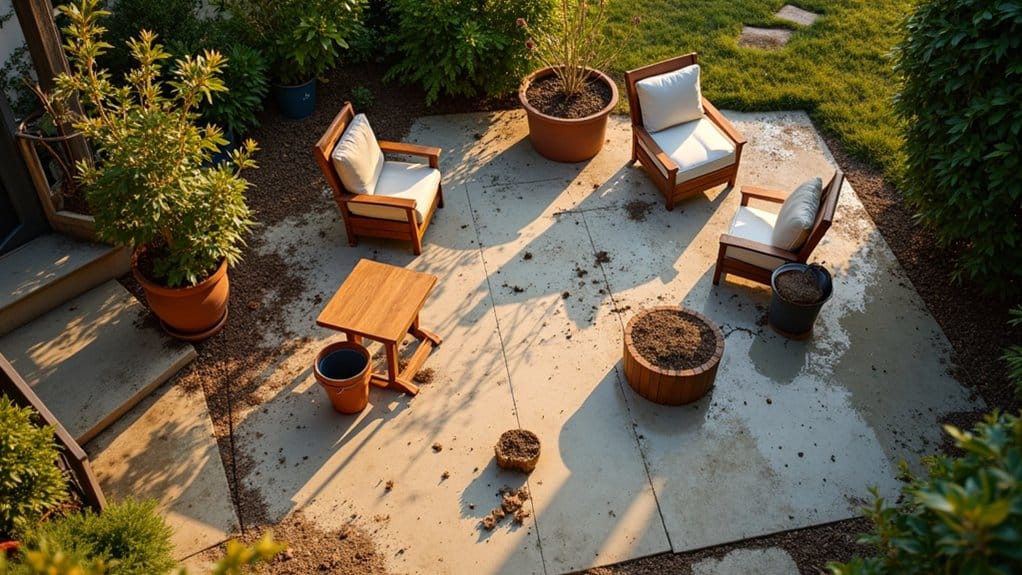
Before you buy a single piece of equipment, map your yard’s microclimates by tracking sun exposure across morning, midday, and evening hours. Note prevailing wind direction and identify where water pools after rain. These observations determine where each feature sits and how your backyard spa retreat performs across seasons.
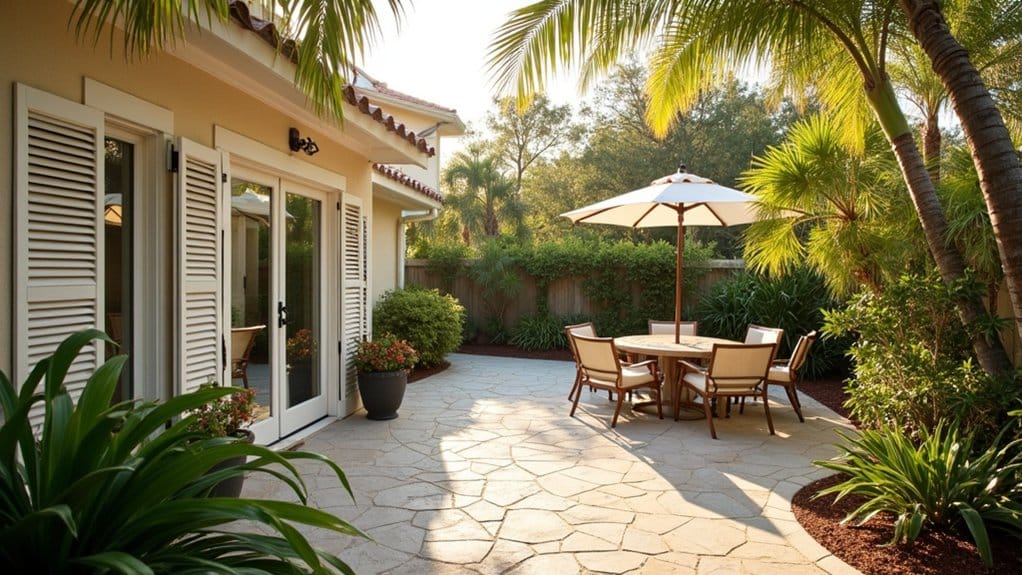
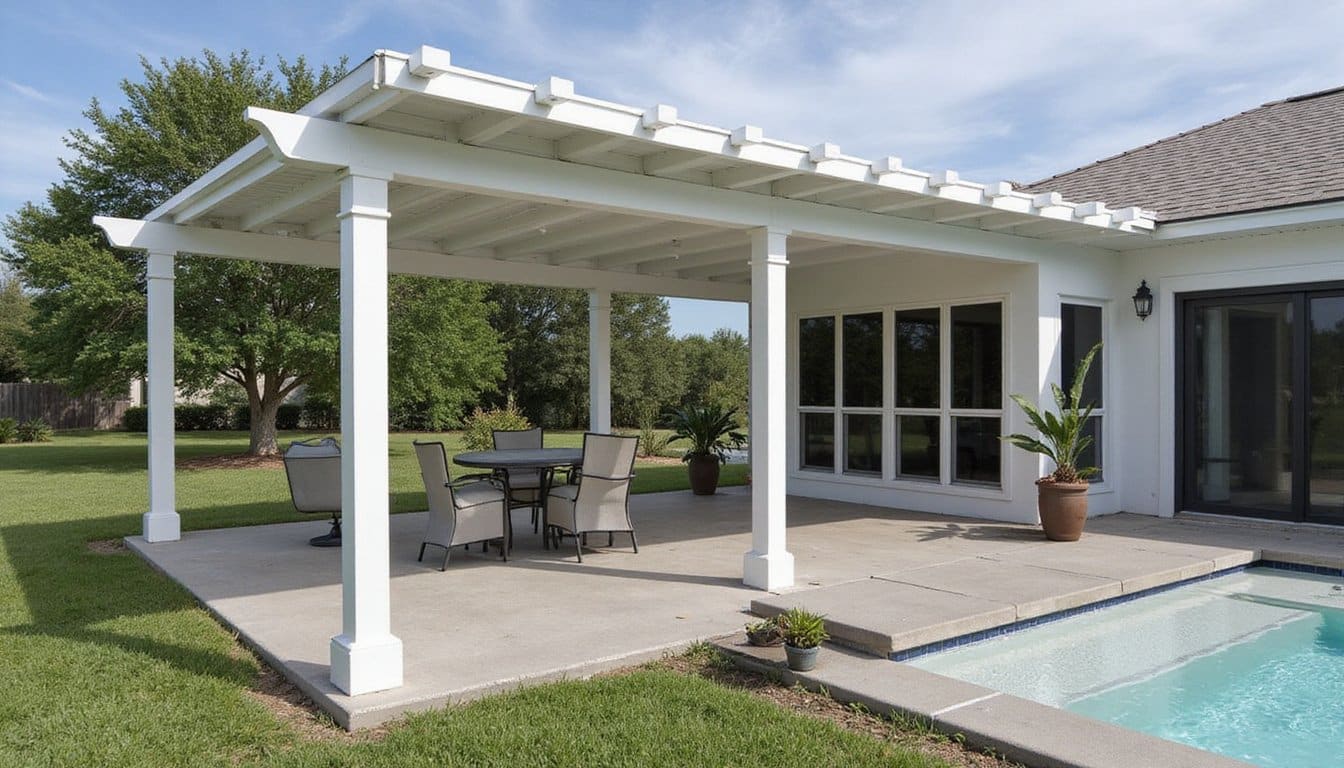
Divide your space into distinct zones, hydrotherapy, relaxation, and movement. Place your sauna and cold plunge within a few steps of each other, with slip-resistant surfaces and a nearby rest area between them. Use fencing, dense hedges, or pergolas to layer privacy where neighbor sightlines are strongest. Consider installing vertical gardens along boundary walls to add greenery while reinforcing seclusion between zones. Plan electrical and plumbing runs early so pathways and hardscape don’t need reworking later. Stage the build, starting with core layout before adding lighting and landscaping.
Choose the Right Sauna Style and Spot
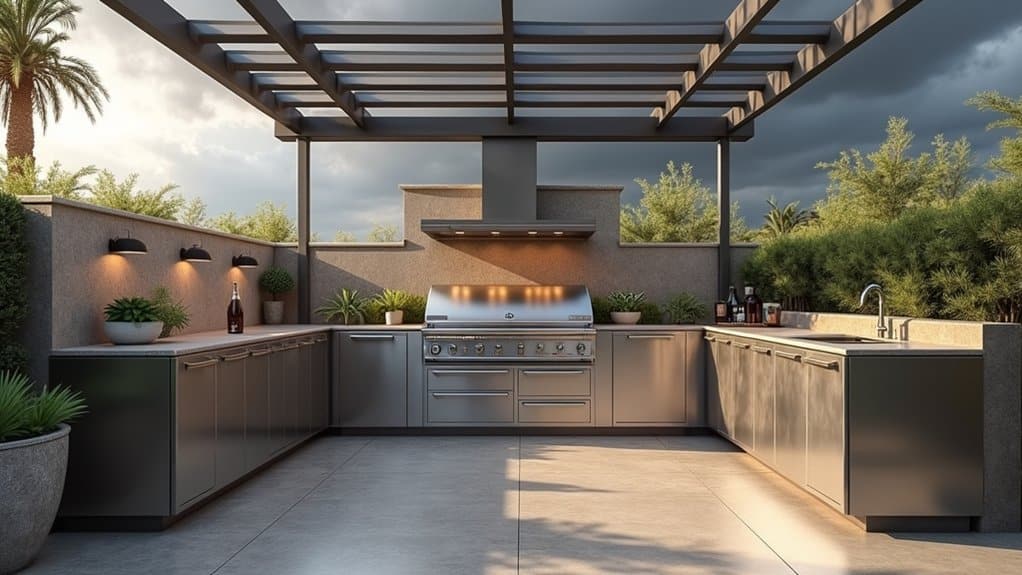
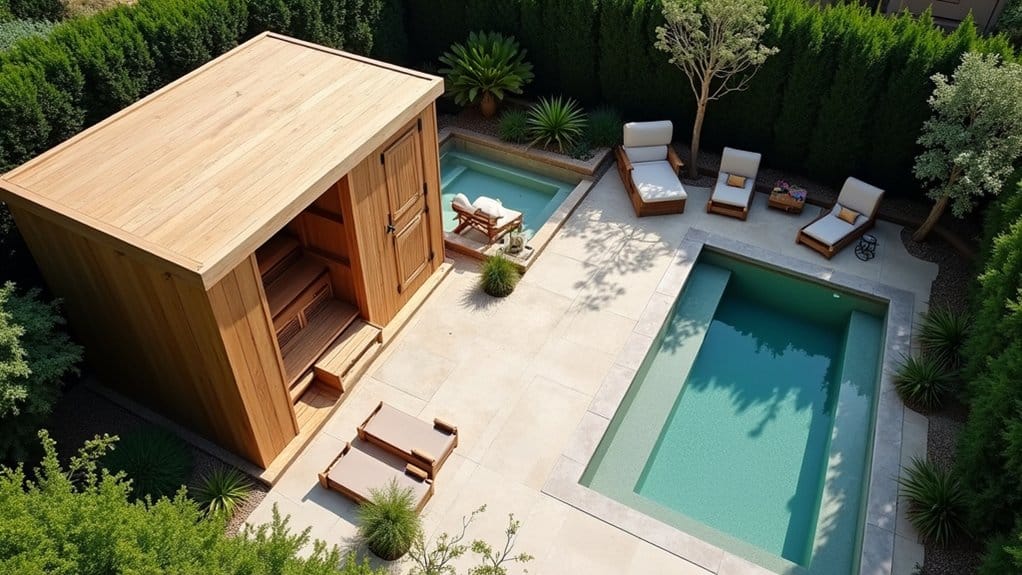
Your sauna style, barrel, cube, or cabin, shapes how the unit fits your yard’s footprint, sightlines, and overall retreat flow. Placement near a fence corner or alongside a plunge zone simplifies utility routing while keeping your layout connected and private. Each option carries specific electrical and surface requirements, so matching the style to your space guarantees a cleaner install and better long-term performance. Premium models often use sustainable woods like Canadian hemlock and Nordic spruce, offering natural durability that stands up to outdoor conditions across seasons.
Barrel, Cube, Or Cabin
Barrel styles heat up fastest, roughly 30 minutes, thanks to cylindrical thermal advantage, but curved ceilings can limit headroom for taller users.
Cabin styles offer thicker insulation and rectangular layouts that support longer group sessions, though heat-up times stretch to 45, 60 minutes. They’re the stronger choice for frequent cold-climate use.
Cube designs split the difference, straight walls maximize usable interior space and accommodate modern bench configurations, but right-angle construction creates more cold-edge zones. Match your pick to group size, session length, and how tightly the footprint integrates with surrounding circulation paths.
Ideal Placement Tips
Once you’ve settled on a sauna style, where you place it matters just as much as what you buy. Start with flat, well-drained ground and prepare a compacted gravel base of 4, 6 inches. These ideal placement tips prevent shifting and moisture damage over time.
| Factor | Recommendation |
|---|---|
| Distance from home | 15, 25 feet, per local codes |
| Ground prep | 4, 6 inches compacted gravel |
| Clearance | Maintain access on all sides |
Position your sauna in a secluded corner where natural screening from hedges or fencing supports privacy. Orient windows toward garden views or water features to strengthen your wellness garden design. Connect it to your cold plunge and outdoor shower with lit, clear pathways for safe movement between stations year-round.
Electrical And Surface Needs
Every sauna style carries distinct electrical and surface demands that shape your backyard layout before installation begins. Electric heaters typically need about 1 kW per cubic meter of sauna volume, and glass surfaces add roughly 0.5 kW per square meter to that load. Your electrical setup should involve a licensed electrician who can size the circuit before you commit to a heater model.
Surface choices matter just as much. Wooden interiors need oil or wax treatment twice yearly to handle heat and moisture cycles. Uninsulated materials like brick, tile, or concrete increase heating demand and should factor into your volume calculation. Prioritize well-insulated walls and ceilings to stabilize temperature and reduce energy draw. Match every material decision to your heater’s capacity.
Set Up a Cold Plunge With Reliable Filtration
Your cold plunge setup depends on three connected decisions: the tub itself, the temperature control system, and the filtration that keeps water clean over weeks of use. Position your tub on a level, stable surface near a GFCI-protected 120V outlet and a garden hose connection, keeping drainage directed away from your home’s foundation. Once the tub and chiller are in place, a reliable filtration loop with the right filter type and maintenance schedule determines whether your water stays usable for days or months.
Choose Your Plunge Tub
How well your cold plunge performs day after day comes down to two things: the tub’s construction and its filtration system. A hard-shell, insulated tub handles repeated cold exposure and outdoor weather far better than inflatable alternatives, and it holds temperature more efficiently by reducing heat gain from ambient air.
When selecting your plunge tub, prioritize these features:
- Hard-shell construction for durability and permanent placement
- Built-in insulation to support consistent cooling with less energy draw
- Multi-stage filtration with a 20-micron filter to capture fine particulates
- Plug-and-plunge design to eliminate plumbing requirements
Material quality directly affects long-term reliability. Your tub must withstand water treatment chemicals, temperature swings, and constant moisture. Pair that with accessible filter components so routine maintenance stays simple and doesn’t disrupt your backyard layout.
Install Temperature Control
Once your tub is positioned and level, the chiller becomes the centerpiece of reliable temperature control. Place it adjacent to the tub with short hose runs to minimize heat gain. Connect circulation lines, fill the tub, then verify your GFCI protection before powering on. Let the system circulate first, then set your target, typically 50, 59°F for recovery or 55, 60°F if you’re starting out.
Run filtration continuously, not just during cooling cycles. Constant circulation stabilizes water temperature, reduces chiller strain, and keeps the water clean between sessions. Digital controls or app-based monitoring let you lock in a setpoint and catch drift early without manual checking.
This integrated approach, chiller, filtration loop, and reliable thermometer working together, keeps your plunge ready daily with minimal intervention.
Maintain Clean Water
Everything in your plunge loop depends on filtration doing its job quietly and consistently. A 50-micron pleated polyester filter gives you the best balance between debris capture and flow preservation. Pair it with ozone generation or a multi-stage sanitation setup to maintain clean water without heavy chemical use.
To keep your system running efficiently:
- Rinse pre-filters weekly and replace cartridges every 4, 6 weeks
- Shower with soap before each session to reduce oils and dirt entering the water
- Inspect the rubber O-ring during every filter swap to prevent housing leaks
- Use a bypass valve before opening the housing to redirect flow safely
Cleaner entry habits and consistent upkeep let you stretch water life for months, not days.
Design the Transition Zone for Contrast Therapy
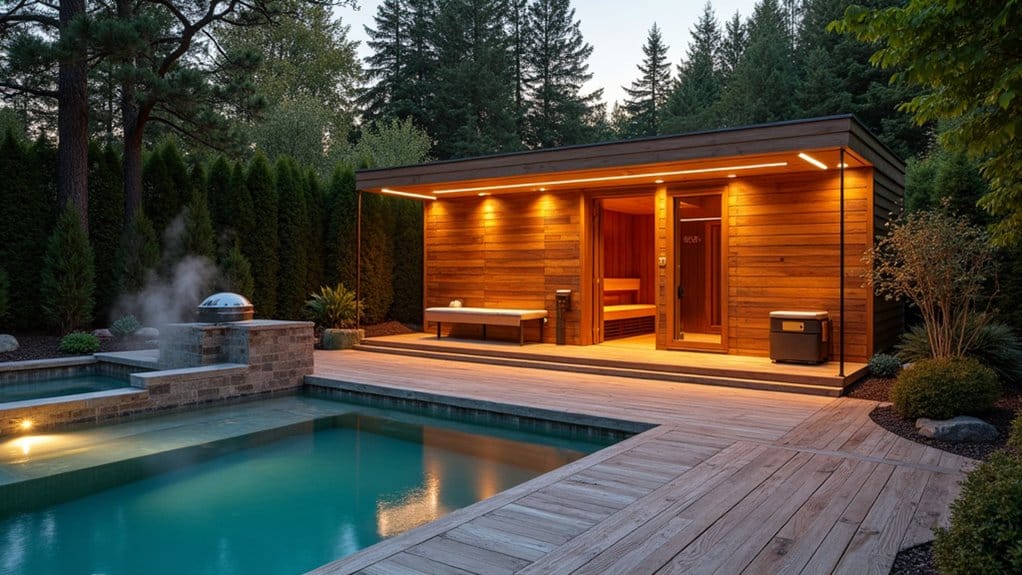
Because contrast therapy depends on rapid movement between heat and cold, the shift zone between your sauna and cold plunge is one of the most important areas to get right. Position both units 6, 10 feet apart so you can change quickly within seconds. Keep the path direct and free of obstacles.
Use slip-resistant, barefoot-friendly surfaces like textured pavers or composite decking to handle constant water carryover. Separate wet and dry zones to reduce puddling and simplify cleanup.
Place a recovery bench nearby for rest periods between rounds, and keep towels, water, and essentials within arm’s reach. Add soft lighting for nighttime visibility and a covered passage for year-round use. Ventilate the hot zone so heat doesn’t accumulate in the change area.
Create a Private, Spa-Like Backyard Atmosphere
Layer the atmosphere with these finishing elements:
- Ambient lighting like string lights or integrated LEDs for evening use
- Trickling water features to mask neighborhood noise and deepen relaxation
- Lush, layered plantings of ferns, ornamental grasses, and flowering shrubs to soften hardscape edges
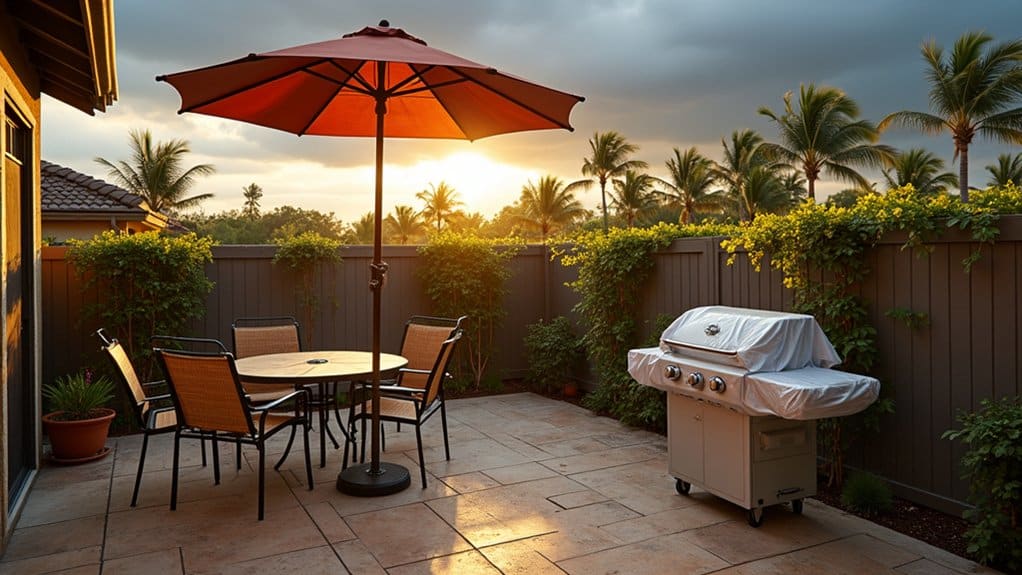
- Weather-resistant lounge seating with side tables for towels and drinks
Match materials throughout, teak, cedar, or natural stone, so every element feels intentional rather than scattered. When screening, lighting, sound, and furnishings work together spatially, your backyard reads as a cohesive wellness environment.
Budget Your Backyard Wellness Retreat in Stages
Before you commit to any single product, map your full retreat vision against a phased budget that sequences spending from groundwork to finishing touches. Identify your anchor feature, whether that’s a cold plunge, sauna, or soaking tub, and build utility infrastructure around it first. This prevents redundant excavation and electrical work across phases.
Separate fixed costs like construction and equipment from variable costs like water treatment and seasonal maintenance. Install your priority feature, test it through a full season, then reassess before adding the next element. Use existing grade, drainage paths, and mature landscaping to reduce early sitework expenses.
Keep a contingency margin because wellness projects consistently expand once the core setup proves its value. Each phase should function independently while supporting what comes next.
Call Today and Transform Your Backyard Wellness
From cold plunge tubs to outdoor saunas, every wellness feature deserves a builder who understands how luxury and function come together. At Innovative Outdoor Living, our skilled team delivers reliable Backyard Makeovers built around your wellness goals and lifestyle. Call +1 (561) 594-1495 today and bring your dream retreat to life.
Frequently Asked Questions
Do I Need a Permit to Install a Sauna or Cold Plunge?
You’ll likely need at least an electrical permit for either installation, especially if you’re running a 240V dedicated circuit, upgrading your panel, or burying wiring underground. Plumbing permits may apply when you’re adding drain lines or water supply connections. Freestanding saunas under roughly 100, 120 square feet are often exempt from building permits, but setback and zoning rules still apply. Contact your local building department before ordering equipment to confirm what’s required.
How Often Should I Change the Water in My Cold Plunge?
Change your water every 4, 8 weeks if you’re running a filtration and sanitation system. Without filtration, you’ll need to swap it every 3, 5 days. Premium setups with ozone, UV, or a chiller can stretch to 6, 8 weeks. Heavy use, no cover, or weak filtration shortens that timeline. Keep your tub covered, skim daily, and test pH weekly, these habits extend water life and keep your plunge area clean between changes.
Can I Use My Backyard Wellness Retreat Safely During Winter?
Yes, you can use your retreat safely in winter with the right prep. Install slip-resistant decking or pavers along paths between your home, sauna, and cold plunge. Add subtle lighting for darker evenings and position sheltered passages between hot and cold zones. Use covered structures like pergolas or pavilions to block wind and snow. Choose weather-resistant materials for seating, and winterize water features before freezing temperatures arrive.
What Electrical Requirements Are Needed for an Outdoor Sauna and Cold Plunge?
You’ll need a dedicated 240V circuit for your outdoor sauna heater, typically on a 30A to 50A breaker depending on heater size. Run outdoor-rated cable through protective conduit to your sauna location, and install a visible disconnect switch nearby. Your cold plunge chiller usually requires its own 120V or 240V circuit. Add GFCI protection on all outdoor circuits, and check your panel’s capacity before starting.
How Do I Prevent Mold and Mildew Around My Outdoor Wellness Setup?
You’ll prevent mold by prioritizing airflow and fast drying across your setup. Keep sauna humidity between 10, 20%, wipe wet surfaces after each session, and prop the door open for 30, 60 minutes to dry. Slope sauna floors to a drain and install waterproof membranes beneath finishes. Avoid sealants on interior wood so it breathes naturally. Clean regularly with mild detergent, and spot-treat any mold with a 1:1 vinegar-water mix.