Building a DIY pergola yourself saves $2,000 to $5,000 in labor costs and gives you complete design control over dimensions, materials, and roofing configurations. However, you’ll face real risks: skipped permits can force a complete teardown, miscalculated post footings create structural hazards, and wrong material choices cut your pergola’s lifespan in half. You’ll also need specialized tools and safe heavy-lifting capabilities. Understanding exactly when DIY makes sense, and when it doesn’t, prevents costly mistakes.
DIY Pergola Costs: What You’ll Actually Spend
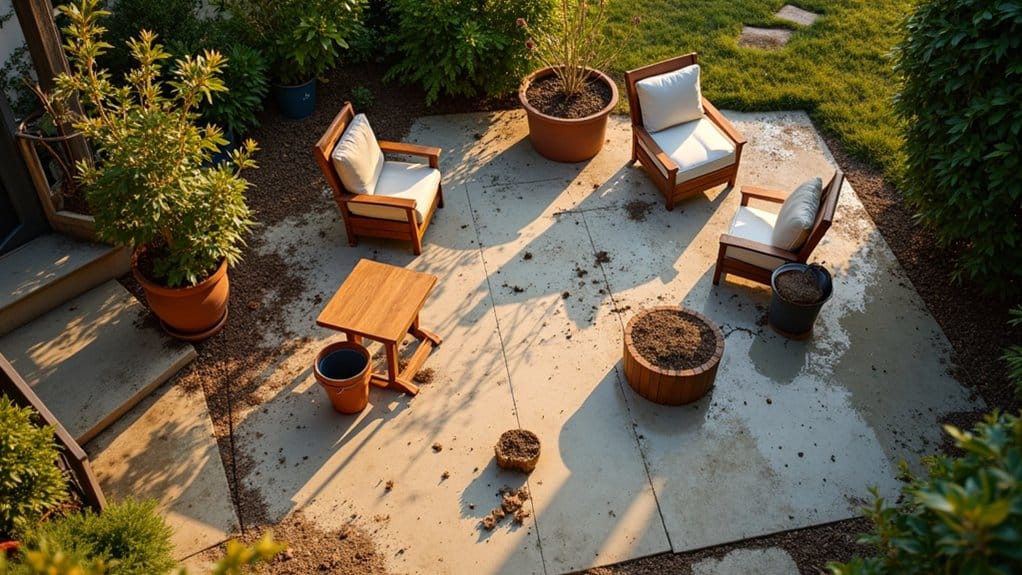
When you’re planning a DIY outdoor pergola, understanding the real costs upfront prevents budget overruns and mid-project surprises. DIY kits range from $700 to $7,500 depending on size and materials, with a 12’x12′ kit typically running $700 to $4,000.
Your DIY pergola layout planning directly impacts expenses. Materials cost $10 to $50 per square foot, making cost efficient wood species selection critical. Pressure-treated pine runs $25 to $40 per square foot, while vinyl stays lower at $20 to $40. Custom wood pergolas are the most expensive option, ranging from $35 to $60 per square foot if you decide to upgrade your materials.
Don’t overlook foundation requirements. Concrete slabs add $5 to $10 per square foot; deck foundations increase costs to $25 to $50 per square foot. Factor in permit fees per local building codes and basic tools, hammer, saw, drill, level, if you don’t already own them. If you want a louvered roof for adjustable shade control, expect to add $45 to $125 per square foot to your material budget.
DIY or Hire a Pro? How to Decide
Everyone building a DIY outdoor pergola faces the same critical question: tackle it yourself or hire a professional?
DIY versus professional oversight comes down to technical competency. Simple rectangular pergolas suit experienced builders comfortable with structural alignment and local code compliance. Complex motorized systems with integrated lighting and weather sensors demand professional expertise.
DIY workmanship quality concerns affect more than aesthetics. Improper wiring creates fire hazards. Inadequate anchoring fails during storms. Installation errors void manufacturer warranties, leaving you responsible for motor repairs costing hundreds.
Consider your honest skill level. Can you navigate permit requirements? Do you own or want to rent $500, $1,000 in specialized tools? Will you manage heavy lifting safely? Beyond permits, you’ll also need to verify HOA rules and any setback restrictions that could affect your project placement.
Professionals complete installations in 1, 3 days with guaranteed code compliance. DIY projects stretch across weekends with inherent risk. Professional installers also handle site preparation and ensure the structure withstands local weather conditions. They also select materials suited to Reno’s climate, ensuring your pergola endures harsh sun, wind, and temperature swings without excessive maintenance.
Why DIY Pergola Customization Beats Prefab Kits
When you build a custom pergola instead of assembling a prefab kit, you gain complete design freedom to specify exact dimensions, post styles, and roofing configurations that match your vision. You’ll achieve perfect space integration by tailoring the structure to your patio’s unique footprint, whether that’s a compact urban deck or a sprawling multi-zone backyard. Material choice control lets you select aluminum for durability, traditional wood for aesthetics, or mixed materials that complement your home’s existing architecture. Additionally, low-maintenance options like vinyl require little upkeep beyond occasional cleaning and sealing, saving you time over the years. Beyond aesthetics, custom builds allow you to integrate functional upgrades like built-in LED lighting, ceiling fans, misting systems, and heating setups that elevate both comfort and usability. A well-designed custom pergola can also significantly increase home value, making it an investment that pays dividends when it’s time to sell.
Complete Design Freedom
Although prefab pergola kits offer convenience, they’ll lock you into predetermined dimensions, material choices, and structural configurations that rarely align with your specific site requirements. Building custom opens up infinite style possibilities, from traditional wooden posts to sleek aluminum frames with adjustable louvers.
You’ll achieve seamless patio integration by tailoring exact measurements to your outdoor footprint. Compact spaces benefit from precise sizing that maximizes shade coverage, while larger yards accommodate multi-level structures defining distinct zones.
Custom builds let you select roofing systems matching local weather demands: manual louvered panels for ventilation control, insulated sandwich panels for complete protection, or retractable canopies extending seasonal use. You’re not restricted to kit-standard post styles or color palettes. Instead, you’ll match materials and finishes directly to your home’s architectural profile while meeting local building codes. DIY construction also allows you to incorporate sliding glass walls that provide protection against wind, rain, and snow while maintaining unobstructed outdoor views.
Perfect Space Integration
Because prefab kits ship with fixed dimensions, you’ll struggle to achieve the seamless indoor-outdoor flow that custom builds deliver effortlessly. When you construct your own pergola, you’ll match exact patio dimensions, account for grade changes, and align attachment points with existing roof lines for harmonious architectural blending.
DIY builds let you integrate floor frames that accommodate your chosen decking materials, ensuring structural integrity while maintaining site harmony. You can design multi-level configurations that define separate functional zones, impossible with standard kit footprints. Custom builds also allow you to incorporate adjustable louver systems that provide control over shade and ventilation throughout the day.
Effortless flow integration requires precise measurements between sliding glass walls and pergola posts. Custom construction allows you to position columns that won’t obstruct traffic patterns or block sightlines from interior spaces. You’ll also avoid permit complications by sizing freestanding structures within local code thresholds.
Material Choice Control
Aluminum frames resist corrosion in coastal environments where wood rots within years. Steel handles heavy snow loads that compromise lighter prefab options. You control material gauge, fastener grade, and connection types, critical factors kits often compromise.
Customizable finishes let you match existing architectural elements precisely. Select UV-resistant coatings, anodized surfaces, or stain colors that complement your home’s exterior. Prefab kits offer limited palettes; DIY builds don’t. You’re also free to integrate climbing plant supports or curtain tracks directly into the frame design.
Structural Mistakes That Ruin DIY Pergolas
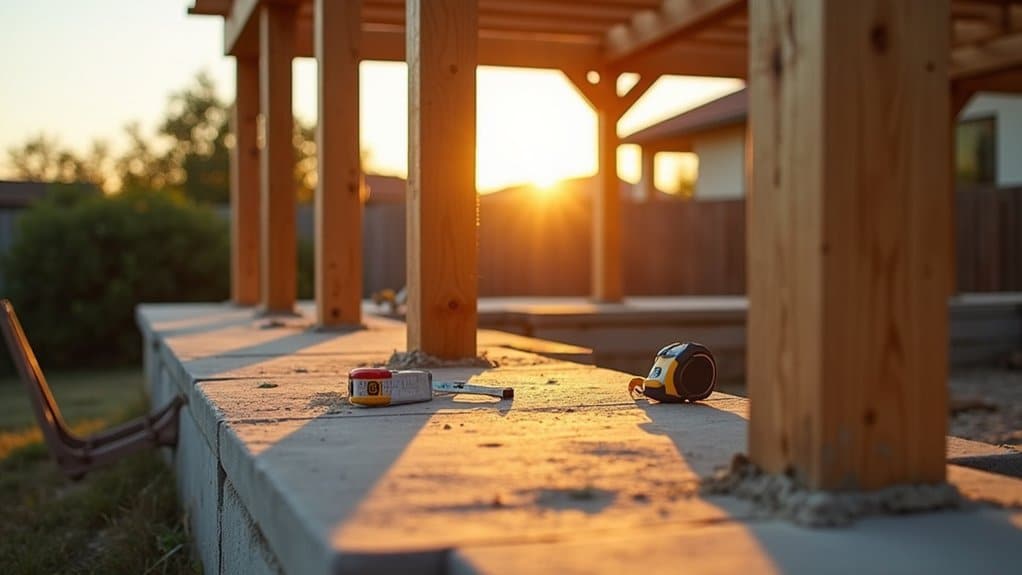
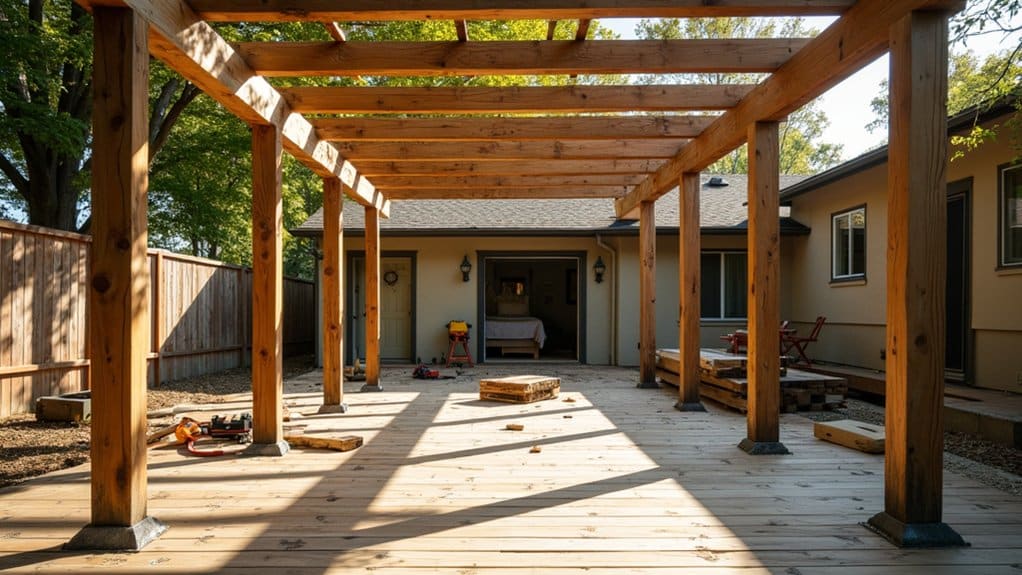
You’ve customized your design, but structural errors during installation can undermine your entire project. Improperly attached ledger boards create dangerous failure points where the pergola meets your home, while misaligned rafters distribute loads unevenly and cause premature sagging. Inadequate footings or foundations can result in the pergola becoming unstable or even collapsing over time. Failing to continuously check for level during beam and rafter installation creates an unattractive structure that compromises overall stability. Ignoring site conditions like drainage, wind exposure, and soil stability during construction can cause additional structural problems that worsen over time. Understanding these critical mistakes helps you build a pergola that’s both code-compliant and structurally sound.
Ledger Board Installation Errors
When you’re attaching a ledger board to your home, the location you choose determines whether your pergola stands securely for decades or pulls away from the wall under its first significant load.
Inadequate hardware selection ranks among the most critical errors. Using nails instead of structural screws or lag bolts invites detachment. Wrong fasteners for vinyl siding won’t penetrate to solid framing, and skipping expansion anchors on masonry creates false security.
Substandard mounting stability results from attaching to non-structural wall sections or missing studs entirely. You’ll need fasteners spaced no more than 20 inches apart for 2x hem-fir lumber spanning 6 feet, staggered to hit joist locations. Keep fasteners at least 3.5 inches from ledger ends to prevent splitting. Always install flashing above the ledger to prevent water infiltration and rot. Before drilling any holes, check for hidden utilities to avoid damaging underground infrastructure or electrical lines running through the wall.
Rafter Alignment Problems
Even with a properly secured ledger board, your pergola’s structural integrity depends on precise rafter alignment, get this wrong, and you’ll end up with a structure that looks crooked, sheds loads unevenly, and fails prematurely.
Poor beam conditioning creates immediate problems. Bowed center beams prevent straight rafter installation, so you’ll need a temporary screw eye and ratcheting strap at the center point to pull the beam true. Monitor for creaking, overtightening causes opposite bowing.
Inconsistent bracing adjustments compound alignment errors. Install center rafters first after straightening, then alternate sides to maintain position. Mark rafter positions precisely: 20⅛ inches from outermost beams plus 1½ inches for thickness. Gang rafters together for consistent lattice strapping marks at 8 inches on center.
Check perpendicularity with a level after your first screw, eyeballing typically errs. Crown all rafters upward uniformly before cutting. When the second rafter in each line is installed, align the ends carefully since a quarter-inch deviation forces you to either match the off-center position or split the difference to prevent a visible break in continuity.
Skip the Permit and You Might Tear It All Down
Most jurisdictions require a building permit the moment your pergola exceeds 100-120 square feet, rises above 7-12 feet, or attaches directly to your home’s structure. If you circumvent permit requirements, you’re gambling with serious consequences. Florida mandates permits for most pergolas regardless of size, while Jacksonville enforces stricter rules in flood zones.
Skipping permits isn’t saving money, it’s gambling your investment against demolition orders, fines, and insurance denials.
When you avoid HOA approvals, you risk:
- Mandatory demolition orders from local code enforcement
- Fines accumulated during inspection violations
- Insurance claim denials for non-compliant structures
- Home sale complications requiring costly retroactive permits
Coastal builds need wind-resistance certification. Concrete foundations trigger mandatory inspections. Adding electricity or plumbing demands separate permits. Submit engineer-approved plans, schedule inspections, and comply with zoning codes before construction, not after you’ve invested thousands.
Material Mistakes That Shorten DIY Pergola Life
Securing permits protects your investment legally, but choosing the wrong materials destroys it physically. Pressure-treated pine exhibits unexpected warping patterns and cracks faster than cedar or redwood. You’ll also risk toxic chemical leaching into surrounding soil if you skip proper sealing protocols.
| Material | Critical Failure Point |
|---|---|
| Untreated Wood | Deteriorates in 5 years |
| Vinyl | Brittleness from UV exposure |
| Steel | Corrosion without coatings |
| Aluminum | Environmental damage without finish |
| Pressure-Treated | Still requires ongoing sealing |
Without annual staining and sealing, wood pergolas fail within 5 years in harsh conditions. Low-grade vinyl lacking UV inhibitors fades and cracks prematurely. Steel corrodes in coastal environments without galvanization, while aluminum loses its 20-30 year endurance without powder-coating. Every material demands maintenance, there’s no maintenance-free option.
When Hiring a Pergola Pro Beats DIY
When does a pergola project exceed DIY capabilities? Professional oversight benefits become critical when your design involves integrated electrical systems, motorized louvers, or weather sensors requiring certified wiring expertise.
Hire a pro when:
- Complex systems integration, Lighting, drainage slopes, and automated components demand precision alignment you can’t achieve through trial-and-error.
- Code compliance risks, Local regulations vary remarkably; professionals navigate permits and zoning standards, preventing costly teardowns.
- Warranty coverage considerations, Installation errors void manufacturer warranties, eliminating your protection against defects.
- Time constraints, Pros complete installations in 1-3 days versus multiple DIY weekends, including cleanup and consultation.
The cost calculation shifts when factoring DIY kit expenses ($6,000, $10,000) plus tools ($500, $1,000) against all-inclusive professional quotes covering labor, permits, and guaranteed compliance.
Frequently Asked Questions
How Long Does a Properly Built DIY Pergola Typically Last?
Your DIY pergola’s lifespan depends heavily on the construction materials used. Wood structures last 5, 15 years, while vinyl reaches 10, 20 years. Steel offers 5, 17 years depending on rust protection, but aluminum outperforms all at 20, 30+ years with proper powder coating. Your maintenance requirements vary considerably, wood demands regular sealing against rot and insects, whereas aluminum needs minimal upkeep. You’ll extend longevity by selecting corrosion-resistant materials and following manufacturer-specified treatment schedules.
Can I Add a Retractable Canopy to My DIY Pergola Later?
Yes, you can retrofit your DIY pergola by adding a retractable canopy using tracks, rollers, and weather-resistant fabric. You’ll need level header beams and square corners for proper track alignment. Select wind-rated shade cloth for seasonal weather protection, and install tension tie-downs every 5 feet. Check local building codes before modification. While pulleys simplify operation, complex installations warrant professional assessment to guarantee structural integrity and safety compliance.
What Wind Speed Rating Should My Pergola Withstand in Coastal Areas?
You’ll need your pergola to withstand 110-150 mph winds in most U.S. coastal areas, though Miami-Dade and hurricane-prone zones require 130-195 mph ratings. Your structure’s structural integrity depends on meeting local wind load requirements, which vary by specific wind zone. Don’t skip stamped engineering drawings, most states require them for permitting. You’ll also need deep concrete footings and hurricane-rated anchoring to prevent catastrophic failure during major storms.
Do Pergolas Increase Home Resale Value Compared to Other Outdoor Structures?
Yes, pergolas deliver 50-80% ROI, comparable to patios and decks. You’ll see increased property appeal when you combine your pergola with outdoor kitchens or fire pits, pushing returns toward 80%. Enhanced outdoor living spaces add 10-20% perceived value to buyers. For maximum resale impact, choose aluminum over wood for durability, attach the structure to your home, and integrate features like adjustable louvers and lighting systems.
Which DIY Pergola Designs Work Best for Small Backyard Spaces?
You’ll find wall-mounted pergolas and corner triangular designs deliver the best results for tight spaces. Compact pergola designs eliminate unnecessary posts while attaching directly to your home’s exterior, freeing valuable floor area. Low profile pergola structures using aluminum or steel frames minimize visual bulk without sacrificing structural integrity. Consider triangular configurations for unused corners, they’ll transform dead zones into functional retreats. Always verify local codes before mounting anything to exterior walls.