

To install patio drainage and prevent water damage, you’ll first evaluate your soil type and slope to choose the right system, French drains for clay soils, channel drains for heavy runoff, or permeable pavers for natural filtration. You’ll dig a trench at a minimum 1% slope, line it with landscape fabric, lay perforated pipe on a gravel base, and route water away from your foundation. Each step below breaks down the full process so you’ll get it right the first time.
Pick the Right Patio Drainage System for Your Yard
When water pools on your patio after every rainstorm, how do you determine which drainage system will actually solve the problem? Start by evaluating your site’s soil type, slope, and water volume. Heavy clay soils demand French drains for effective moisture management, while mild pooling on graded sites may only need a sloped sub-base system.
For high-traffic areas experiencing heavy surface runoff, channel or slot drains intercept water immediately, reducing flood risk at your foundation. If you’re prioritizing sustainability, permeable pavers filter rainwater naturally into the ground while requiring minimal maintenance over a 60-year lifespan. Match your drainage solution to your yard’s specific conditions, soil composition, rainfall intensity, and patio size, to guarantee long-term, code-compliant performance. Ignoring poor drainage can also create pest breeding grounds where stagnant water collects, attracting mosquitoes and other unwanted insects to your outdoor living space.
Gather Your Patio Drainage Tools and Materials
Before you break ground on any drainage installation, you’ll need to assemble the right tools and materials to guarantee a code-compliant, long-lasting system. Start with digging tools: a trenching shovel for manual excavation, a concrete saw for existing patios, or a trencher machine for runs exceeding 100 feet. Ground leveling preparation requires a pick and shovel for grading accuracy.
For materials, source fully perforated corrugated drain pipe, ¾” crushed drain rock, and landscape fabric for filtration wrapping. Stock T-fittings, compression connectors, gutter collars, and PVC glue for watertight joins. Secure fabric wraps with wire ties or zip ties. Proper material handling matters, verify pea gravel is free of dust and organic contaminants before installation to prevent premature system failure. Lining the trench with filter fabric is essential because it prevents soil and debris from clogging the perforated pipe over time.
Prep the Site and Dig Your Trench to Slope
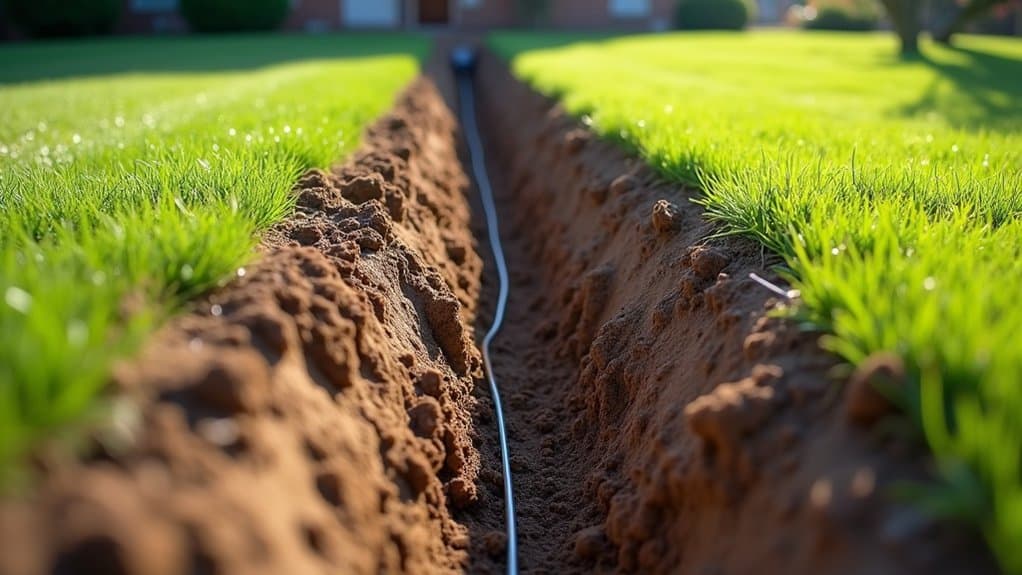
Before breaking ground, you’ll need to check for underground utility lines, remove decorative stones and debris with an iron rake, and mark your drainage layout with marking paint to identify trench locations. Once the area is cleared, dig your trench to the dimensions required by your system type, typically 18 inches deep and 9, 12 inches wide for a French drain, or with at least 4 inches of clearance around a trench drain channel. You’ll then establish a proper slope of at least 1 percent (1 inch of drop per 10 feet) for French drains or 5 percent for channel drains, ensuring gravity moves water from the collection point toward your designated outlet. As you plan the route, observe water flow during a rainfall event to confirm where water naturally collects and identify the most effective path for your trench to follow.
Clear the Work Area
Next, identify ground obstructions by inspecting for existing vegetation, decorative stones, and root zones near trees. Remove all debris using an iron rake, then eliminate topsoil and organic matter, these materials decompose and cause settlement beneath your drainage runs. Clear the patio surface methodically, exposing the subgrade completely. Note proximity to door thresholds, as these reference points dictate your finished levels and fall calculations in subsequent steps. Document any previous drainage issues you uncover during clearing.
Dig the Trench
With your subgrade fully exposed and reference points documented, you’re ready to lay out and excavate your drainage trench. Mark the trench path using spray paint or flags, ensuring alignment with your drainage design plans. Measure length, width, and depth precisely, standard French drains require 18 inches deep by 10 inches wide.
Excavate the surface layer 3-4 inches wider than final dimensions using a sod shovel. Switch to a trenching shovel for narrow, controlled cuts. Implement safety measures when cutting roots with a mattock or ax. Use a digging bar for rocky soil encounters.
Proper soil handling prevents contamination of your excavation. Maintain a consistent slope through frequent depth checks, and deploy a siphon pump if groundwater infiltrates during digging.
Establish Proper Slope
Once your trench excavation reaches the correct dimensions, you’ll need to establish a precise slope that moves water decisively away from your foundation. You must account for soil conditions and surface texture when selecting your grade. Use a laser level to manage slope grade accurately during installation.
| Surface Type | Minimum Slope | Maximum Slope |
|---|---|---|
| Smooth Pavers | 1/8″ per foot (1%) | 1/4″ per foot (2%) |
| Textured Pavers | 1/4″ per foot (2%) | 1/4″ per foot (2%) |
| Permeable Hardscape | 1% standard | 2% per ICPI |
Position your highest point at the foundation and maintain the 2% slope for 10 feet or to the surface edge. A 20-foot patio drops 5 inches total at recommended rates.
Install Patio Drainage Pipe, Gravel, and Fabric
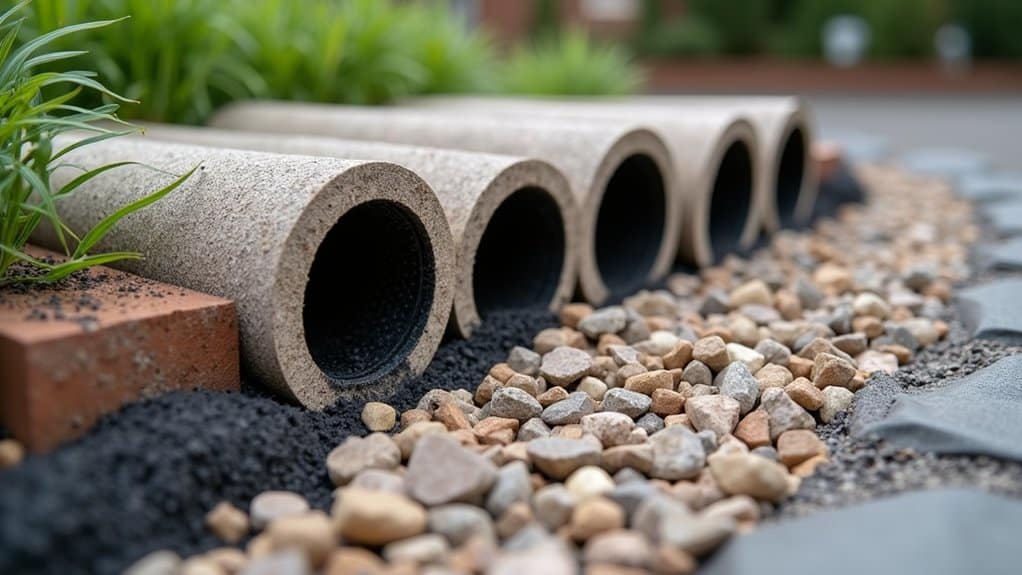
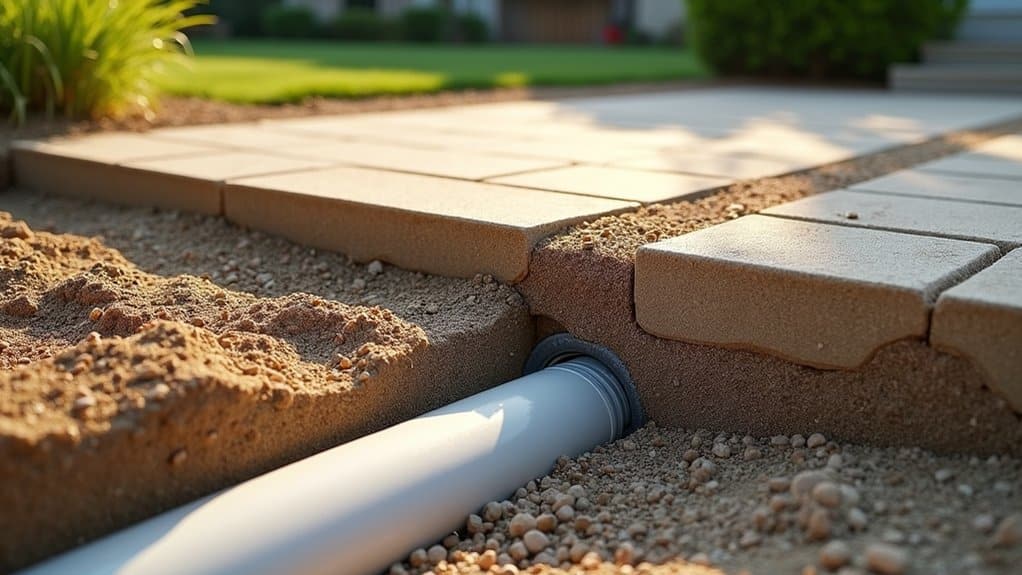
With your trench dug to proper slope, you’ll now install the three-layer drainage system that prevents soil infiltration and keeps water flowing freely. Start by lining the entire trench with non-woven landscape fabric, lay a 1-2 inch gravel base, and position your 4-inch perforated pipe with holes facing down. Then you’ll cover the pipe with gravel, wrap the excess fabric over the top, and backfill to finish grade.
Line Trench With Fabric
| Specification | Requirement |
|---|---|
| Fabric Type | Non-woven geotextile (water-permeable) |
| Side Excess | Minimum 10 inches per side |
| Trench Slope | 1% minimum (1 inch per 10 feet) |
| Avoid | Weed barriers, visqueen |
After placing the pipe and gravel, wrap the excess sides inward with fabric overlapping to fully enclose all materials. Secure with zip ties and trim excess before backfilling.
Layer Gravel and Pipe
Before you backfill anything, you’ll need to build the drainage assembly in layers, starting with a 2, 3 inch bed of washed, ¾-inch gravel along the trench bottom. Gravel grade quality matters, use clean, washed stone to prevent sediment buildup that compromises filtration.
Set your 4-inch perforated pipe directly on the gravel bed with holes facing downward. Pipe positioning depth should maintain continuous slope at 1 inch per 10 feet toward your outlet point. Use couplings to connect rigid PVC sections without interrupting flow.
Cover the pipe with 2, 3 inches of gravel, filling around all sides. Leave approximately 5 inches between the gravel surface and ground level. Fold the landscape fabric over the gravel, fully encasing the assembly to block debris while permitting water infiltration.
Wrap and Backfill
For gravel requirements, add 1-1/4″ clean round rock over the wrapped assembly. Don’t use crushed stone, it compacts and clogs perforations. Build up your backfill in layers, maintaining consistent void space for water entry. Inspect the completed wrap to confirm fabric fully encases all aggregates before returning soil or sod to finish grade.
Route Water Away From Your Patio and Foundation
Routing water away from your patio and foundation starts with a thorough elevation assessment and a well-planned drainage layout. You’ll need to guarantee your system slopes from higher to lower elevations, maintaining at least a 1 percent grade, one inch of descent per 10 feet of pipe. Before digging, check for underground utility lines to prevent costly damage.
Determining drainage outlet options requires identifying safe discharge points well away from structures. Position pop-up emitters or outlet points where water won’t pool against foundations or neighboring properties. Evaluating soil composition helps you select appropriate drainage methods, whether French drains, slot drains, or channel systems. You should compact soil along the drainage route to prevent settling that compromises your system’s engineered slope over time.
Test Your Patio Drainage Before You Backfill
Once you’ve laid your drainage pipes and confirmed proper slope, you’ll want to verify the system actually performs before covering it with backfill. The soil saturation process requires filling your test hole with water overnight to eliminate false readings from dry soil absorption.
To guarantee test results accuracy, follow this protocol:
- Dig a 12-inch by 12-inch test hole near your drainage line and fill it completely overnight.
- Refill the hole the next morning, place a reference board across the top, and record your starting water depth.
- Measure the water level drop every hour using consistent reference points.
- Confirm drainage meets the minimum 1-inch-per-hour rate before proceeding.
If drainage falls below threshold, reassess pipe slope or add supplemental drainage before backfilling.
Frequently Asked Questions
How Often Should I Clean or Maintain My Patio Drainage System?
You should clean your patio drainage system at least twice yearly, once in fall and once in spring, as part of your regular maintenance schedule. During seasonal preparations, clear leaves, roots, and debris from slot drains, channel drains, and buried downspout lines. After extreme weather, inspect and flush all exterior drains promptly. If you notice slow drainage or gurgling, don’t wait, schedule immediate service to prevent water damage and safeguard code-compliant system performance.
Do I Need a Permit to Install Patio Drainage in My Yard?
You’ll need to check your drainage permit requirements based on your municipality, as regulations vary by jurisdiction. If your system diverts water into municipal sewers, roadside ditches, or near wetlands, you’ll definitely need a permit. Review your local zoning regulations and consult municipal authorities before excavating. You’re also required to call 811 Dig Safe to locate utility lines. Fines for non-compliance can reach thousands daily, so verify requirements first.
Can I Install Patio Drainage Myself or Should I Hire a Professional?
You can install basic patio drainage yourself if you’re comfortable with trenching, surface grading, and pipe assembly. However, you’ll need to assess your soil composition first, as clay-heavy soils complicate percolation and may require engineered solutions. For simple perforated pipe systems, DIY’s feasible with proper slope maintenance at 1% grade. You should hire a professional for complex channel drain installations involving concrete work or foundation-proximity excavation requiring precise structural calculations.
How Much Does It Typically Cost to Install a Patio Drainage System?
You’ll typically spend $2,145 to $7,163 for a patio drainage system, with the national average around $4,600. Key cost factors include material selection, PVC pipe runs $2 to $20 per linear foot, and labor at $50 to $100 per hour. Installation complexity considerably impacts your total: simple catch basins cost $200 to $2,000, while French drains range $2,000 to $7,000. Budget $300 to $1,000 for site prep to guarantee code-compliant grading.
Will a Patio Drainage System Work in Freezing Winter Temperatures?
Yes, your patio drainage system can perform reliably in freezing temperatures when you implement the right design strategies. You’ll want to install French drains and dry wells below the frost line, use thermal-rated slot drains like the 6000 SERIES, and add electric de-icing heater lines on discharge piping. For enhanced frost protection, insulate all exposed components and connect pump discharge to a Downspout Defender grate to prevent winter blockages.