Install your outdoor TV by initially selecting a weather-protected spot with minimal glare and proper power access. You’ll need an outdoor-rated TV, weather-resistant mounting hardware, and GFCI-protected electrical connections. Mount the TV bracket securely to studs, position speakers strategically for ideal sound, and guarantee all components meet weatherproofing standards. Safeguard your investment with a sealed cabinet or cover. The subsequent detailed steps will transform your outdoor entertainment setup.
Selecting the Perfect Outdoor Location

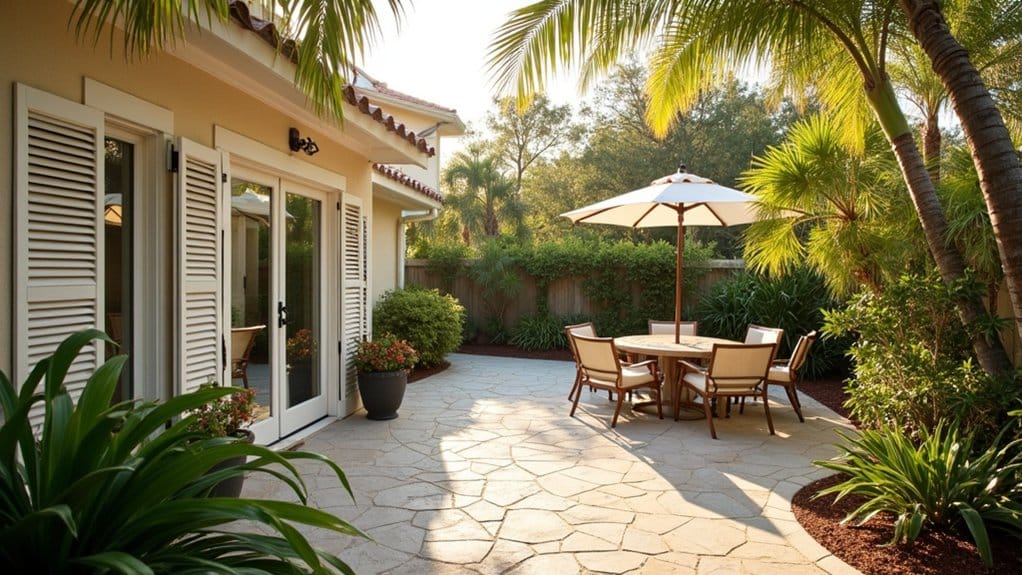
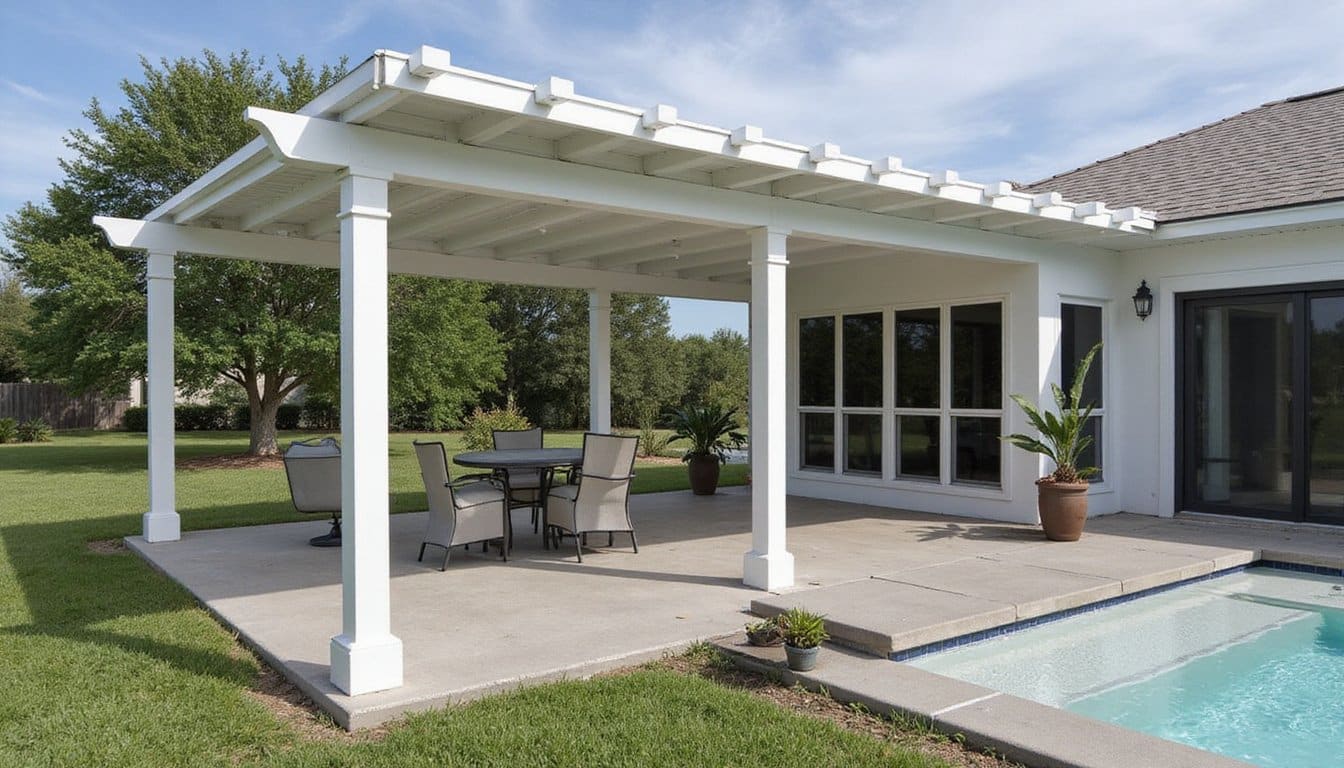
When choosing an outdoor TV location, several critical factors determine both viewing quality and equipment longevity. You’ll need to assess sun exposure patterns throughout the day, as direct sunlight can drastically impact screen visibility and potentially damage your display. Select a spot that offers natural shade during peak viewing hours, ideally under a covered patio or pergola.
For the perfect outdoor TV setup, guarantee the mounting area is structurally sound and weather-protected. Position your screen to minimize glare from surrounding light sources and consider viewing angles from your primary seating areas. The location should also provide adequate ventilation while safeguarding against rain, wind, and excessive moisture. Don’t forget to verify proximity to power sources and cable connections, confirming they meet outdoor safety requirements and local building codes.
Choosing Weather-Resistant TV Equipment
Three essential components form the foundation of a reliable outdoor TV setup: a purpose-built display, protective housing, and weather-resistant audio equipment. You’ll need to invest in outdoor-rated TVs from trusted manufacturers that feature anti-glare panels and durable frames engineered for environmental exposure.
- Select an outdoor-rated TV with improved brightness and non-glare LED technology from brands like SunBriteTV, Samsung, or Seura
- Install your display within a weather-resistant cabinet featuring sealed seams and proper ventilation
- Choose between wired connections for reliability or wireless solutions for cleaner installation
- Add weather-resistant audio equipment, such as a soundbar or speakers, to ensure suitable sound distribution
When selecting your equipment, prioritize durability and performance specifications designed specifically for outdoor use. Consider a weather-resistant TV stand for additional protection and convenient cable management features.
Installing Proper Electrical Components
Since outdoor TV installations require exposure to the elements, proper electrical setup is indispensable for both safety and performance. You’ll need to make several critical electrical modifications to guarantee safe operation.
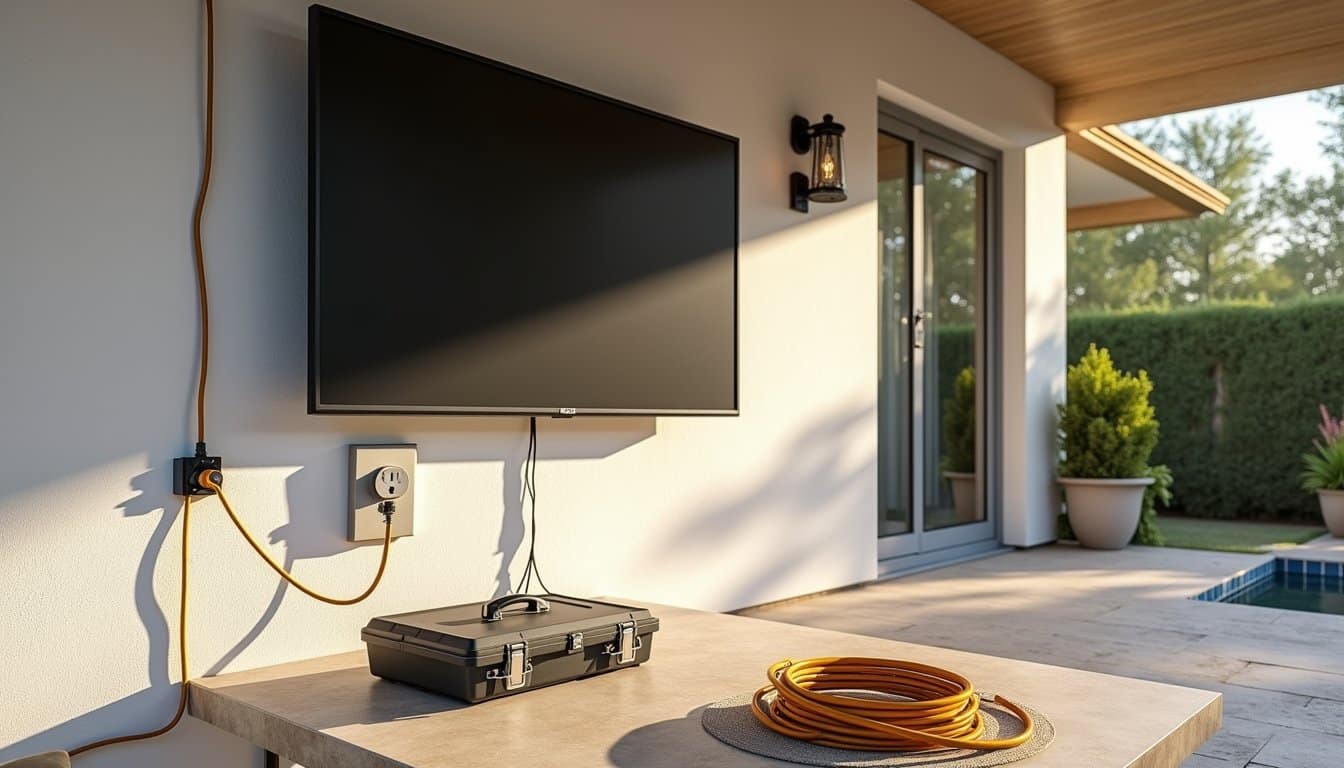
Start by installing a GFCI outlet specifically for your outdoor TV setup. This essential component protects against electrical shock in wet conditions. Connect your power cord through a dedicated outdoor-rated circuit breaker, making certain all cables and wiring carry proper weatherproof ratings. Proper grounding of all electrical components is pivotal to prevent shock and fire hazards.
Don’t skip regular maintenance checks of your electrical connections. Inspect the GFCI outlet, power cord, and all wiring routinely for signs of wear or damage. Address any electrical issues immediately to maintain your system’s safety and reliability. These precautions will help confirm your outdoor TV installation remains safe and functional year-round.
Mounting and Securing Your TV
The proper mounting and securing of your outdoor TV demands precise measurements and sturdy hardware selection. During your outdoor TV installation, position the bracket 15 inches from the floor, guaranteeing it aligns with the studs for maximum stability. When Installing your mount, you’ll need to choose between lag bolts for wood studs or toggle bolts for non-stud walls.
- Measure and mark stud locations, centering your bracket exactly for ideal weight distribution
- Use 1/4 inch lag bolts for wood studs, securing the topmost bolt before moving to the bottom
- For non-stud installations, drill 1/2 inch holes and install 1/4 inch toggle bolts
- Place your electrical outlet in an “old work” box behind the TV location for a clean appearance
Remember to verify all connections are tight and secure before mounting your TV to ensure long-term stability and safety.
Setting Up Audio and Entertainment Systems

Position your wireless speakers at ideal angles and elevations to create immersive sound zones throughout your outdoor entertainment space, ensuring each viewing area receives clear audio coverage. You’ll need to calibrate your sound system‘s output levels and adjust equalization settings to compensate for outdoor acoustics and ambient noise interference. Consider implementing a multi-zone audio distribution system that allows you to control different speaker groups independently, giving you precise command over volume levels and audio routing in specific areas of your outdoor setup.
Wireless Speaker Placement Tips
Creating an immersive outdoor audio experience requires strategic wireless speaker placement around your entertainment area. When you make your outdoor TV setup complete, position weather-resistant speakers at ideal distances to guarantee balanced sound coverage and clear audio synchronization.
- Position speakers 8-10 feet from your TV to maintain proper audio sync and minimize latency issues
- Direct speaker angles toward primary viewing zones for optimal sound projection and clarity
- Select weather-resistant, outdoor-rated speakers capable of withstanding rain, UV exposure, and other environmental challenges
- Connect your speakers via Bluetooth or Wi-Fi to eliminate unsightly cords while ensuring reliable connectivity
Remember to ponder your outdoor entertainment area’s layout when positioning speakers, as proper placement significantly impacts sound quality and overall viewing experience. Thoughtful speaker arrangement creates an immersive atmosphere that amplifies your outdoor viewing environment.
Sound Quality Control Methods
Multiple sound quality control methods safeguard optimal audio performance for your outdoor entertainment system. You’ll need to pair your outdoor TV with weatherproof speakers and soundbars specifically designed to protect your TV’s audio components from environmental challenges.
Install a smart home control system that lets you adjust volume levels and audio settings directly from your mobile device. This wireless connectivity ensures precise sound management across different zones of your outdoor space. Position weather-resistant speakers strategically to create balanced sound coverage, and consider adding a dedicated subwoofer for amplified bass response. If you’re aiming for theater-quality sound, incorporate surround sound speakers at ideal distances from your viewing area. These components work together to deliver clear, powerful audio that overcomes ambient noise and elevates your outdoor viewing experience.
Multi-Zone Audio Distribution
A thorough multi-zone audio distribution system expands your outdoor TV setup into a complete entertainment environment. By integrating weatherproof speakers with wireless distribution technology, you’ll create seamless audio coverage across multiple outdoor environments. Your system’s smart home capabilities let you control volume and music selection independently in each zone.
- Connect your TV’s audio output to the multi-zone system for immersive surround sound that follows you throughout your outdoor space
- Position weatherproof speakers strategically to optimize sound coverage while maintaining aesthetic appeal
- Implement wireless audio distribution to reduce visible wiring and maintain flexibility in speaker placement
- Configure voice control and remote access features for convenient adjustments from anywhere in your yard
This integration transforms your TV outside into a sophisticated entertainment hub that delivers premium audio exactly where you want it.
Weather-Proofing Your Installation
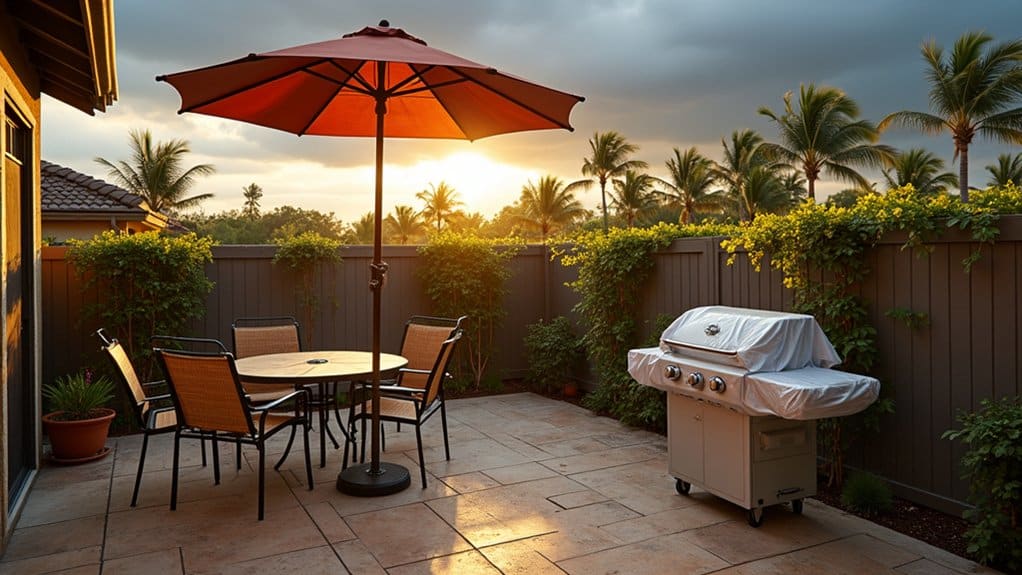
When installing an outdoor TV, proper weather-proofing becomes essential to protect your investment from nature’s harsh elements. To withstand the elements, you’ll need a TV specifically rated for outdoor use, capable of handling extreme weather conditions.
Install your TV within a weather-resistant cabinet featuring caulked seams and weather-stripped edges to prevent moisture infiltration and condensation buildup. You’ll want to position the display in a shaded area and select a model with high-brightness, anti-glare capabilities for ideal viewing. Don’t forget to use UV-protected, weatherproof cables and power sources to prevent deterioration and electrical hazards.
When you’re not using your outdoor TV, protect it with a weatherproof cover. This additional layer of protection will significantly extend your TV’s lifespan by shielding it from rain, sun, and temperature variations.
Testing and Fine-Tuning Your Setup
Before powering up your outdoor TV, you’ll need to verify all cable connections are properly secured and protected with weatherproof covers or sealant. Test the installation’s weather resistance by checking all mounting points and enclosures during differing weather conditions, ensuring no moisture can penetrate the system. Fine-tune your display settings, including brightness, contrast, and color balance, to achieve ideal picture quality in your specific outdoor viewing environment.
Check All Connections First
Since proper functionality is essential for outdoor TV enjoyment, testing all connections thoroughly before finalizing the installation will save you time and frustration later. Make sure to systematically verify each component’s connectivity to guarantee optimal performance in your outdoor entertainment space.
- Test all power sources and verify stable electrical connections to your TV and auxiliary devices
- Check cable connections, including HDMI, audio, and coaxial cables, ensuring they’re properly seated and weather-protected
- Verify wireless signal strength for streaming devices and internet connectivity throughout the viewing area
- Confirm that all cables are properly managed, secured, and protected from environmental exposure
Once you’ve confirmed all connections are functioning correctly, you can proceed with adjusting the TV’s display settings and audio configuration for the best outdoor viewing experience.
Test Weather Resistance
Thoroughly testing your outdoor TV’s weather resistance capabilities is crucial for ensuring long-term performance and protection. To verify your setup can withstand extreme weather conditions, conduct a thorough sprinkler test while running your TV, and use a high-powered fan to simulate wind exposure.
| Test Type | Purpose | Duration |
|---|---|---|
| Sprinkler | Water resistance | 30 minutes |
| Wind | Stability check | 15 minutes |
| Temperature | Heat/cold tolerance | 2 hours |
Monitor for any signs of moisture infiltration or condensation during testing. If you notice any issues, adjust your TV’s placement or bolster protective measures accordingly. Don’t forget to verify all components, including speakers and connections, function properly after exposure. This testing phase helps identify potential vulnerabilities before actual weather events impact your setup, ensuring your outdoor entertainment system remains reliable year-round.
Adjust Display Settings
Once your outdoor TV is securely mounted and tested for weather resistance, proper display calibration becomes essential for ideal viewing quality. Fine-tuning your settings will help protect your viewing experience from outdoor elements while ensuring prime performance in varying light conditions.
- Start by maximizing brightness, contrast, and color settings to counter natural sunlight and heighten visibility during different times of the day.
- Enable your TV’s anti-glare features and ambient light sensors to automatically adjust the display as outdoor lighting changes.
- Check viewing angles from all seating positions and adjust the mount position if needed to protect against glare spots.
- Calibrate audio settings to achieve clear sound that competes with outdoor ambient noise without overwhelming your space.
Remember to periodically review these settings as seasonal changes may require adjustments for maintaining peak performance.
Frequently Asked Questions
Does Best Buy Install Outdoor TVS?
Yes, Best Buy’s Geek Squad offers professional TV mounting options for outdoor installations. You’ll get expert help with different outdoor TV enclosure types, including weatherproof mounts and protective casings. They’ll assess your space, recommend appropriate mounting solutions, and handle the complete installation process. However, you’ll need to confirm service availability in your area and specific pricing, as outdoor installations often require supplementary considerations compared to indoor mounting.
What Is the Best Height for an Outdoor TV?
You’ll want to mount your outdoor TV with the bottom edge 15 inches from the floor to achieve an ideal viewing angle. This height guarantees comfortable viewing when you’re seated, preventing neck strain. For optimal placement, measure 14 inches up for the bracket, then adjust one inch higher for final positioning. Keep in mind that appropriate screen size and seating distance also affect your mounting height decisions the larger the TV, the more critical precise placement becomes.
How to Weatherproof a TV for Outdoor Use?
To weatherproof your TV for outdoor use, you’ll need to start with a weather-resistant enclosure that’s specifically designed for your TV’s dimensions. Install proper outdoor TV mounting brackets and seal all connection points with silicone caulk. You’ll want to use outdoor-rated cables with UV protection and connect them to GFCI outlets. Don’t forget to add ventilation slots to prevent condensation buildup while maintaining the enclosure’s waterproof integrity.
Which Way Should Outdoor TV Face?
Position your outdoor TV to avoid direct sunlight for advantageous viewing angle and minimal glare. You’ll want to face it north whenever possible, as this provides the most strategic sun placement throughout the day. If north-facing isn’t an option, install it facing east so afternoon sun won’t interfere. Consider mounting it under a covered area and use an anti-glare screen to further improve visibility in challenging lighting conditions.