Yard grading means shaping your soil so it slopes away from your foundation, preventing water from pooling where it can cause damage. You’ll want a minimum slope of 5%, which translates to a 6-inch drop over 10 feet of distance. Start by measuring your current grade with stakes and a string level, then redistribute soil using a cut-and-fill method. The steps below break down exactly how to assess, measure, regrade, and protect your property.
Signs Your Yard Is Graded Toward Your Foundation
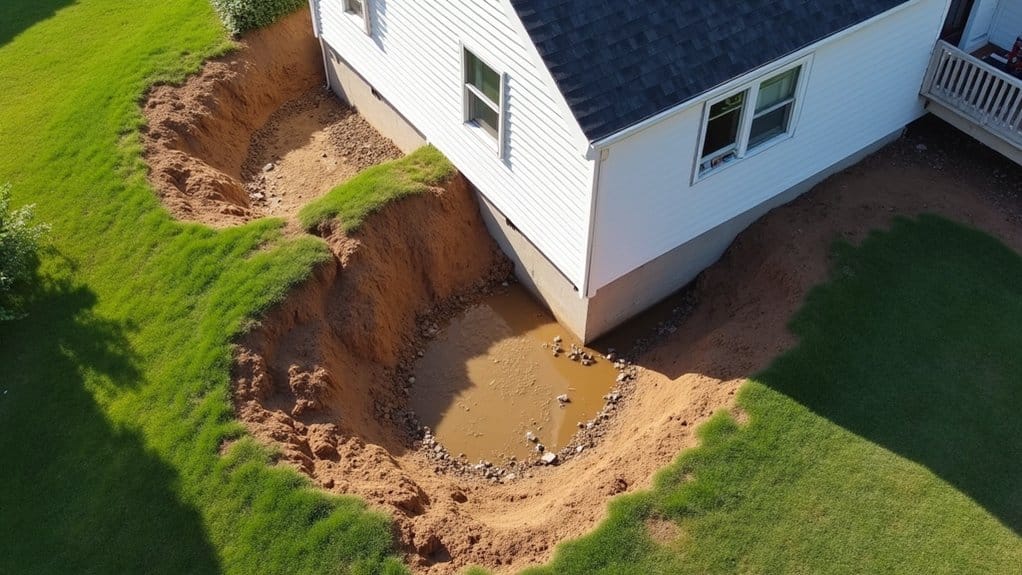
When water consistently pools near your home’s foundation after rainfall, you’re likely dealing with negative grading, a slope that directs runoff toward your structure rather than away from it. Look for standing water in low spots near your base, soggy soil, bare patches from erosion, and foundation cracks following mortar lines.
Beyond surface indicators, check for basement moisture, mold growth, and soil pulling away from exterior walls. Stair-step cracks in brickwork and shifting hardscapes confirm settlement from water saturation. Evaluate your gutter downspout placement, improperly positioned downspouts concentrate discharge against your foundation. Effective roof water redirection channels runoff at least six feet from your home. Addressing these signs early prevents structural damage, erosion escalation, and costly repairs. Left unresolved, standing water also creates ideal conditions for mosquito breeding and accelerates long-term soil erosion across your yard.
How to Measure Your Yard Grade With Stakes and String
Before you break ground on any regrading project, you’ll need to establish your yard’s existing slope using a simple stakes-and-string method that delivers accurate elevation data without expensive surveying equipment. Drive wooden or metal stakes two feet from each corner flag, then stretch nylon string between them. Attach a line level at the string’s dead center and adjust until perfectly level before securing. Place one stake at the lawn’s drainage edge and another by the foundation of the house to define the full slope path.
The importance of accurate measurements depends heavily on proper stake placement considerations. Insert intermediate stakes every 10 feet across larger areas. Measure the horizontal distance between outermost stakes, then record the vertical gap between ground level and the string’s tie-off point on the lower stake. Divide height by distance to calculate grade percentage, a 2-foot rise over 50 feet yields 4%, falling within the ideal 2%, 5% range.
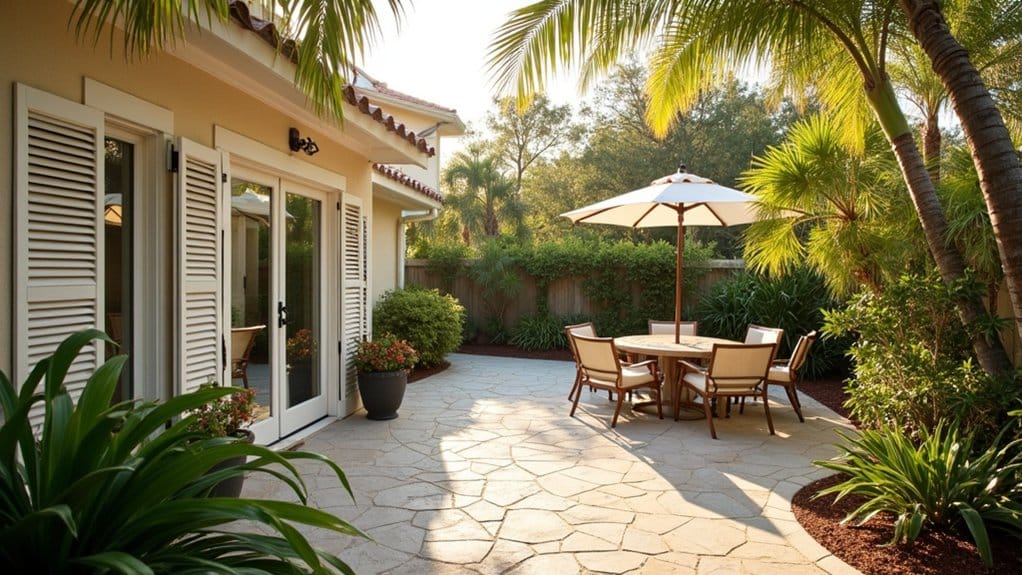
The Right Slope for Yard Grading Near Your Foundation
Because your foundation bears the greatest risk from standing water, establishing the correct slope in the first 10 feet of surrounding soil is the single most critical drainage decision you’ll make. The proper grade direction must always move water away from the structure on all four sides.
| Surface Type | Ideal Slope Percentage | Drop Over 10 Feet |
|---|---|---|
| Impervious (concrete, pavers) | 2% minimum | 2.4 inches |
| Permeable (soil, mulch) | 4.2% minimum | 5 inches |
| Preferred target (any surface) | 5% | 6 inches |
| Clay-heavy soils | 5%, 8.3% | 6, 10 inches |
You’ll want 6, 8 inches of visible foundation above the soil line. Slopes below 3% risk pooling, while grades exceeding 25% require erosion controls like swales to manage high-velocity runoff. If your yard’s grade is insufficient or misdirected, regrading the yard can correct the slope so that rainwater and other precipitation flow safely away from your home.
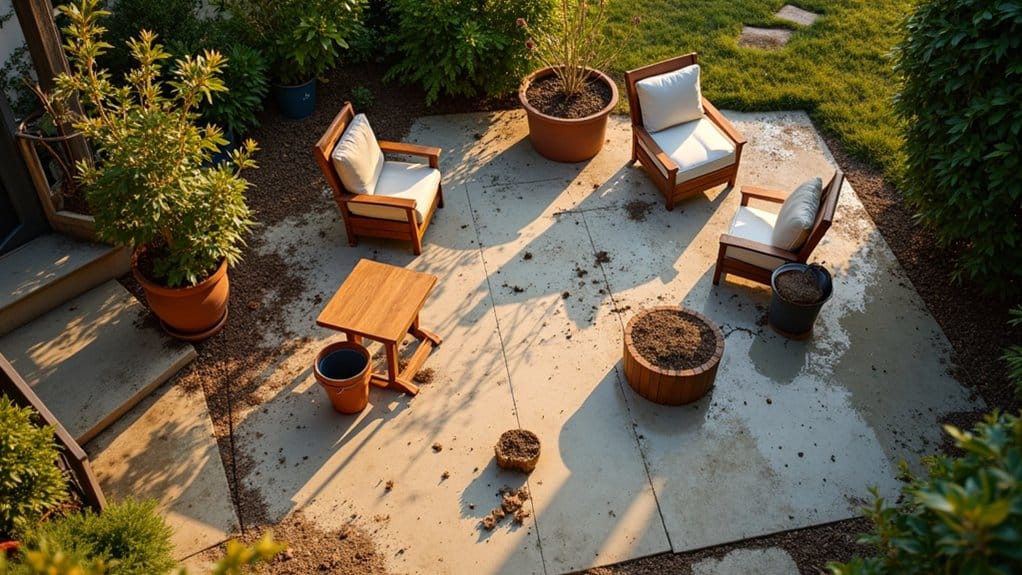
How to Regrade Your Yard in 5 Steps
Regrading your yard involves a systematic five-step process: evaluating current conditions, planning your drainage pattern, preparing the work area, redistributing soil, and compacting the finished surface. First, assess your yard during rainfall to identify pooling, erosion paths, and soggy zones. Mark these problem areas with stakes or flags.
Next, develop a drainage plan that establishes ideal grade patterns directing water away from structures toward swales, dry creek beds, or approved drainage points. Use stakes and twine to set firm grade lines.
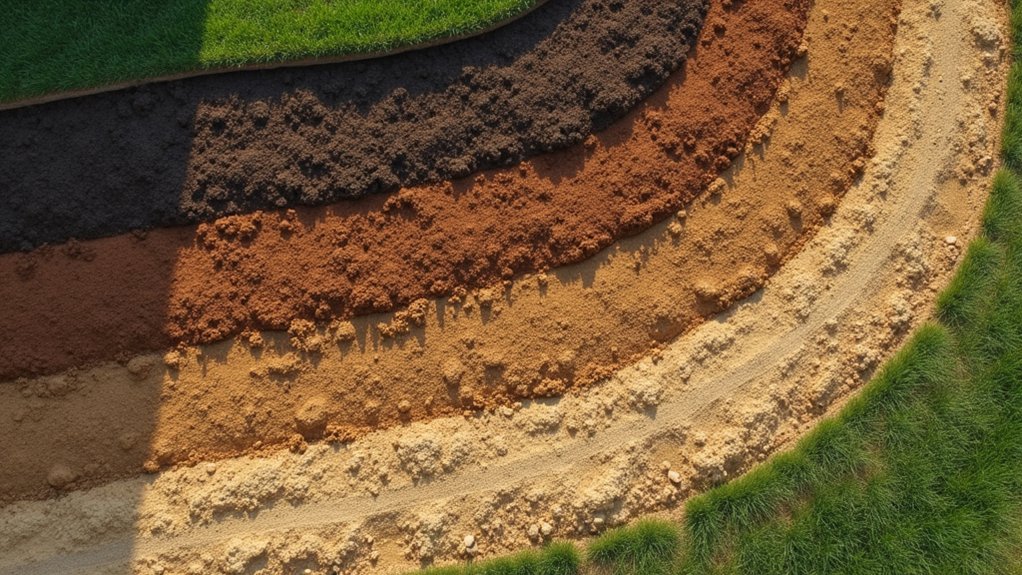
Clear all vegetation and debris, then redistribute soil using the cut-and-fill method, shaving high spots and filling low areas with a hard rake and wheelbarrow. Finally, achieve proper soil compaction by adding and tamping soil in layers, then finish with topsoil and seed to prevent erosion.
Yard Grading Costs, Tools, and What to Do After

How much does yard grading actually cost, and what tools and follow-up steps will the job require? Professional grading runs $1, $5 per square foot, with regional cost variations adding up to 30% in urban zones. Don’t skip soil testing requirements, budget $10, $50 per sample to assess composition before grading.
| Category | DIY Cost | Professional Cost |
|---|---|---|
| Small Project (<1,000 sq ft) | $500, $2,000 | $1,000, $3,000 |
| Equipment | $200, $500/day (skid steer) | Included in labor |
| Post-Grading (seed/sod) | $0.10, $0.50/sq ft | $0.10, $0.50/sq ft |
You’ll need a skid steer, laser level, and landscape rake for execution. After grading, compact soil with rollers, install drainage swales if necessary, apply 2, 4 inches of topsoil, and monitor settlements for 4, 6 weeks.
Frequently Asked Questions
Can Yard Grading Be Done in Winter or During Freezing Temperatures?
You shouldn’t grade your yard during winter because frozen ground conditions prevent proper soil compaction, causing uneven settling once thaw cycles begin. You’ll face 30, 50% higher rework rates as expanding ice distorts grade lines and destabilizes slopes. The impact on nearby vegetation worsens since post-freeze erosion strips exposed soil before roots establish. Instead, you should install temporary drainage solutions like downspout extensions and delay grading until soil temperatures consistently exceed 50°F.
Do I Need a Permit to Regrade My Yard?
You’ll likely need a permit if your regrading involves cut or fill exceeding 50 cubic yards, depths greater than 3 feet, or slopes steeper than 5:1. The requirements for permits vary, so you should check your local zoning regulations before starting work. Minor projects under 200 cubic yards may qualify for exemptions. For engineered grading exceeding 5,000 cubic yards, you’ll need licensed professional plans, soils reports, and formal inspections throughout the process.
How Long Does It Take for Regraded Soil to Fully Settle?
You’ll typically wait 1, 3 months for regraded soil to fully settle, though cohesive soils like clay can continue consolidating for a year or more. Soil compaction levels directly determine settlement duration, mechanically compacted fill settles faster than loosely placed material. With proper soil preparation, including moisture conditioning and lift-by-lift compaction, you’ll minimize post-grading settlement enormously. Monitor the surface periodically; secondary consolidation (creep) can produce minor movement well beyond initial settlement timeframes.
Will Yard Grading Damage Existing Tree Roots or Landscaping Nearby?
Yard grading can damage tree roots and nearby landscaping, but you’ll reduce risks through proactive planning. Tree root preservation requires using compact equipment near sensitive zones and establishing precise grade lines to limit soil disturbance. For landscaping impact mitigation, you’ll want professionals to assess root zones before excavation, avoid compacting soil within canopy drip lines, and schedule replanting during the finishing phase. Post-grading observation guarantees your vegetation recovers successfully.
How Often Should You Reassess Your Yard’s Grading and Drainage?
You should conduct regular inspections of your yard’s grading and drainage annually or semi-annually, increasing frequency for older systems or heavy-rainfall zones. Schedule proactive monitoring each spring to identify winter damage and each fall to prevent clogs before freeze cycles. Watch for warning signs, persistent pooling, foundation dampness, or lawn erosion, that demand immediate reassessment. During each evaluation, verify slope adequacy, clear blockages, and assess whether nearby root growth has compromised drainage pathways.