Start by measuring your home’s exterior and drawing a detailed diagram with precise measurements for eaves, trees, and railings. You’ll need to identify power sources and calculate the total number of light strands required. Choose between LED or incandescent lights early, and select appropriate outdoor-rated clips and extension cords for your surfaces. Distribute lights across multiple circuits to prevent overloading, and test all strands before installation. Guaranteeing a systematic approach secures a stunning, professional-looking display.
Planning Your Holiday Light Display Layout
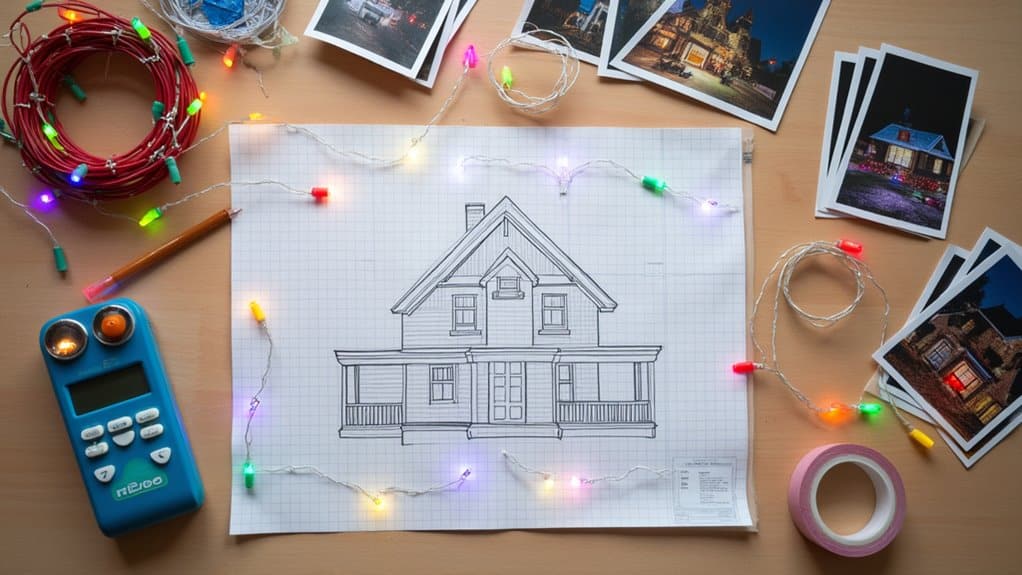
Before hanging a single strand of lights, creating a detailed plan for your outdoor Christmas display will save time and prevent costly mistakes. Start by measuring each area you’ll illuminate, including eaves, awnings, trees, and porch railings. Draw a detailed diagram of your home’s exterior with precise measurements to visualize the layout.
Consider your desired effort level whether you want simple window outlines or an elaborate full-house display. When planning, identify your power sources and mark locations for GFCI-protected stakes to certify safe installation. Make the vital decision between incandescent or LED lights early in your planning phase, weighing factors like energy consumption, brightness, and longevity. This methodical approach to planning will help you calculate the exact number of light strands needed and create a cohesive, professional-looking holiday display.
Essential Tools and Materials Checklist
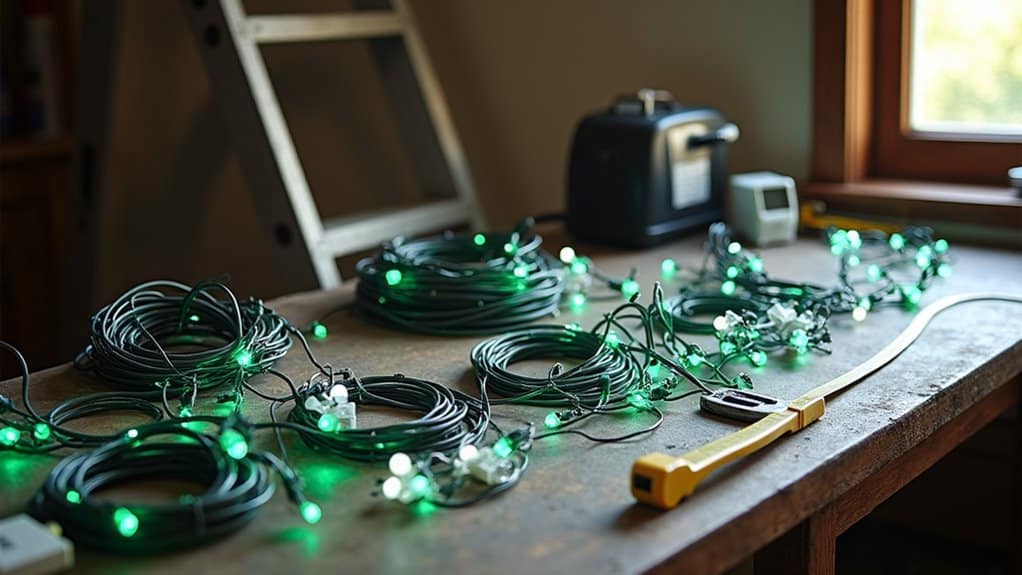
Start your Christmas light installation project by gathering essential safety items, including a sturdy fiberglass ladder, GFCI power stake, and outdoor-rated extension cords to prevent electrical hazards. You’ll need specialized light clips designed for your specific roof edge, gutters, or window frames to properly secure your light strands without damaging your home’s exterior. Test all your light strands and replacement bulbs on the ground before climbing up to hang them, ensuring you won’t need to make multiple trips up and down the ladder during installation.
Safety Equipment First
When installing outdoor Christmas lights, proper safety equipment and tools are indispensable to prevent accidents and guarantee a successful display. Begin by selecting a sturdy fiberglass ladder instead of aluminum for enhanced electrical safety while working at heights.
You’ll need outdoor-rated light clips designed specifically for hanging decorations, as these prevent damage to your home’s exterior and secure lights properly. Don’t use nails, staples, or hooks, which can create hazards. Choose only outdoor-rated extension cords and lights to protect against electrical hazards and weather exposure. Before installation, test all light strands and replace any faulty bulbs. Remember to keep LED and incandescent lights on separate circuits to avoid overloading. These safety measures aren’t just precautions they’re integral steps that confirm your holiday display remains both beautiful and secure.
Basic Installation Supplies
The right tools and supplies make outdoor Christmas light installation both safe and efficient. You’ll need outdoor-rated power cords and extension cords that can withstand winter weather conditions. For secure mounting, gather different sizes of clips to attach lights to diverse surfaces.
Essential tools for your light installation include:
- A reliable fiberglass ladder for accessing high areas safely, guaranteeing proper height and stability
- Light clips and hooks designed specifically for gutters, shingles, and eaves these prevent damage while providing secure attachment points
- Basic electrical tools including wire cutters, strippers, and a multimeter to test circuits
Keep these supplies organized and readily accessible throughout your project. Having the proper equipment on hand helps avoid interruptions and confirms a smoother, safer installation process for your outdoor light display.
Calculating Power Requirements and Safety
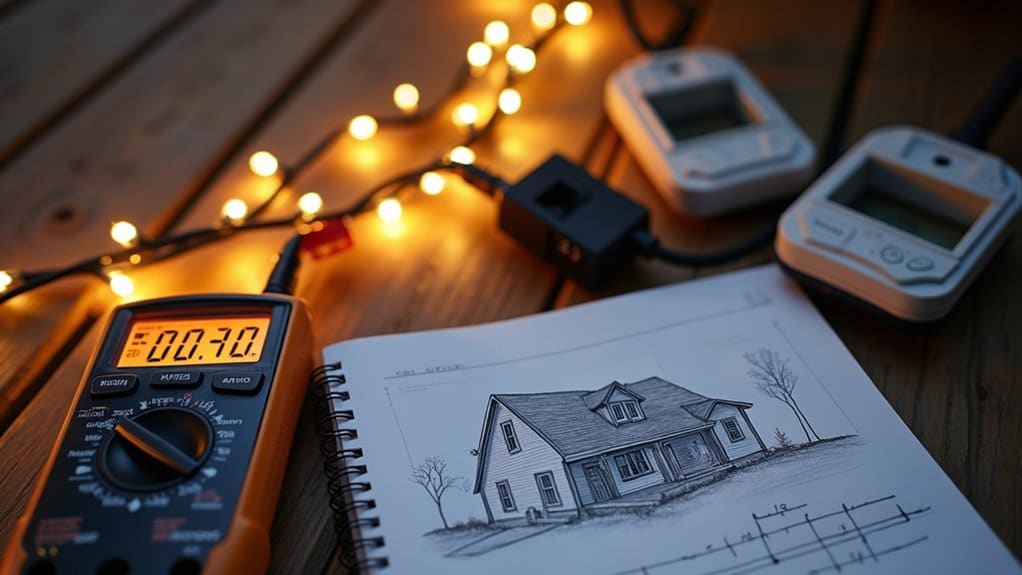
Setting up your outdoor Christmas light display requires careful attention to power requirements and electrical safety considerations. You’ll need to calculate the total power consumption by adding up the wattage of each light strand in your display. To prevent electrical hazards, guarantee your outdoor outlet and circuit can handle the combined load.
Distribute your lights across multiple power sources to balance the electrical demand and avoid overloading any single circuit. Always use outdoor-rated extension cords equipped with GFCI protection for added safety against electrical shorts and moisture exposure. Before installation, inspect every strand, connection, and cord for signs of wear, frayed wires, or damaged insulation. Taking these precautions helps prevent short circuits and ascertains your holiday display remains both festive and safe throughout the season.
Selecting the Right Type of Christmas Lights
Choosing appropriate outdoor Christmas lights starts with understanding the distinct characteristics of each lighting type and their ideal applications. When you’re hanging Christmas lights, you’ll need to select options that match your specific decorating goals.
Consider these key factors when making your selection of Christmas lights:
- Location requirements – Choose string lights or rope lights with Christmas Light Clips for rooflines and windows, while net lights work better for bushes and large surface areas
- Lighting effect desired – Icicle lights create dramatic cascading effects, while pathway lights offer practical ground-level illumination
- Coverage needs – Traditional Christmas string lights provide versatile point-by-point lighting, while rope lights deliver continuous illumination perfect for outlining structures
Each type serves a specific purpose, so you’ll want to mix different styles for the most impactful display.
Professional Light Hanging Techniques
Mastering professional light hanging techniques requires a systematic approach to certify both safety and aesthetics. When you’re ready to hang Christmas lights, start by measuring your house’s dimensions with a measuring tape to calculate the exact length of lights needed for each section.
Always work from the top of your house downward when outdoor Christmas decorating. You’ll need someone to hold the ladder steady while you climb, and it’s critical to maintain three points of contact with the ladder at all times. Secure lights to gutters using proper clips, spacing them evenly at 12-inch intervals. Test each strand before hanging to validate all bulbs work, and create clean lines by keeping the wire taut as you move along the roofline. Use zip ties to bundle excess wiring neatly.
Securing Decorations on Different Surfaces
Selecting the right fasteners for your outdoor Christmas lights guarantees a secure and professional-looking display across different surface materials. You’ll need specialized shingle and gutter clips for rooflines, masonry anchors or adhesive hooks for brick and concrete surfaces, and adjustable tree straps with rubber protection for branches. Whether you’re working with traditional C9 bulbs or modern LED strings, these surface-specific attachments will prevent damage to your home’s exterior while keeping your holiday decorations firmly in place throughout the season.
Shingles and Gutter Clips
The success of your outdoor Christmas light display depends heavily on using the right clips for different surfaces. You’ll need specific types of clips to achieve a professional-looking installation that stays secure throughout the season.
For ideal results, consider these essential clip types:
- Roofline clips with UV inhibitor and enclosed heads – perfect for securely attaching lights to your drip edge while allowing easy rotation adjustments
- Terrain clips featuring a three-prong design – ideal for staking lights into ground or lawn areas, providing quick and reliable placement
- Ridge clips with saddle features – compatible with 99% of composite shingles, these attachments grip both sides of the roof ridge for maximum stability
Brick and Concrete Methods
When working with brick and concrete surfaces, you’ll need different attachment methods than those used for shingles or gutters. Hot glue provides a quick solution for securing light clips, while drilling and anchoring offers more permanent installation.
| Surface Type | Recommended Method |
|---|---|
| Brick | Hot glue or anchors |
| Concrete | Hot glue or anchors |
| Short-term | Hot glue only |
| Long-term | Wall anchors |
| Power cords | Zip ties |
Apply generous amounts of hot glue around each clip’s base, ensuring complete contact with the surface. Wait 30 minutes for the adhesive to harden before hanging your lights. For permanent installations, drill pilot holes and insert wall anchors before screwing in the light clips. Don’t forget to secure power cords and garland with zip ties to prevent sagging and maintain a professional appearance.
Tree Branch Attachments
Properly securing lights and decorations to tree branches requires specific attachment methods based on branch size and type. For your lighting projects, you’ll need to strategically position attachments to guarantee your display remains secure throughout the season.
When working with Tree Branches, bushes and shrubs, follow these essential steps:
- Use zip ties or S-hooks to hold the light strands on thicker branches, spacing them evenly to prevent sagging and maintain a professional appearance
- Install light clips along both vertical and horizontal branches, adjusting the spacing based on the branch thickness and desired lighting density
- Secure decorative elements like ornaments and garland using wire or specialized hooks, ensuring they complement your lighting arrangement
Incorporate battery-powered fairy lights within the foliage to create depth and amplify the overall magical effect of your outdoor display.
Creating Custom Light Patterns and Effects
Creating stunning outdoor Christmas displays starts with mastering custom light patterns and effects. You’ll achieve the best results by combining different lighting styles and planning your layout in advance.
| Light Type | Best Application |
|---|---|
| Icicle | Roof edges, eaves |
| Net lights | Bushes, hedges |
| String lights | Trees, walkways |
| LED programmable | Feature areas |
To create eye-catching holiday designs, layer your outdoor lighting with strategic placement. Start by sketching your desired patterns, whether they’re snowflakes, geometric shapes, or cascading effects. You’ll transform your Christmas display by incorporating color-changing LED lights for dynamic shows with custom sequences and shifts. Don’t forget to integrate your lighting with greenery like garlands and wreaths for a cohesive outdoor scene that captures attention and creates lasting holiday memories.
Weather-Proofing Your Outdoor Display
When you’re installing outdoor Christmas lights, start by protecting all electrical connections with waterproof junction boxes and weatherproof light clips to prevent moisture damage and electrical shorts. You’ll need to double-check that every strand is firmly secured against winter winds using proper outdoor-rated fasteners at consistent intervals along gutters and rooflines. To guarantee your display withstands freezing temperatures, install your lights during warmer daytime hours when materials are more pliable and use cold-rated LED bulbs that won’t crack or shatter in extreme weather.
Waterproof Connections Matter Most
The most critical aspect of your outdoor Christmas light display is guaranteeing waterproof connections throughout the entire setup. Without proper protection, moisture can cause dangerous electrical shorts and damage your festive display. You’ll need to focus on three essential elements:
- Install weatherproof extension cords and GFCI-protected power strips to create a safe electrical foundation for your display
- Apply silicone sealant to every light socket connection, creating a moisture-tight barrier that prevents water from seeping into the electrical components
- Secure your display using high-quality light clips and stakes that won’t deteriorate in harsh weather conditions
Don’t forget to perform an annual inspection of your entire setup, checking for cracks or damage in the waterproof connections. This preventive maintenance assures your outdoor Christmas lights remain safe and functional throughout the holiday season.
Secure Against Strong Winds
Because winter storms can wreak havoc on outdoor Christmas displays, you’ll need sturdy wind-protection strategies to keep your lights securely fastened. Start by selecting weather-resistant clips and hooks specifically designed for outdoor use, and attach them firmly to your home’s exterior surfaces.
You’ll want to secure light strands and decorations using multiple anchor points. Install heavy-duty zip ties at regular intervals, and consider using stake-down anchors or sandbags for ground-level elements. Guarantee all electrical connections remain waterproof by using protective covers and positioning them away from direct exposure to rain and snow.
Remember to inspect your display regularly throughout the season, checking for loose fixtures or compromised attachments. Replace any lightweight materials with sturdy alternatives, and reinforce areas where you notice movement during windy conditions.
Cold-Weather Installation Tips
Successfully weatherproofing your outdoor Christmas display requires careful attention to electrical safety and protection against harsh winter elements. To safeguard your display against winter’s challenges, use weather-resistant outdoor extension cords and power strips specifically designed for exterior use.
Essential steps for cold-weather installation:
- Apply silicone sealant or electrical tape to weatherproof all electrical connections and light sockets, creating a moisture-proof barrier against snow and ice
- Install lights using weatherproof clips, stakes, and hooks to prevent wind damage and guarantee decorations stay firmly in place throughout the season
- Protect exposed wires and cords with foam tubing or weatherproof coverings to prevent cracking from freezing temperatures
Remember to verify that all your lights and decorations carry proper outdoor certification from UL or ETL before installation, confirming they’re rated for winter weather exposure.
Setting Up Timers and Controls
Modern outdoor Christmas light displays benefit greatly from automated control systems that streamline operation and improve convenience. Start by installing GFCI-protected power stakes near your main Extension cord connections to guarantee safe operation of your lights and decorations.
You’ll want to connect your light strings to outdoor timers that automatically control when your display turns on and off. For heightened control, consider using smart plugs that let you adjust your decorating schedule through your phone. These devices enable you to manage your lights from anywhere, saving energy and providing peace of mind.
If you’re planning an elaborate display, invest in a light synchronization system to create dynamic patterns and shows. Alternatively, solar-powered lights offer a maintenance-free solution that eliminates the need for complex power connections while remaining environmentally conscious.
Maintenance and Storage Solutions
When the holiday season ends, proper maintenance and storage of your outdoor Christmas lights becomes critical for their longevity. You’ll need to establish an organized system that protects your investment and guarantees everything’s ready for next year’s display.
Protecting your holiday lighting investment requires organized storage and proper maintenance – the key to ensuring spectacular displays year after year.
Follow these essential steps for effective storage and maintenance:
- Inspect all components for damage, perform necessary repairs, and clean each item thoroughly before storage
- Create an organization system using labeled containers, ensuring wreaths are hung properly and light strands are carefully coiled
- Dedicate adequate storage space that’s clean and dry, keeping decorations easily accessible for next season’s setup
Remember to document your storage locations and conduct periodic inspections during the off-season. This systematic approach to maintenance will extend the life of your decorations and simplify next year’s installation process.
Frequently Asked Questions
How Do I Calculate How Many Outdoor Christmas Lights I Need?
You’ll need to measure each area’s string length and divide by 6 for proper spacing. Calculate your bulb count by multiplying feet by 2 for basic coverage. Check voltage requirements and wire gauge ratings for your electrical setup most outdoor strings need 120V. Don’t forget to factor power consumption; add up wattage per bulb to guarantee you won’t overload circuits. Create a detailed diagram marking measurements and connection points.
What Is the Spacing for Outdoor Christmas Lights?
You’ll want to space your outdoor Christmas lights 6 inches apart for ideal lighting placement and illumination patterns. This spacing guarantees energy efficiency while creating a professional appearance. When you’re considering aesthetic considerations, keep in mind that closer spacing can look cluttered, while gaps larger than 6 inches diminish visual impact. Following safety protocols, measure your installation area carefully and maintain consistent 6-inch intervals throughout your display for the best results.
Should Outdoor Christmas Lights Be Vertical or Horizontal?
Your lighting arrangement should combine both vertical and horizontal displays for the best visual impact. You’ll want to take into account your home’s architecture use horizontal lights along rooflines and windowsills, while adding vertical accents like icicle lights for depth. When planning your color scheme, guarantee you’ve calculated power requirements carefully, as vertical setups typically need more outlets. Don’t forget safety considerations, and select energy-efficient LED lights to minimize electricity costs.
How Do You Cut Outdoor Christmas Lights to Length?
Initially, measure your light strands carefully and mark your desired cutting wire length. You’ll want to leave 6-12 inches extra on each end. Use sharp wire cutters to make clean cuts between bulb sockets, never through them. When adjusting light spacing, be sure to maintain proper connections by using vampire plugs or splicing connectors. Before connecting light strings, test each section and handle any extension cords separately for safety.