

Start by measuring your yard’s perimeter, shape, and grade, then map fixed elements like the house, trees, and fences. Track sunlight across morning, midday, and afternoon to identify full-sun, partial-sun, and shaded zones. Match plants to each exposure. Divide the space into social, relaxation, and utility zones using a bubble diagram. Draw your primary traffic route first, keeping 3 feet of clearance around furniture. Get the details right and your beds perform for years.
Key Takeaways
- Measure your yard’s perimeter, shape, and size, then map fixed elements like the house, trees, fences, and slopes.
- Track sunlight across morning, midday, and afternoon to identify full-sun, partial-sun, and shaded zones for plant selection.
- Divide your yard into functional zones, social, relaxation, and utility, starting with a rough bubble diagram.
- Draw your primary traffic route first, keeping at least 3 feet of clearance around patio furniture.
- Combine zones, paths, and focal points onto one scaled drawing, matching plants to sun exposure and checking drainage.
How to Design a Backyard Layout
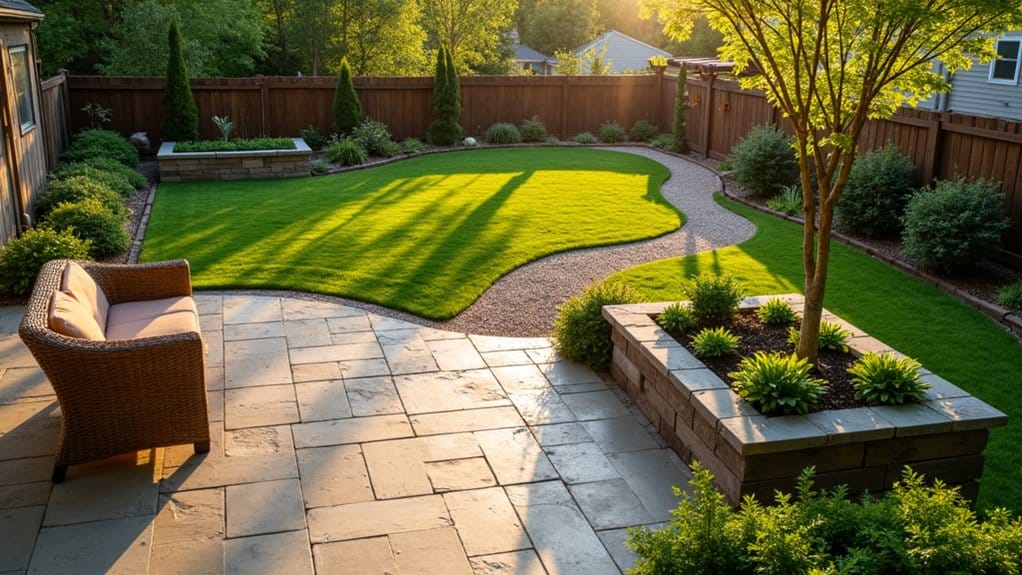
To design a backyard layout, start by creating an accurate picture of the space you’re working with. Measure the full perimeter and map fixed elements, including the house, trees, fences, slopes, patios, and sheds, onto scaled graph paper. Note grade changes, runoff areas, and puddling spots to prevent drainage problems, and check for utilities before any digging.
Next, track sunlight across the day. Capture morning, midday, and late-afternoon conditions to identify full-sun, partial-sun, and shaded zones, then match plant choices to exposure so beds perform over time.
A functional backyard layout depends on this groundwork. With your site data mapped, outdoor layout ideas move from guesswork to precise, buildable decisions that fit your conditions.
How do you assess your backyard space
Assess your backyard space by measuring two inputs: the physical footprint and the sun. Record the full perimeter, shape, and size, then map fixed elements, house, trees, fences, slopes, patios, and sheds, onto a scaled sketch. Use graph paper to keep proportions accurate, and note grade changes, runoff areas, and puddling spots to reduce future drainage problems. Always check for utilities before digging.
Next, track the sun. Observe sunlight in the morning, midday, and late afternoon to identify full-sun, partial-sun, and shaded zones. This sun map anchors your backyard design, letting you match plant choices to exposure so beds perform over time. Also account for rainfall and soil texture. These site conditions determine which materials and species actually thrive.
How do you plan zones for your backyard layout
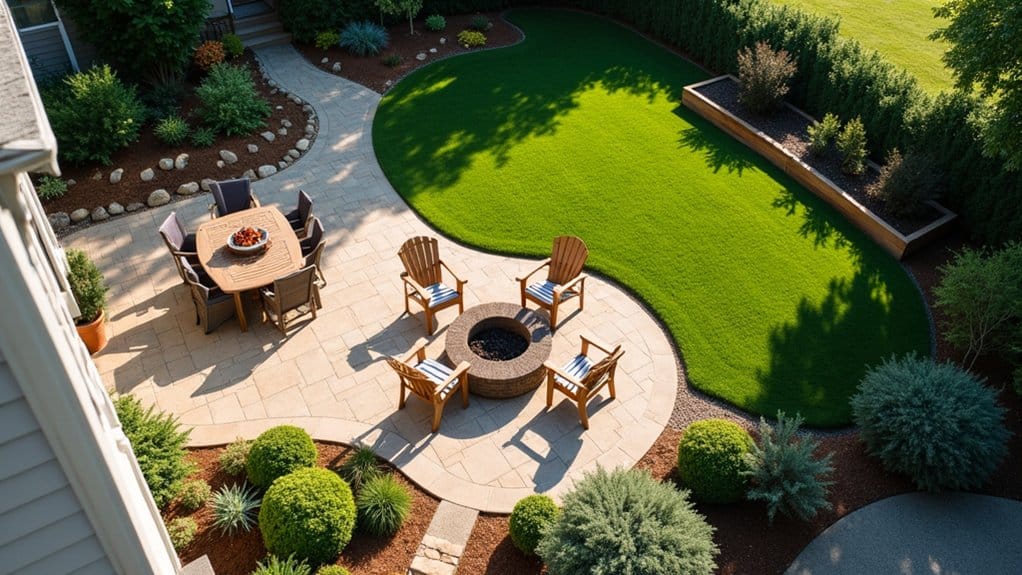
Plan your backyard zones by carving the yard into functional activity areas, dining, lounging, gardening, play, or storage, then consolidate them under three core zones: social, relaxation, and utility or flexible use. Start with a bubble diagram, sketching rough shapes before committing to exact dimensions. Assign each zone a clear purpose so the layout stays intuitive day to day.
Match placement to your site data. Anchor dining and lounging in balanced-exposure areas, and locate garden beds where full sun supports your plant choices. Tuck utility functions into shaded, less-visible corners.
Prioritize the activities most likely to happen here before adding ornamental features. This activity-first sequencing keeps your zones practical rather than purely decorative.
What elements should you include in the layout
Include three element categories in your layout: circulation, structure, and planting. Start with pathways, drawing your primary traffic route first so movement stays intuitive. Keep walkways clear and maintain at least 3 feet of clearance around patio furniture for comfortable passage. Next, add structural elements, such as hedging, fencing, lattice, containers, or plant groupings, to screen zones and define borders without fragmenting the space. Break large yards into smaller “rooms,” and include a focal point to anchor the composition. Finally, match your planting to each area’s sun exposure, selecting full-sun, partial-sun, or shade-tolerant species so beds perform over time. Account for soil texture and local rainfall when choosing plants. Leave negative space so the layout breathes rather than feeling crowded or rigid.
How do you arrange a functional backyard layout
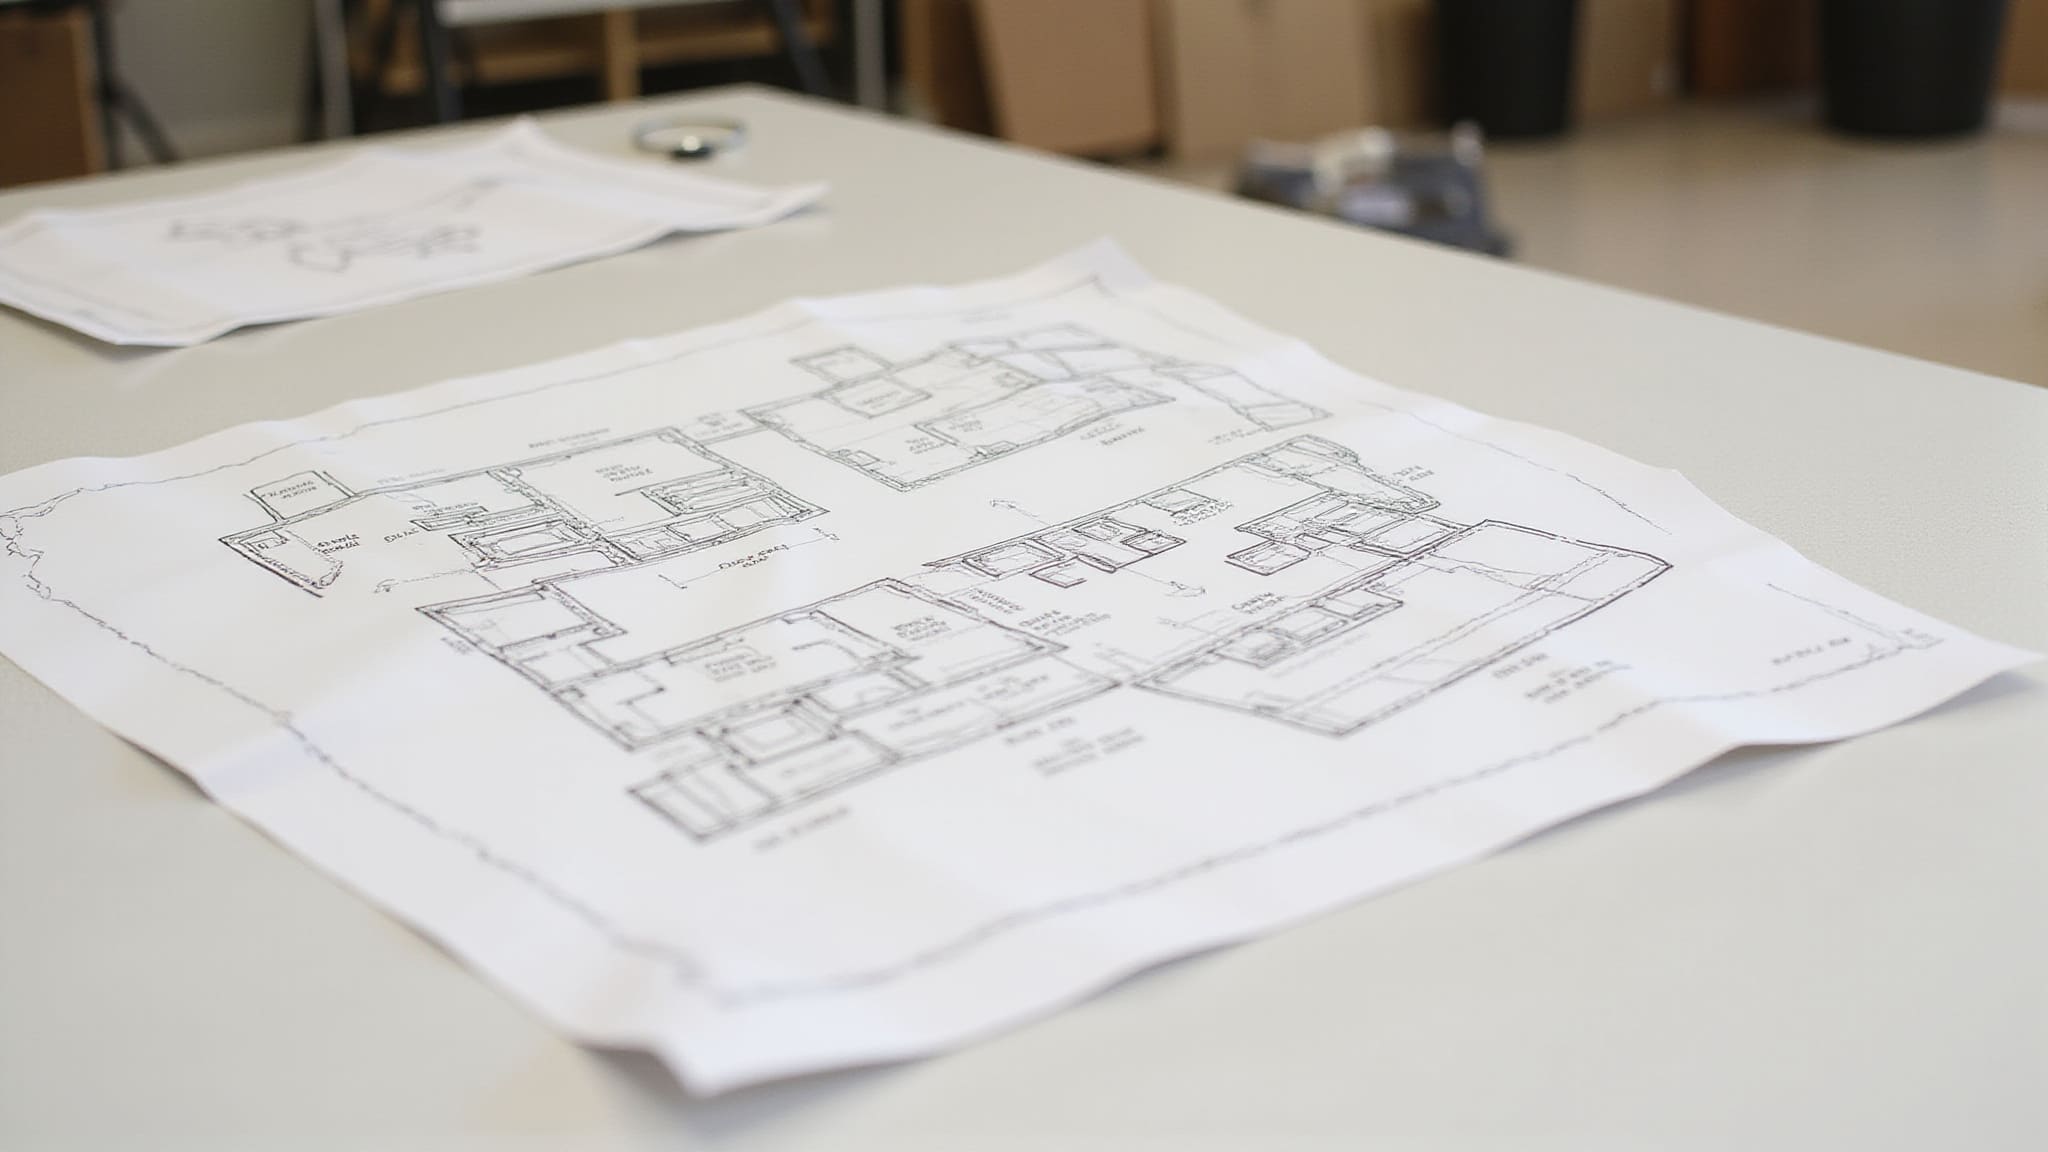
Arrange a functional backyard layout by dividing your yard into functional zones. Sketch a bubble diagram separating social, relaxation, and utility areas, then draw your primary traffic path first so movement stays intuitive. Position dining and patio zones where sun exposure matches use, morning shade suits afternoon gatherings. Match bed placement to your sun map so full-sun perennials and shade-tolerant plantings perform reliably.
- Draw circulation routes before placing furniture, keeping at least 3 feet of clearance around seating.
- Screen zones with hedging, lattice, or container groupings to define separate rooms.
- Anchor each area with a focal point to guide the eye.
- Leave negative space so the layout breathes.
- Reserve open lawn that adapts as your needs shift seasonally.
What design mistakes should you avoid
Avoid crowding patios, skipping clearance zones, and placing shade-loving plants in full sun. Backyard layouts fail once you start using them because circulation, drainage, or sun exposure got ignored during planning. Track grade changes and match beds to measured light before committing to hardscape.
| Mistake | Spatial Consequence | Fix |
|---|---|---|
| Under 3 ft clearance | Cramped passage, damaged beds | Widen paths, reposition furniture |
| Ignoring runoff | Puddling, root rot | Map grade, add drainage |
| Mismatched sun/plant | Weak, leggy growth | Align species to sun map |
| Overly fixed layout | No future flexibility | Leave adaptable open zones |
Don’t overplant either. Leave negative space so hedges, containers, and focal points read clearly instead of fragmenting the yard’s structure.
How do you finalize your backyard design plan
Finalize the plan by layering everything onto a single scaled drawing and checking that each element still works with the others. Confirm your traffic path clears patio furniture by at least 3 feet, and verify each bed’s sun exposure matches its intended plantings. Cross-check hardscape footprints against drainage and utility markings before committing.
- Overlay zones, paths, and focal points on your scaled sketch, verifying proportions hold.
- Match every plant grouping to its microclimate, soil texture, and mature spread.
- Reserve negative space and adaptable lawn or patio for future changes.
- Confirm privacy screening, hedging, lattice, containers, defines rooms without fragmenting sightlines.
- Prioritize durable materials and improved soil for long-term performance.
Then finalize placements and build.
Conclusion
Designing a functional backyard layout yourself is very doable: measure the space, map sun and drainage, define zones for cooking, dining, and relaxing, and plan the paths that connect them. A thoughtful plan on paper prevents expensive mistakes in the ground. And when a project reaches grading, drainage, or major hardscape, Innovative Outdoor Living can step in to turn a well-planned layout into a professionally built outdoor space that works exactly as it was drawn.
Call Today and Design a Backyard That Works
A well-designed outdoor space becomes an extension of your home, delivering value and enjoyment year after year. At Innovative Outdoor Living in Palm Beach Gardens, FL, our skilled team delivers dependable Backyard Makeovers built around your lifestyle and gathering needs. Call +1 (561) 594-1495 today and turn your yard into a lifestyle upgrade.
Frequently Asked Questions
How Much Does It Cost to Design a Backyard Layout Yourself?
Designing it yourself costs very little, mostly graph paper, pencils, and a measuring tape, around $10 to $30. Free design apps handle scaled layouts at no cost for mapping grades, sun angles, and zones digitally. The real spending comes later with plants, soil amendments, and hardscape. The planning stage stays cheap, since tracking microclimates, drainage, and circulation paths mostly uses tools already on hand.
Do I Need a Permit for Backyard Renovations?
It depends on the scope. Permits are typically needed for hardscape installations, structural sheds, retaining walls on graded slopes, or anything that alters drainage and runoff. Checking for utilities and confirming local requirements before digging is important, especially near property lines or easements. Simple plantings, movable furniture, and lawn adjustments usually need no approval, but when in doubt the local building department can confirm.
What Is the Best Season to Start a Backyard Project?
Early spring or fall generally works best. Spring offers workable soil, active root growth, and a full season to observe sun, shade, and drainage across the zones. Fall allows planting while the soil is still warm, easing root establishment before dormancy. Either way, mapping grade changes and runoff first, then laying out paths and beds when the ground is neither frozen nor waterlogged, gives cleaner hardscape results.
Should I Hire a Professional or DIY My Backyard?
Most of it is DIY-friendly. Measuring the perimeter, mapping fixed elements, and sketching zones on graph paper is a solid start, along with tracking sun exposure across morning, midday, and afternoon to match plants to their microclimates. Circulation, bed layouts, and furniture placement are all manageable solo. A pro is worth bringing in for grade changes, drainage corrections, utility conflicts, or major hardscape, and utility lines should always be verified before digging.
How Long Does a Typical Backyard Redesign Take to Complete?
Usually two to six weeks, depending on the yard’s size, grade changes, and hardscape scope. A few days go to measuring the perimeter, mapping sun exposure, and sketching functional zones. Path installation and soil improvement add a week or more, especially where drainage or runoff needs correcting. Planting beds go quicker, though slower-establishing hedges and perennials are best phased in as seasons and site conditions allow.