

To install an outdoor fire pit, you’ll start by sizing the pit to your patio, 30, 36 inches for smaller spaces, up to 60 inches for large patios. Next, check local fire codes, confirm permit requirements, and call 811 to mark underground utilities. Then dig a 4, 6 inch base with proper drainage grading. Build your walls with leveled courses and fire-rated lining, and finish by laying pavers with polymeric sand joints. Each step below breaks down the full process so you can build with confidence.
Plan Your Fire Pit Size and Placement
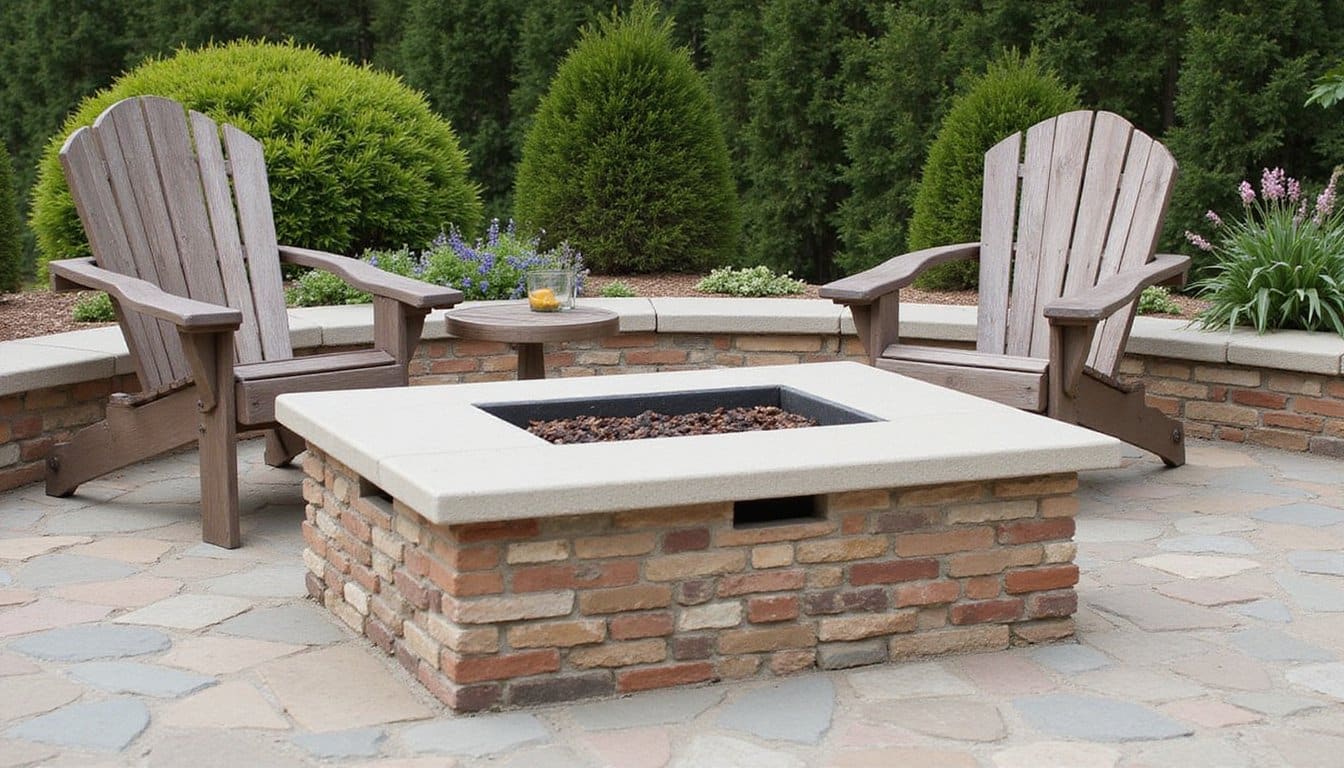
Before you order materials or break ground, you’ll need to match your fire pit’s diameter to your available space, and local setback codes. For patios under 10×10 feet, stick with a 30, 36 inch pit. A 12×12-foot patio handles a 36, 44 inch unit with 4, 5 feet of clearance. Large patios (16×16 feet or bigger) support 44, 60 inch fire pits comfortably.
Your fuel choice directly affects placement. Gas fire pits allow closer positioning to structures, while wood-burning models demand greater setback distances due to sparks and radiated heat. Maintain at least 6, 7 feet of clearance from all sides. Also ensure clear walking paths are planned around the fire pit so guests can move safely without crowding the flames.
Consider your season of use, larger diameters generate more heat for year-round enjoyment but consume additional fuel and require proportionally bigger patios.
Check Fire Pit Codes and Call 811
Every municipality sets its own rules for outdoor fire pits, so you’ll need to look up your local codes before purchasing materials or breaking ground. Most jurisdictions limit fuel areas to under 2 feet high and 3 feet in diameter. Contact your local fire department to confirm permit requirements for permanent or masonry installations. Usage restrictions apply during burn bans and heightened wildfire risk considerations in your region.
Before excavating, call 811 to locate underground utilities. This free service marks gas, electric, water, and sewer lines so you avoid costly damage. Keep a fire extinguisher nearby and ensure everyone in your household knows how to use it before lighting your first fire.
- Position your fire pit at least 10, 15 feet from structures, fences, and property lines.
- Clear overhanging branches, awnings, and combustible materials from the surrounding area.
- Wait for 811 clearance before any digging begins.
Dig Your Fire Pit Base With Proper Drainage

Once you’ve confirmed your local codes and received 811 clearance, it’s time to break ground. Mark your footprint extending 150mm beyond the fire pit’s outer edge using marking paint, avoiding low spots where water pools.
Excavate 4, 6 inches deep, removing all sod, roots, and debris. Tamp the exposed ground firmly to establish compacted base stability. In poor-draining soil, dig a 12, 18 inch deep center hole for water seepage. Skipping this foundational work will lead to problems like settling, tilting, or drainage issues down the road.
Grade the surrounding area at 0.5 inches per foot, sloping away from the pit for 10 feet. Layer 4, 6 inches of #2 crushed stone, then 2, 3 inches of stabilizing stone, tamping in increments. Install a 4-inch drain pipe from center to daylight. This drainage maintenance prevents water damage and extends your pit’s lifespan by 30%.
Build and Line Your Fire Pit Walls
- Lay your first course by measuring 12 inches from the outside face inward, leveling each stone and packing mortar behind them against the earthen sidewall.
- Build subsequent courses with 1-inch mortar beds, varying stone heights to break horizontal joints while maintaining 12-inch wall thickness.
- Secure capstones by cutting alternating pieces with a diamond blade, then cementing and grouting for a seamless finish.
Add Pavers and Fire Pit Safety Essentials
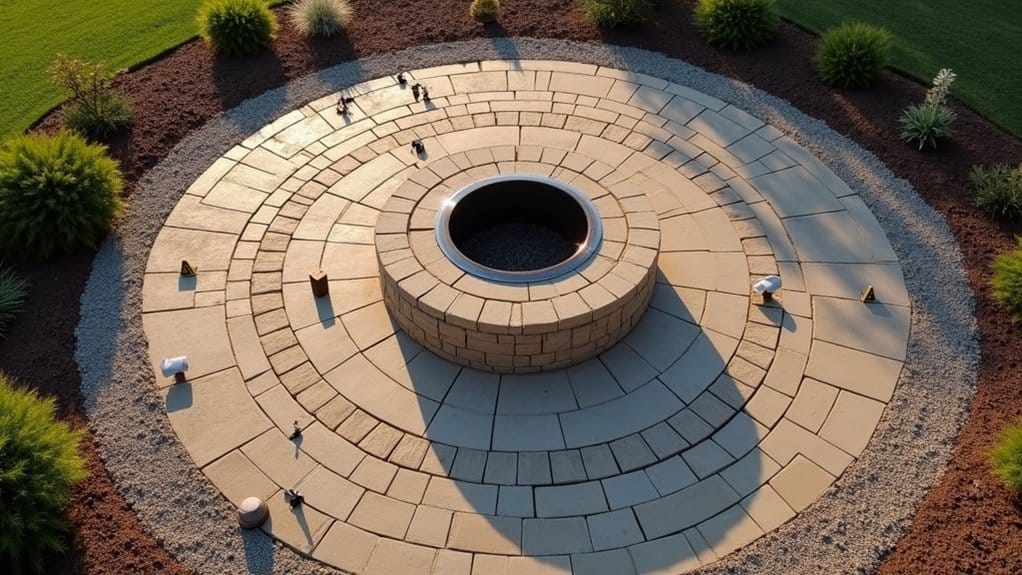
After your fire pit walls are built and the capstones are set, you’ll shift focus to the paver surround, a critical element that protects the area from erosion, provides a stable surface, and creates a finished look. Proper paver installation begins with spreading one inch of leveling sand, screeded flat with a 2×4. Place pavers around the ring with minimum half-inch joints, varying directions for a natural pattern. Mark and cut excess pieces using a circular saw with a concrete blade, making relief cuts on curves to prevent binding.
Address fire pit ventilation concerns by confirming vents are installed across from each other in block layers. Fill joints with polymeric sand, sweep excess, and apply waterproofer. Wear gloves, knee pads, and use a shop vacuum during cuts.
Frequently Asked Questions
How Much Does It Cost to Build a Backyard Fire Pit?
You’ll typically spend between $300 and $1,400 to build a backyard fire pit, with the national average around $850. Your cost estimates depend on type, material, and size, simple above-ground charcoal pits start at $200, while custom in-ground gas pits reach $5,000. Key budgeting considerations include gas line installation, permit fees, and code-compliant clearances. You can save by using prefabricated kits averaging $575 while still meeting local fire safety requirements.
Can I Use My Fire Pit During a Burn Ban?
Yes, you can use your fire pit during a burn ban if it’s under 3 feet tall and under 4 feet in diameter. You’ll need to burn only clean, untreated wood or charcoal and keep the fire constantly attended. Always check your local burn regulations, since they may impose additional restrictions beyond state rules. Adhering to proper fire pit safety considerations guarantees you stay compliant and avoid fines starting at $500.
What Type of Firewood Burns Best in an Outdoor Fire Pit?
You’ll get the best results using seasoned hardwood like oak, ash, or maple, they burn longer, produce more heat, and generate less smoke than softwoods. For ignition, use fire starter materials such as cedar or pine kindling to get things going quickly, then layer on hardwoods for sustained warmth. Avoid green or unseasoned wood, which creates excessive smoke and creosote buildup that can violate local air quality codes and damage your pit.
How Do I Clean and Maintain My Fire Pit Each Season?
You’ll want to follow a consistent cleaning schedule, sweep out ash monthly, wash surfaces with mild soap, and scrub burner ports to keep flames burning efficiently. Before each season, conduct thorough seasonal inspections: test gas connections with soapy water, check for cracks or rust, and replace damaged components. Apply a protective sealer every spring, coat bare metal with high-heat oil, and always cover your pit with a breathable, snug-fitting cover during off-season storage.
Will a Fire Pit Increase My Homeowner’s Insurance Premium?
Yes, a fire pit can increase your homeowner’s insurance premium. Insurers classify fire pits as fire hazard risks, similar to fireplaces, which correlate with higher fire-related claims. You’ll also face liability concerns if someone’s injured on your property. To minimize rate hikes, you should install your pit following local codes, maintain proper clearance from structures and combustibles, and notify your insurer before installation. Consider upgrading to a gas-burning model for potentially lower adjustments.